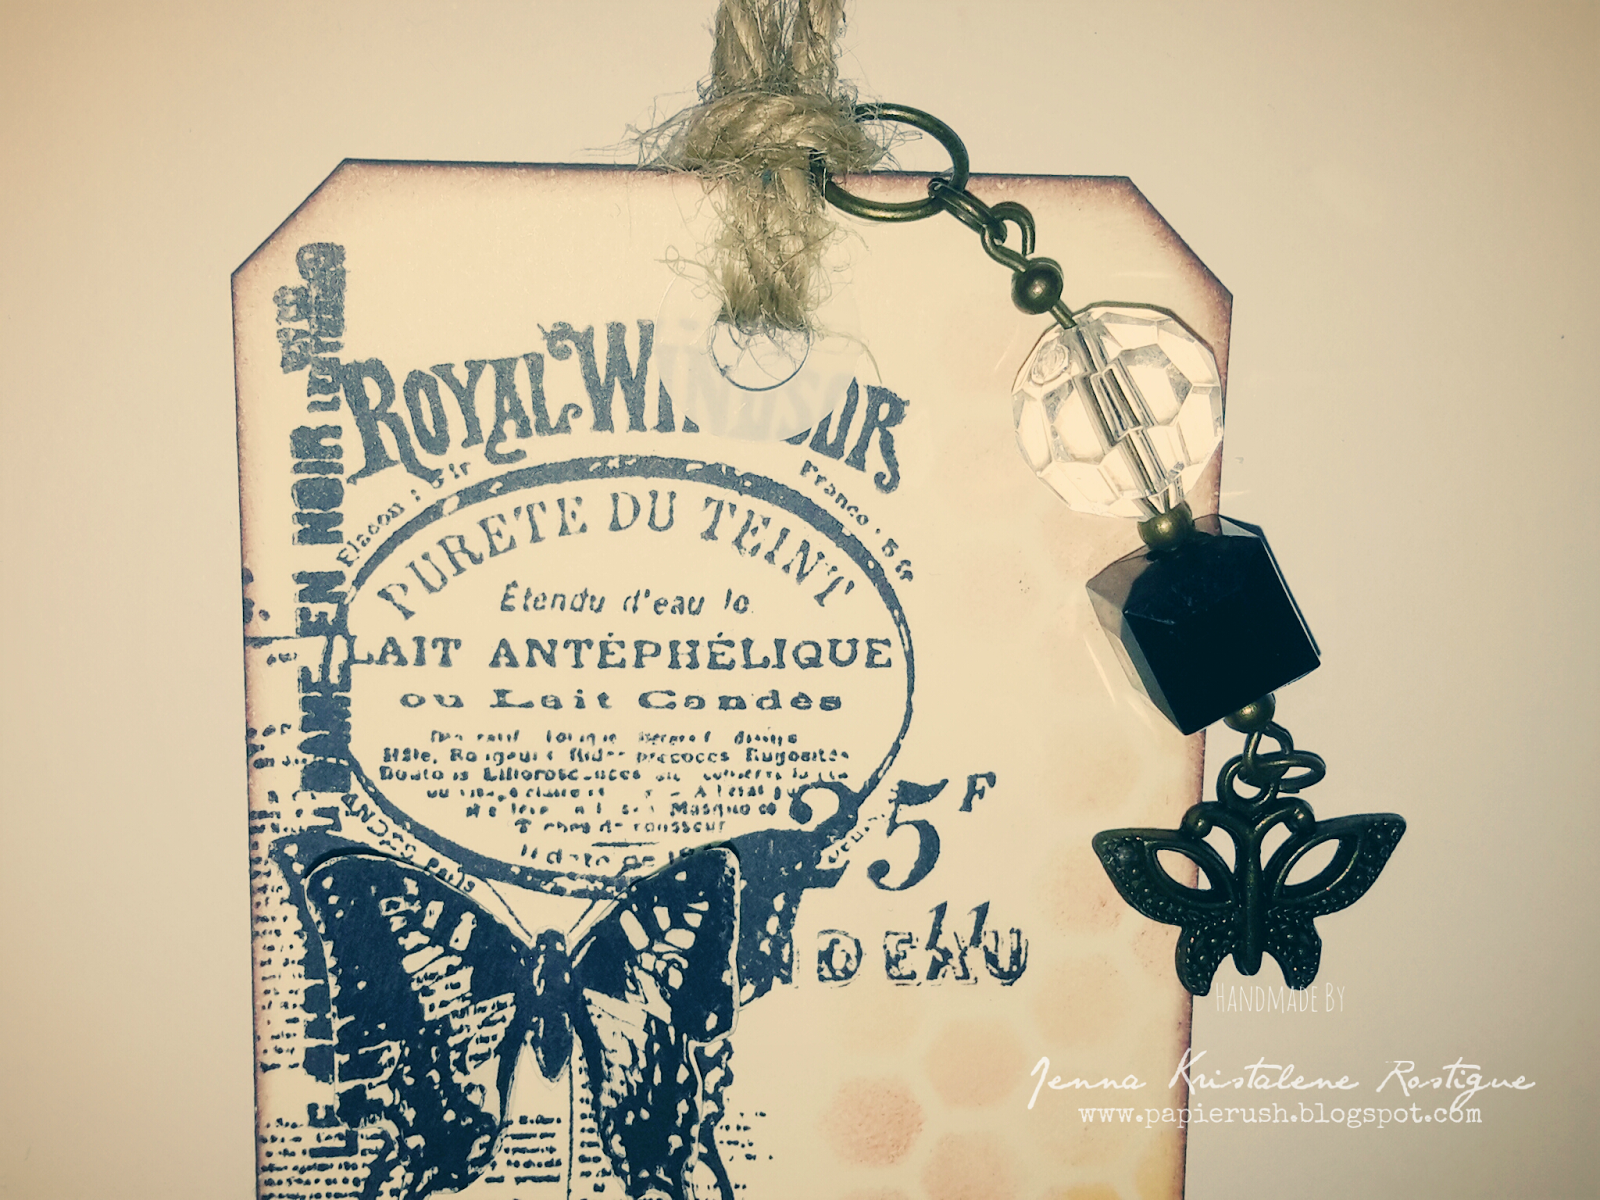
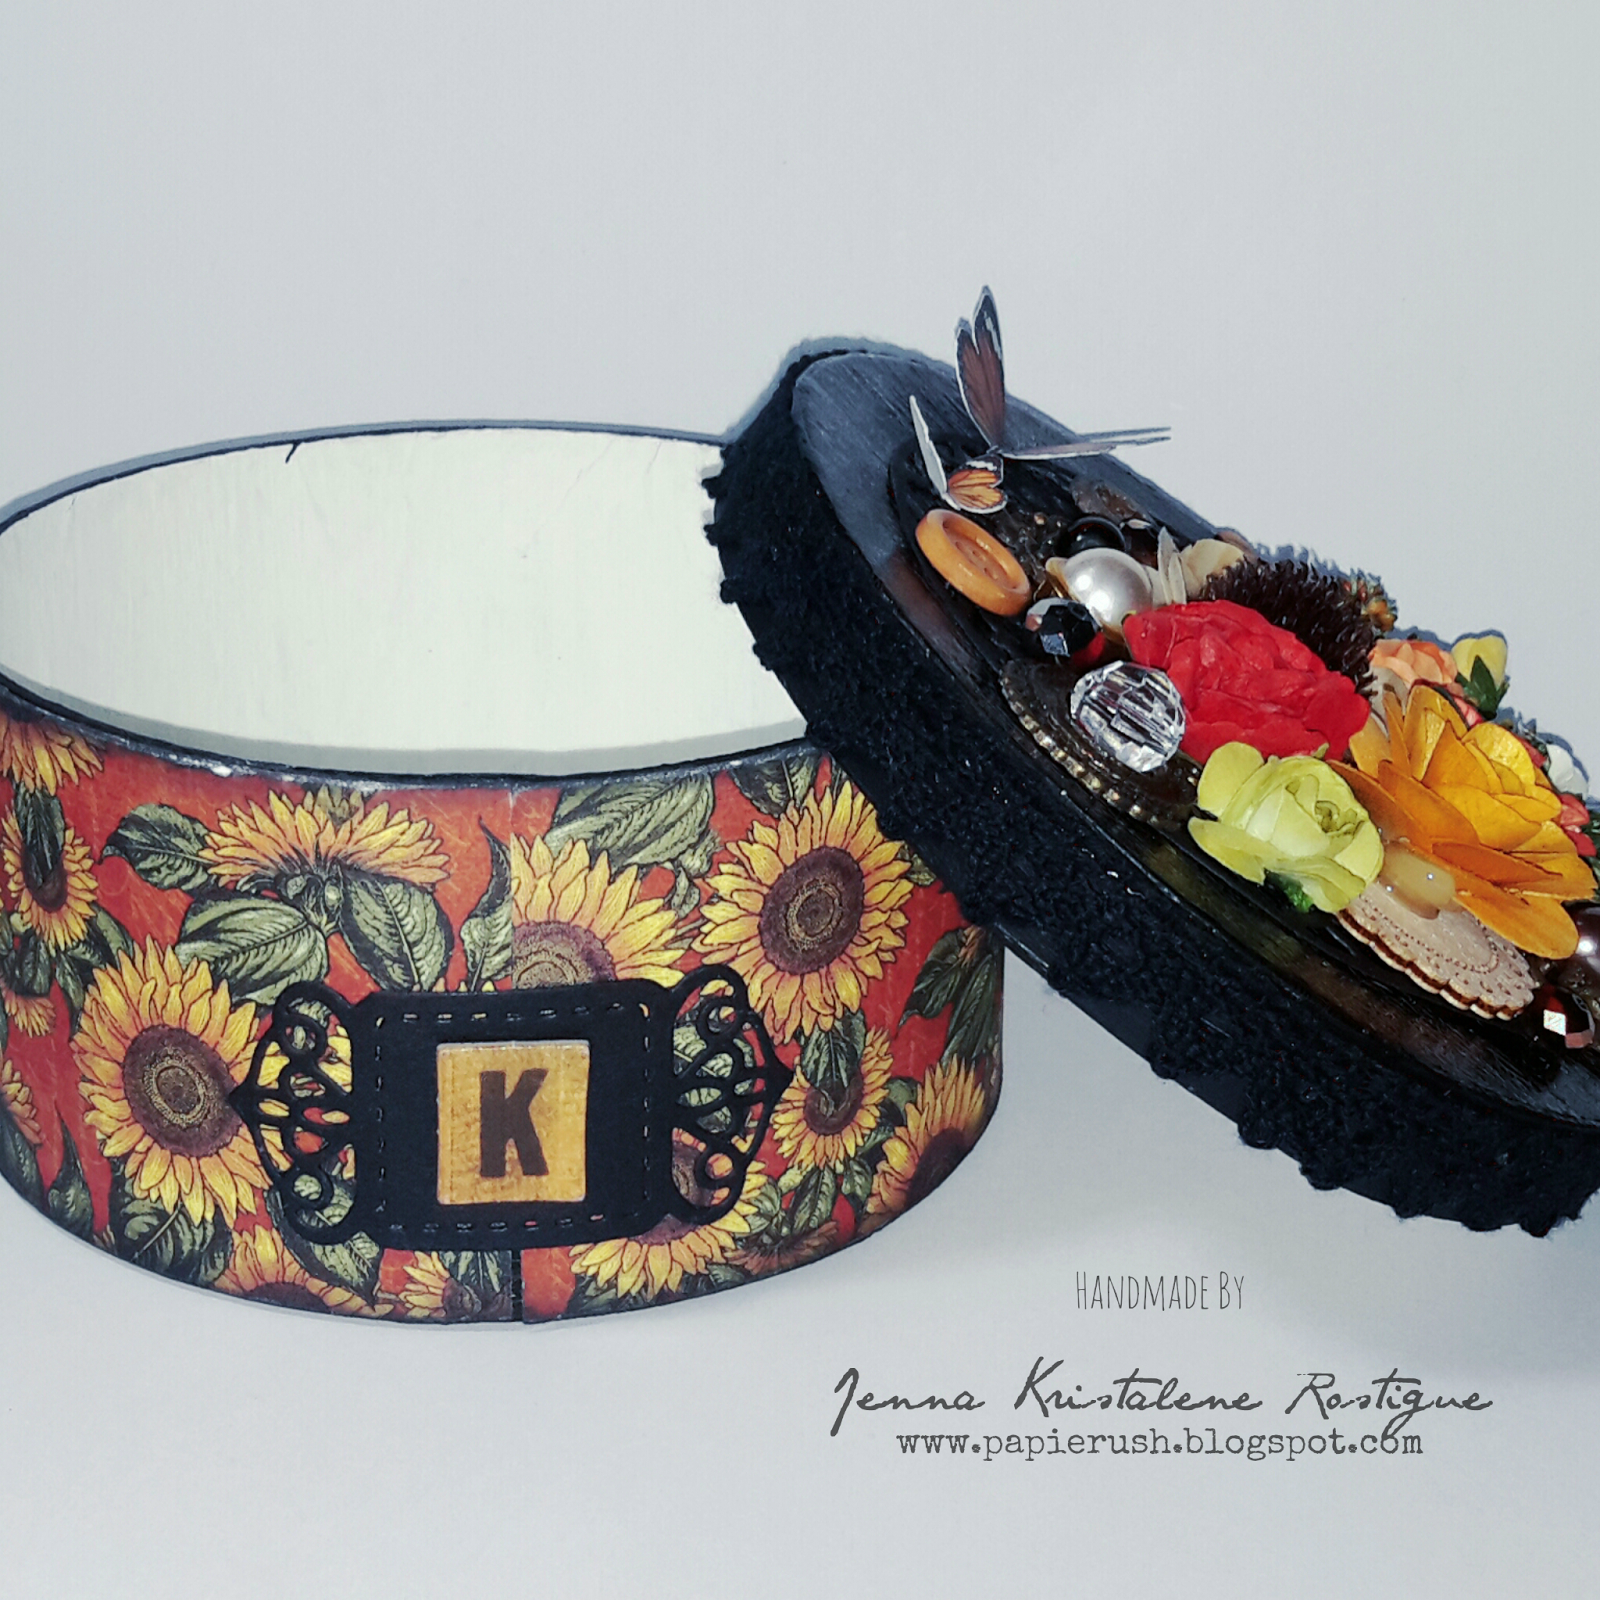
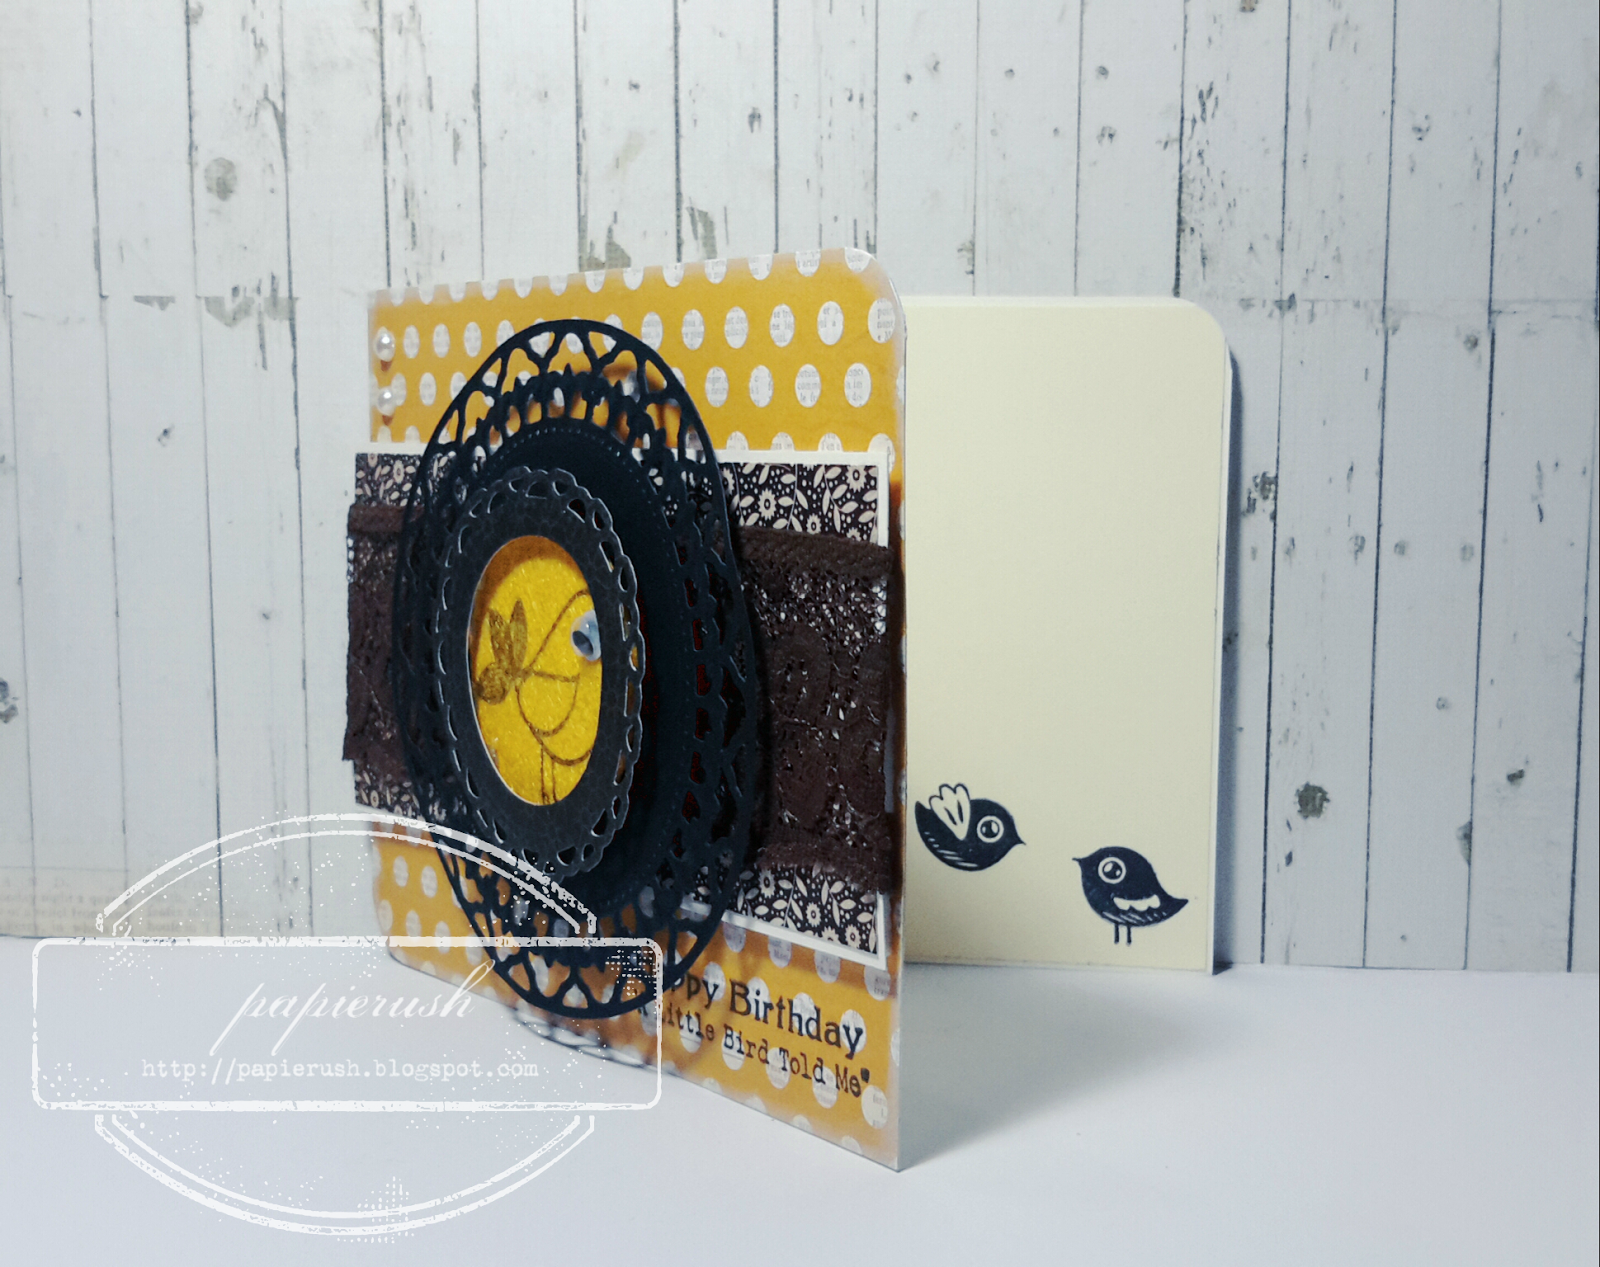
Hi everyone! I hope that you are all doing fine. What I am going to show you today are three different tags that I made to go with the altered box from the previous post.
The first one is simple. I stamped an image on the blank tag and stamped the butterfly part on a different piece of cardstock. I fussy cut the butterflies and scored at the middle then adhered them onto the stamped image on the tag. I stenciled some dots on the other side using two different ink pads and inked the edges of the tag.
The second tag has more of a steampunk feel to it. I just love how it turned out. I adhered a piece of patterned paper onto the tag. Before applying the molding paste, I stamped the image of a hot air balloon. I also stamped on a separate patterned paper and cut the image out after drying. I affixed foam tape at the back. I put down the wooden wing first then added the fussy cut image afterwards.
The last one is my favorite. It is on the shabby chic side. The same as the previous tag, I adhered a patterned paper onto the base first then coated the surface with gesso. I wiped some of it with wet tissue and let it dry. Then I applied molding paste. I inked the edges and adhered decorative tape at the center after which I proceeded decorating the tag with metal charms, paper flowers and beads. I affixed a pretty trim at the bottom as a finishing touch. It was really pretty in person, but my camera was not able to capture it right.
I enjoyed making these tags and I hope I could make some more soon. Thank you for looking today. Have a great weekend!
MATERIALS AND TOOLS USED: Bevania Splendorgel Board Paper Ivory, Tim Holtz Paper Stash 12x12 paper pad French Industrial Revolution, Kaisercraft Pickled Pear Collection Sticker Sheet, decorative tape, ring enforcer, paper flowers, beads, metal charms, jump rings, trims, lace trimming, jute twine, Eno Greeting Wooden Embellishment, Tim Holtz Idea-ology Alpha Tiles, ring enforcers, Ranger Archival Ink Jet Black, ColorBox Cat's Eye Queue Pigment Ink Chestnut, Black, Topaz and Shabby Pink, Golden Molding Paste, The Crafter's Workshop Stencils Mini Punchinella, Mini Art Is and Mini Window Screen, Kaisercraft Clear Stamps Windsor, Inkadinkado Clear Stamps Inspiration Lift, Graphic 45 Antique Typewriter Wooden Rubber Stamps


