Monday, September 14, 2015

DT PROJECT FOR BEE HAPPY CRAFTS: Mr. and Mrs.

Hi again! Here is another project for BHC. It's a simple wedding card


I used a piece of burlap for the background then layered a card stock covered with lace on top of it.  I also tied a length of organza ribbon around the lace-covered cardstock before adhering it onto the card front. 


I wasn't thinking when I was decorating it. I just kept on adhering embellishments until I felt sleepy. When I looked at it last week it seemed odd, but when I took it out from the box where I stowed it away last time, it just felt somewhat right. I just added the sentiment and the designer paper on the inside of the card and it was finished. It was easy to make and it did not take that long to finish it. 


There is another wedding card that I am planning to make. I actually thought of it first before this card, but it is a bit time consuming so it is better if I start it over the weekend or sometime during the week when I am not too tired and sleepy from work (whenever that is). I might get to make the base tomorrow. We'll see. 

Anyway, I will have to end it here for now. I hope you liked the card I made. Thank you for stopping by! 

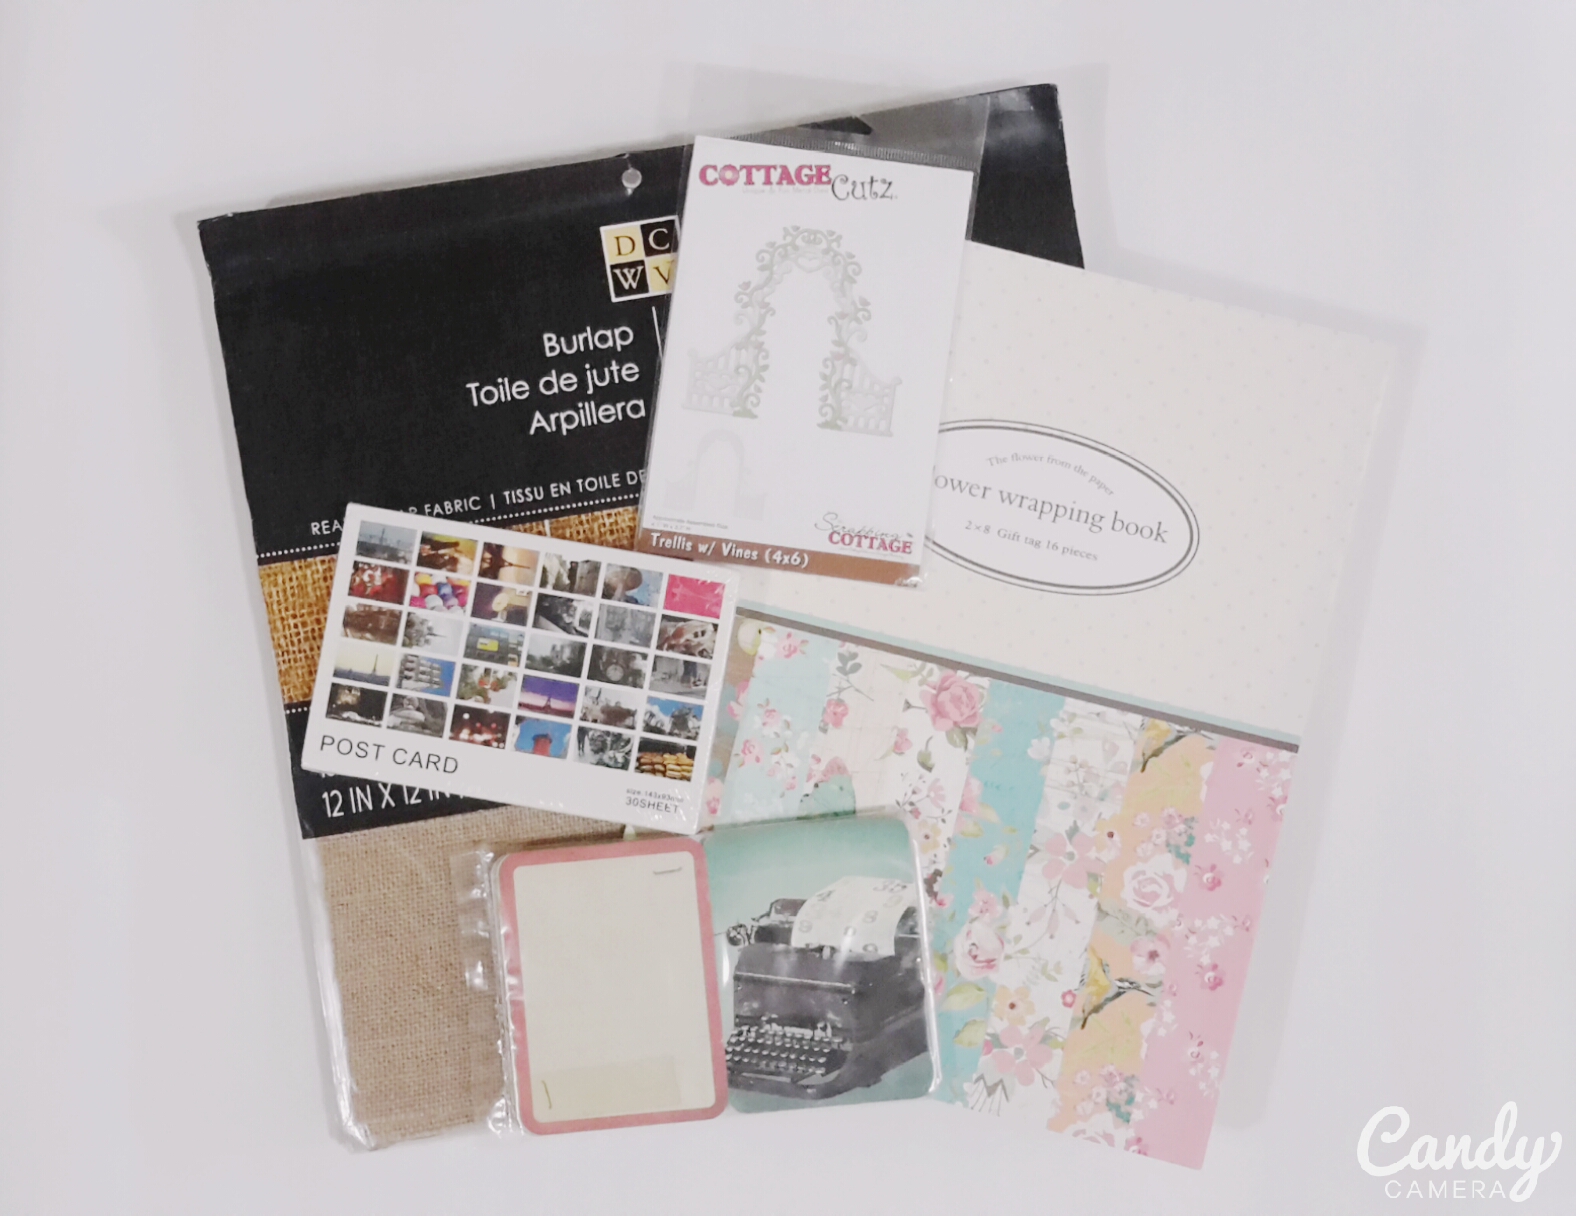
MATERIALS AND TOOLS USED: Bevania Splendorgel Board Paper White, Eno Greeting 12"x12" paper pad, DCWV Burlap Stack 12"x12", lace, organza ribbon, paper flowers, pearls, beads, charms, silk leaves, stamens, self-adhesive crystals, Ranger Archival Ink Jet Black, Kaisercraft Clear Stamps He and She, Spellbinders Nestabilities D-Lites Fancy Framed Tags One and Sprigs, My Favorite Things Die-namics Mini Doily Circles Dies, Cuttlebug Machine V2

DT PROJECT FOR BEE HAPPY CRAFTS: Upcycled Bottles

Hi there! Welcome to today's post. As mentioned in the title, the project that I worked on is a set of bottles. I altered them using a variety of materials, but I mostly used burlap from the DCWV Burlap Stack that came with the package. 
One of the perks of working for a food company is the numerous freebies. Last Friday, we were given nine Bear Brand Sterilized Milk 200mL and a box of NESCAFÉ Smoovlatte (24 bottles). 

While drinking the Smoovlatte, I thought of dressing up the empty bottle. It is quite pretty. I have already gathered a couple of other bottles which I found at home by that time and since I was going to alter several bottles, why not include one more. So there. 

The other bottles originally contained olive oil and iced tea. (For the life of me I can't remember the brand of the other olive oil. The label was red. Ach.)


Anyway, let me show you what I came up with. First up is the altered bottle of Tazo Iced Tea.


1. Love

I applied several coats of gesso to the exterior of the bottle. After drying, I stenciled on the surface using molding paste. (It was not a brilliant idea. It was rather difficult to stencil on it since the surface is curved. I just basically smudged what little I was able to put on it.) I coated the bottle with distress crackle paint (Rock Candy) then I used my Ranger Heat It Craft Tool to hasten the drying time. I then sponged distress ink (Brushed Corduroy) over the dried crackle paint to emphasize the cracks. 


Now that the base was done, I proceeded with the decoration. Before starting with the bottle, I made a burlap flower using the Tim Holtz Alterations Dies Tattered Florals. It was the focal point of the project. I added a couple of paper and silk flowers, beads and whatnot for more dimension. I didn't intend to use the same color scheme for the background, but as I was moving along with the project, I realized that I picked out turquoise and blue again. I was thinking more in the line of blue and orange when I started making it, but it turned out different at the middle. Sorry for that. I still have a blue and green hang over. So, just like my previous mixed media canvas, I stamped around the embellishments, added micro pearls and brushed metallic paints over the various elements.  As a finishing touch, I affixed a length of lace trimming at the top of the bottle.


The opening is rather small, but I could use it to store my knitting needles.

MATERIALS AND TOOLS USED: Empty bottle of Tazo Iced Tea, DCWV Burlap Sheets 12"x12", lace trimming, Eno Greeting Wooden Embellishments, All About Scrapbooking wooden embellishments, Eno Greeting Sticker Sheet, metal charms, brad, beads, self-adhesive crystals, micro pearls, Rouge de garance Chipboard Embellishments Passiflore and Valse, Reeve's Gesso, Golden Molding Paste, The Crafter's Workshop Stencil Mini Art Is and Mini Swiss Dots, Ranger Distress Crackle Paint Rock Candy, Ranger Distress Ink Mini Brushed Corduroy, Modge Podge Classic Matte, Ranger Liquid Pearls Cantaloupe and Peacock, FolkArt Metallic Acrylic Colour Blue Topaz, Ranger Archival Ink Jet Black, Prima Marketing Clear Stamps Vintage Vanity

2. Shabby Smoovlatte


The second one was an empty Smoovlatte bottle. As I have said earlier, the bottle is small and pretty. It could be used as a mini vase. You can put in some handmade flowers made through the We R Memory Keepers Flower Punch Board. You can make several of these in a short time.


I just cut some burlap that could go around the bottom part of the bottle and adhered it with hot glue. I added lace trimming to the edges and placed a lace flower which I made a few months back when I was trying to figure out what to use on a friend's wedding invitation. I wrapped a chain on the upper part of the bottle to make it more interesting. Also, I tied a thin lace and attached a dragonfly charm on the bough.


MATERIALS AND TOOLS USED: Empty bottle of NESCAFÉ Smoovlatte (190mL), DCWV Burlap Stack 12"x12", lace trimmings, chain, pearls, beads, jump rings, metal charm, Stanley Glue Gun

There are two more bottles that I am currently working on. I will be adding the photos tomorrow and I will be uploading my other DT project-a shabby chic wedding card. I hope  you drop by again tomorrow. Thanks for looking today! Have a great week!

Friday, September 11, 2015

DT PROJECT FOR BEE HAPPY CRAFTS: Odds and Ends


Hi again! I am going to share to you the first DT Project that I made for BHC for the month of September. I made it last week, but I just didn't had the time to post it. So, here it goes.


It is a little journal composed of journaling cards and post cards which came from the package. I just love the Project Life Odds and Ends journaling cards. They are perfect for the project! 

I was inspired by all the various junk journals I was seeing online especially the ones made by Michelle Mooney. (Check out her awesome creations on her Youtube Channel The Paper Addiction.) I have always kept a diary since I was in grade school, but I have not been diligent enough in the past few years. It is high time for me to pick up journaling again. It has been too long since I completed one thin notebook. I should do it more often starting now. I could make a collection of handmade journals. Woohoo!


Anyway, before I ramble on to a different topic, let me tell you how I put together this easy peasy journal. First, I gathered the journaling cards, post cards, mini envelopes as well as the board for the cover. I punched two holes on each one and added reinforcements. I set them aside afterwards then worked on the cover. Like what I have done on the cover of the mini I made last month, I stamped on a sheet of tissuestock and sprayed it with glimmer mist. When it dried, I cut it into the desired size and adhered it onto the board. I then coated it with Modge Podge and heat set it. I inked the edges to give it a distressed look. I didn't want to make the front of the journal bulky because I would be writing on the inside so I did not add any embellishments aside from the sticker from Eno Greeting. I left the pages blank for now. I would do the decorating as I go along each page. I am excited to make use of my horde of decorative tapes, post it notes, die cuts, stickers and what-not! It would definitely be fun filling out the pages.
On the other hand, I also made a set of charms to go along with the journal. I just threw in some beads, metal charms and the extra shrink plastic embellishments I made last month. The tinkling sound of the charms is just awesome. I feel so good listening to it. I keep shaking the charms to hear more of the lovely sound. Heh. 
I would be tucking in some smaller journaling cards and some other random stuff so I made these pretty paper clips that would coordinate with the journal.
That was that. Another project done. I still have previous projects which I haven't posted yet. I hope to be able to do so during the weekend. Please stop by next time to check them out. Thank you for looking today. Have a creative weekend!

MATERIALS AND TOOLS USED: Sonoma Illustration Board, Canvas Corp Tissuestock White, Eno Greeting 12"x12" paper pad, Project Life Odds and Ends Sampler Set, Paris Postcards, Coin envelopes, Bevania Splendorgel Board Paper Ivory, hole punch reinforcement, lace trimming, metal rings, Eno Greeting sticker, paper clips, paper flowers, buttons, charms, jump rings, shrink plastic embellishments, beads, Kaisercraft Clear Stamps Bubble Wrap, Grid, Dictionary Meanings and Madame Boutique, Prima Marketing Clear Stamps Vintage Vanity and Advert 1, Ranger Archival Ink Jet Black, Tattered Angels Glimmer Mist Nougat and Creme de Cocoa, ColorBox Cat's Eye Pigment Ink Pad Chestnut, Modge Podge Classic Matte

Friday, September 4, 2015

AND THEN ANOTHER CRAFT HAUL


Hi there! Here is another craft haul which I had pretty recently. I am supposed to purchase a DSLR this month, but it would make our finances a bit shaky until the next pay date so I did not proceed with it. But my oh my did I spend a portion of it in buying several ink pads and other crafting stuff. I have wanted the distress inks from Ranger, but they were always out of stock when I try to go online and buy some. Well, I got lucky this time. Heh. They still have a lot left and it was really hard to decide which ones to get first since I'm on a limited budget. I bought 22! And of course there's Kit# 10 which has four ink pads. So, I now have 26 of those mini ink pads. Also, I got myself six StazOn Midi Ink Pads. I haven't tried them before, but I believe that they'll be really good on my mixed media projects. Woohoo!


There were several items on sale so I took advantage of it. I bought papers, clear stamps, crackle paints and embossing folder.


The Echo Park paper pad is perfect for my Christmas cards!


I hope that I could make a lot of stuff this weekend using my new supplies. I will post the new projects as soon as I finish them. Till the next post (hopefully this Sunday or if not, on Monday). Thanks for looking. Have a great weekend!

SEPTEMBER DT PACKAGE


Hello September! The ber months are finally here. It wouldn’t be long now before Christmas Day so there are quite a lot of things that need to be done. I have to start making Christmas cards and whatnot. I must definitely finish everything before the third week of December. For crying out loud I’m always cramming my Christmas preparations. I should be productive this year.

Before I forget, I am here to share to you the contents of the package I received from BHC for the Design Team. When I received an e-mail from Ruby asking me if I already had these supplies, I got excited because they all fit perfectly with the theme that I had in mind for this month. I think I mentioned in a previous post that the theme will be 'Shabby Chic September'. How cool is that that I particularly got the supplies. So, without further ado, here are the contents of the September DT package:


Burlap Sheets, Post Card, Project Life Sampler Set, Flower Wrapping Book, Cottage Cutz Trellis With Vines Die


Project Life Odds and Ends Sampler Set


A pack of post cards.

I purchased a couple of other supplies from BHC and they included the supplies for the Design Team when they sent me my order. I think the wrapping paper book was a freebie for my purchase. Anyway, it felt like it was part of the DT supplies so I just placed it with them.

I will make the first two projects this weekend so watch out for that. Also, coming up on the next post is another craft haul. Thanks for stopping by today!