Friday, July 31, 2015

DESIGN TEAM CALL


Hi there! How have you been? I’m so sorry I haven’t updated my blog for over a week now. I got sick last week and I couldn’t report to work. Gah. It was the worst. I can’t even remember the last time I was that sick. I had fever for four days and it felt that the little energy I have gets easily sapped out. I was faint and dizzy and weak and I almost blacked out several times. [Sigh]. So there was nothing for me to do but lie down and force myself to sleep. TT.TT. One other sad thing of getting sick is that my pay for next month would get ducked A LOT! For you who don’t know,  I am still relatively new to my job (I’m on my fifth month this August) and so I still do not have leave credits. My absences in the past week would all be considered as unpaid leave. What a pain. Grrr. How on earth did I contract that disease?! I have cough and colds and flu every year, but this time it was just the cough, but darn was it so strong that I even lost a lot of weight. I now look anorexic. [Sniffles].

Sorry for such a long back story. Heh. I didn’t even get to tell you the very first part, the one which was really embarrassing. As I have mentioned earlier, I was sick last week. I went to work last Monday, but something was already off. I was cold after getting ready to leave for work. I wrapped a scarf around my upper body to help ease the cold. While waiting in line for my turn to get into the van to convey me to my work place, I was feeling weirder and weirder. I was getting chills when I reached the office compound. Though I was really feeling too cold, I managed to take in calls and do my job until my first break at 12:30AM. I went to the restroom for a bit and I came back inside to let our workforce know that I needed to go to the clinic. Once at the clinic and the nurse on duty checked my temperature, he got a bit worried because my temperature was almost 40°C. Well, that pretty much started everything. After a few minutes, he took my temperature again but it was still beyond 39°. There was no physician on duty in the evenings so he needed to bring me to the nearest hospital (Meycauayan Doctors) to be checked. It so happened that the ambulance was broken and all the shuttle service were on their separate ways conveying employees to their homes. Tsk. We had no other choice but to take up the offer of my supervisor to take his car. It turned out that our workforce, Andro, was the one who drove me to the hospital accompanied by one of our security personnel and the nurse from the clinic. I was embarrassed to have had caused colleagues to attend to me. Ach. I am just so thankful for all their help. It was a good thing I did not faint. Gad. That would have been a total disaster. 

So that was that. I've been busy getting sick so I was not able to read my e-mail when Bee Happy Crafts announced the chosen members of the Design Team. I would have been ecstatic, but I did not have the energy to whoop for joy and scream my heart out. I just contented myself with staring at the announcement for several minutes until everything sank in. WOOHOO! I GOT IN!!! Awesome! 

I am still not feeling that well yet, but I no longer have the fever. I can eat a bit more now compared to what I could take in last week so that must be something good. I am still on medication though. I have several more tablets to drink before I finish off the prescription. Anyway, I will try to catch up on my unfinished projects as well as update my blogs and other SNS and of course start planning my next project for Bee Happy.  

Okay. I have to end it here for now. I will be posting the first set of goodies I received from Bee Happy next. Thanks for stopping by. Have a wonderful weekend!

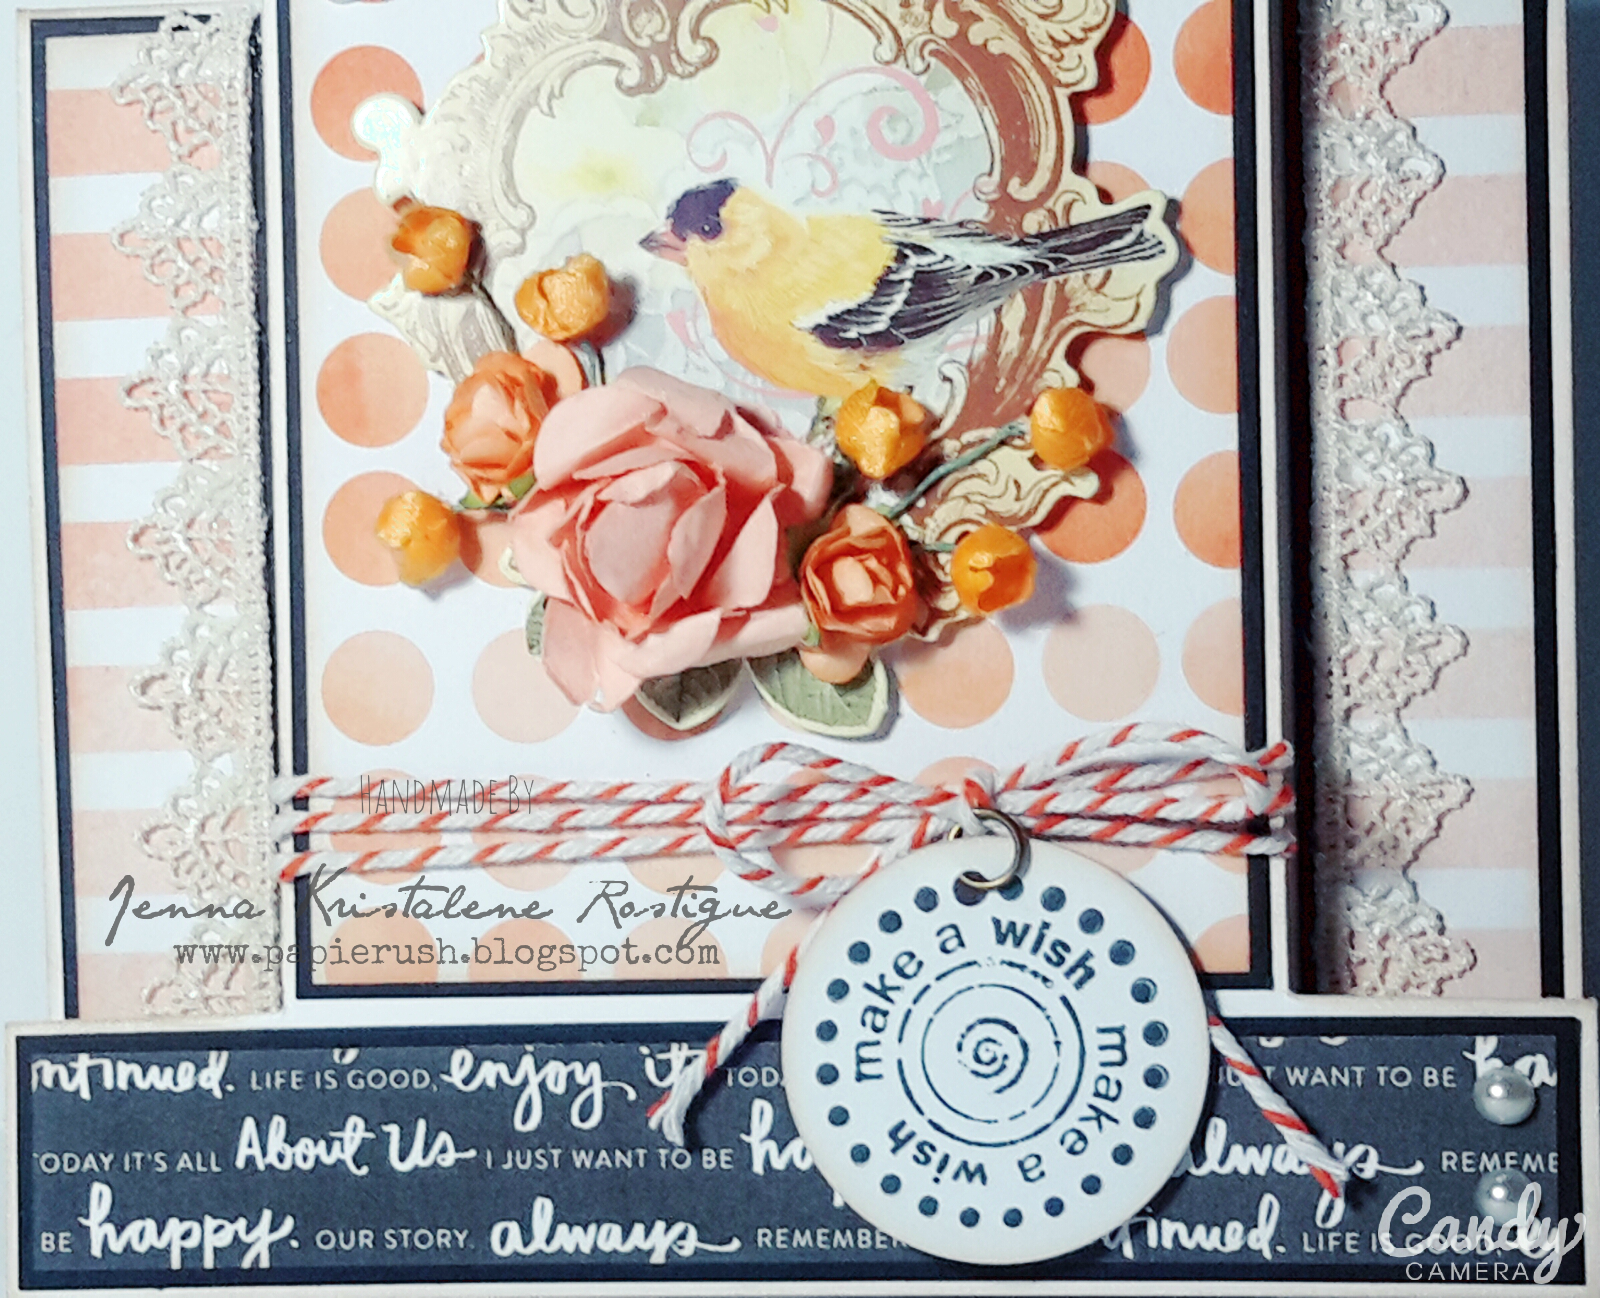
P.S. I don't think I posted my entry to the DT call yet. Here it is.


https://drive.google.com/file/d/0B6vAr4Oruvo2bEJBeG1nenE4NVU/view?usp=sharing

Monday, July 13, 2015

CARD# HPJ-2015-24: Vintage Happy Birthday


The card measures 4 1/4" x 6" when closed.


Hello! Sorry. I was supposed to post this right after the one on the center step card, but I just got so sleepy I gave up trying to edit the photos and gave in to a much needed sleep.

It's a sunny Monday and I hope that the good weather carries through the night (even just until I reach the office *fingers crossed). 

Now about the card, I made this for my friend Kim. She was the one who ordered a trishutter card a few months ago for her boyfriend's birthday. She really loved the card and wanted to keep it for herself. So I thought I would make something similar just for her. The papers I used are also from Tim Holtz, but from another paper pad. I just can't remember the name at the moment. I will get back to you on that. It was not the Wallflower one, but is was rather a combination of designs from different paper pads like Wallflower, French Revolution and a couple more. I am thinking it was called Miscellaneous,but as I've said, I am not sure about that.


Alright. The trishutter card base I used on this project was a little different from the usual one I make. This one has a whole section uncut and the middle section was scored at the bottom and the top to allow the card to close. If you have seen my previous works from years ago, there was just this one other card which had the same base. It was the one I made for my brother's girlfriend (now his ex). It looked like this:


The inside panels of the card are really blank. I mean I did not add embellishments aside from a string, a wooden embellishment and a stamped image of a bird. The paper is pretty enough that I wanted to showcase it. I just distressed the edges of the designer paper before adhering them onto the base. Afterwards, I added some texture by stenciling with gesso. 

For the front of the card, I layered a length of lace trimming and die cuts before adding the other embellishments. I affixed a couple of crystals here and there to make it more interesting. The little gems just add a sparkle and a certain liveliness to the card. I can't ever forget Beate Johns for introducing these 'blings' to me while I was trying to learn some card fold techniques from her tutorials a few years back.  


I stamped a sentiment on another die cut and adhered it to the card using foam tape. I also added metal charms.

I love how this card turned out. I hope Kim likes it. And now we reached the end of this post. I hope I can finish another project soon. Thank you for stopping by. Have a wonderful week! Till the next post!

MATERIALS AND TOOLS USED:  Bevania Splendorgel Board Paper Ivory, Tim Holtz Paper Stash 8x8 paper pad, lace trimming, ribbon, string, self-adhesive crystals, paper flowers, wooden embellishments, metal charms, plastic leaves, ColorBox Archival Dye Wicked Black, Inkadinkado Clear Stamps Inspirational Lift, Golden Gesso, The Crafter's Workshop Stencil Mini Chicken Wire Reversed, Stanley Glue Gun, Spellbinders Nestabilities Captivating Square and Fleur de Lis Square, Spellbinders Shapeabilities Fancy Framed Tags One, Cheery Lynn Design Fanciful Flourish, Cuttlebug Machine V2

Sunday, July 12, 2015

CARD#HPJ-2015-23: Make A Wish


Hi there! I hope you are doing fine. A few minutes more and it is Monday again. [sigh] I haven't done much over the weekend, but I got to finish two birthday cards. I will post the other one after this.

So, how have you been? It has been raining hard in the last couple of days and I hope this week wouldn't be that bad. It is just hard to leave for work and go back home. 

Anyway, before I tell you about the first card, I would like to let you know that I sent an entry for the Bee Happy Crafts Design Team Call. I have always wanted to be a part of a creative team, but I just didn't try applying to one before. There was Graphic 45, a company which I really love for their beautiful vintage line, but then again I didn't have much supplies aside from some 8x8 paper pads (which are quickly thinning out). The Design Team Call by a local store is a great opportunity to create more projects and share it to a wider public. One would get the chance to meet more fellow crafters and handmade fans in the local community and make several friends. As I have mentioned in my previous posts, I do not go out much. I prefer to stay at home to craft while watching a drama or read a book or just laze around. Meeting other crafters in person would be a boon.

I think they will be announcing the winners tomorrow. Today is the deadline for the entries. I sent mine last Thursday if I am not mistaken. You know how 'maarte' I am when it comes to these things. I wanted to create a flipbook and attach a PDF copy of the presentation, but I encountered some difficulties. I just submitted a PDF one which I hope did not change its appearance. It happened before when I submitted a requirement for my MA class. It took me some time to finish all the texts and graphics of my paper then I converted it to PDF. I submitted the PDF file to my professor and to my annoyance, the indensions changes as well as the positions of my images and texts. Grrr. Some parts were even cut off. Waah. It took me hours to come up with it, but darn computer it looked like I didn't do it well. Hmf.

So, going back to the Design Team Call, I hope nothing major changed when they opened it on their end. I will let you know how I fared once the results are out. Oh. Sorry. Scrap that. Perhaps the update would be a day or so late. I have to go to work. I am on night shift. I can't access my SNS in the office. I don't have the money yet to buy a new smartphone. TT.TT.

That was that about the design team call. I would now talk about the card I made earlier today. 


It is a special fold card called Center Step Card. It was fun making it. I think I will use this card fold for my Christmas cards this year. I better start making the bases soon so it would save me time measuring and cutting during the holiday frenzy.

If you would like to see how it was done, you can check out a video tutorial by ScrappinStampers on Youtube or you can also find Frances Byrne's written tutorial here.

For the panels of the card, I layered pieces of black board paper and designer paper from the Amy Tangerine Stitched 6x6 paper pad. I am not really sure if orange is the recipient's favorite color [or perhaps it was pink]. She has a preference for these colors as I had noted from her personal belongings at work. If it wasn't orange, well, what's done is done. Heh.


I adhered lengths of lace trimming on both sides of the card and tied a piece of baker's twine onto the main panel. I then affixed a die cut using foam tape and added flowers to the bottom part of the frame for more dimension. I placed some pearls on two corners to make the card more interesting. I stamped a sentiment on a circle-punched cardstock and inked the edges. I punched a little hole at the top and attached it to the twine knot with a jump ring. 


I also stamped a sentiment on the inside of the card.

It was a simple card and it was easy to make. I hope I will be able to make all my Christmas cards on time this year using this card fold. Thanks for looking today. Have a great week!

MATERIALS AND TOOLS USED: Bevania Splendorgel Board Paper White, Rives Board Paper Tradition Black, Amy Tangerine 6x6 paper pad Stitched, lace trimming, baker’s twine, paper flowers, rose buds, self-adhesive pearls, die cut, ColorBox Cat’s Eye Queue Pigment Ink Dune, clear stamp, Marvy Uchida Circle Punch, Stanley Glue Gun, foam tape

Wednesday, July 1, 2015

CARD# HPJ-2015-21: Congratulations!


This card was for someone who worked really hard to finish what she started. Woohoo! Ayen survived military school! Congratulations! 

From the stories we heard from her during those times she was able to visit us, we know how hard it was in there and we are so proud of her for getting through it all with flying colours. 

I didn't have any military-themed paper, but I thought the Graphic 45 Time To Celebrate paper pad was perfect for the occasion. I love how it turned out and I love it more because Ayen loved it. Ugh. Sorry for using the same word over and over.

About the card, I made it simple, but still with a lot of layering and distressing. You know how I love distressed and vintage cards.

This is the inside of the card. I cut two slits to tuck in some small cards from the paper pad.


So that was another card project. I hope to make some more for the July birthday celebrants. I am still working on a wedding gift for a friend (I am half way through). I will post the photos when I complete it. Thank you for stopping by! See you again soon.

MATERIALS AND TOOLS USED: Bevania Splendorgel Board Paper Ivory, Rives Board Paper Tradition Black, Graphic 45 8x8 paper pad Time To Celebrate Collection, ColorBox Cat’s Eye Queue Pigment Ink Chestnut, self-adhesive crystals, Spellbinders Nestabilities A2 Card Creator Tranquil Moments, Cuttlebug Machine V2

CARD# HPJ-2015-20: TENT/EASEL CARD WITH DRAWER


Hello guys! Here is something I made by combining two main card techniques—a tent slash easel card. To tell you honestly, it does look pretty but then it is a bit hard to pack since the bottom of the card is attached to the drawer part. It couldn’t be folded forward. If I made everything even then it could probably be fold backwards. Anyway, I still feel good about this card.

Again, if you haven’t seen the Christmas tent cards I made last year where I put a link to a tutorial by Beate Johns of Splitcoaststampers, you can find it here.


As for the drawer, I referred to this very helpful tutorial on Youtube by DigitalDelights. It is easy to follow. I just love how useful it is. I think I stumbled upon it about two years or so ago when I wanted to make a card with something to hold chocolates in. I am so thankful to all those who make the effort to show how things are done. I learn a lot from them. You are all so awesome!


For the front of the card, I decorated it with a couple of paper flowers, crystals and beads. The papers were already pretty as they are so I need not to put more embellishments to it.

This project was just brought about by some random thought. I may try another technique some other time. 

So that was that. Thank you for stopping by. I hope you check out my previous projects as well as my newer ones. Have a wonderful day!

MATERIALS AND TOOLS USED: Rives Board Paper Tradition Black, Graphic 45 8x8 paper pad Typography Collection, paper flowers, beads, Eno Greeting Wooden Embellishments, self-adhesive crystals, brads, Hany chocnut, ColorBox Cat’s Eye Queue Pigment Ink Black, Stanley Glue Gun, Spellbinders Nestabilities Labels Thirty-Five, Cuttlebug Machine V2

CARD# PR-2015-12: 'Peach' Perfect


Hello! It’s me again. Here is another late post. Please don’t mind the title. I couldn’t think of anything while writing this particular post so… The card is not really that peachy, but the background is and peach belongs to the orange family. Ooh. I’ll just go ahead and tell you a little something about it minus the peach part.

If you have seen my previous posts, you might have come across my craft hauls. In one of those crazy hauls, I got several 6x6 paper pads. The one I used for this card came from one of those paper pads. I’ll get back to you once I figure out which paper pad it belonged to. I am thinking it was from the Dear Lizzy Serendipity, but I am not that sure. I will just check it out later.

So, like the previous card, I didn’t think while making this card. I mean I just went on adhering the paper flowers and pearls. I just regret stamping the grids on the background. I shouldn’t have done that. Oh well. I better go back to planning next time. Perhaps I would still do something on the card when I feel like it. For now, that is what it looks like. It is not much, but it does still look good. What do you think?

MATERIALS AND TOOLS USED: Wrapping Paper Book, Graphic 45 Couture Collection 8x8 paper pad, Board Paper Buffalo Brown, American Crafts Canvas Texture Pure Chocolate, paper flowers, pearls, self-adhesive crystals, metal charms, lace trimming, Spellbinders Nestabilities A2 Card Creator Valiant Honor, Cuttlebug Machine V2

CARD# PR-2015-11: Floral Whimsy


Hi there! I’ve been quiet for some time now and I really feel so bad for not being able to update my blogs and other SNS. I have a lot to post to catch up. You will probably get a little bit overwhelmed since I will be posting one post after the other.

For this particular post, I am writing about one of the cards that I made for Karisse which I was not able to give to her on time because I slept like a log on the day we were supposed to meet.

Anyway, I liked how this came out. I wanted to do something more with it, but I refrained myself from adding anything. It is a box card with a belly band made of stretchable lace trimming. I got crazy with my glue gun and my embellishment stash. I didn’t really think that much while putting down every embellishment on the die cut. I basically adhered one thing after the other. Hah. It still looks good though. What do you think?

How did I make it? Simple. I used one of the pages of my wrapping paper book for the base. It is not as thick as I wanted it to be, but it was still sturdy enough to hold some more die cuts for the messages.

If you are wondering exactly how I made the base, you can check out a tutorial of Beate Johns here.


Since the paper was not double sided, I cut two strips of paper from the Graphic 45 Couture Collection paper pad and adhered them onto the outer flaps of the ‘box’. I then added the belly band base.


The box card is one of my favorite card folds because I can put a lot of small cards inside for the messages and I can also make various types of belly bands to hold everything in place. Why don't you try making one now. It is fun and easy to do. 

La. I will be ending this post here. Thanks a lot for looking today! I hope you check out my other projects as well. Till the next post (which is actually coming right up. Heh.).

MATERIALS AND TOOLS USED: Wrapping Paper Book, Graphic 45 Couture Collection 8x8 paper pad, Board Paper Buffalo Brown, American Crafts Canvas Texture Pure Chocolate, paper flowers, silk flowers, pearls, self-adhesive crystals, metal charms, lace trimming, Stanley Glue Gun, Spellbinders Nestabilities A2 Card Creator Tranquil Moments, Spellbinders Nestabilities Labels Thirty-Five, Cuttlebug Machine V2