Sunday, July 31, 2016

CARD# HPJ-2016-16: Live Laugh Love

Hello there! Here is the third box card in the set. This was for Ate Jolly. She loves orange so I made something with elements of orange and of course some black and gold.
This is the most embellished of the three. Since I used black for the main die cut, I added a patterned paper for the background. I used bits of scrap from previous projects to build the background. Also, I added a resin embellishment. I adhered a couple of paper and silk flowers. I put in several metal charms and stamped on the paper. I then brushed some micro pearls over the embellishments. After drying, I adhered the sentiment and added the crystals as a final touch.
Since the die cut for the belly band is already ornate, I did not bother to add a punched border on the flaps of the box.


So that was that. I am so glad how the cards turned out. I was totally in the zone when I made them. Heh. My creative juices oozed out freely after weeks of not making anything. Watch out for my next post-it's a mixed media canvas. Thanks for looking!

MATERIALS AND TOOLS USED: Rives Board Paper Tradition Black, Best of Studio Calico 12"x12" paper pad, Eno Greeting 8"x8" paper pad Romantic, printed text, Eno Greeting Resin Embellishments, paper flowers, metal charms, lace trimming, self-adhesive crystals, micro pearls, Mod Podge Matte, Prima Marketing Clear Stamps Vintage Vanity, Ranger Archival Ink Jet Black, Spellbinders Nestabilities Captivating Squares, Cuttlebug Machine V2

CARD# HPJ-2016-15: Pink Birthday

Hi again! Here's the second card I've mentioned in the previous post. I hope you like it.


For the belly band, I just stamped on the diecut and adhered the embellishments. Afterwards, I glazed the flowers with metallic acrylic paint.


I punched a strip of white board paper with one of  my Martha Stewart Edge Punches and adhered it to the flaps at the opening of the box.


As was with the other box cards, I cut several die cuts from pink patterned papers for the messages. The finished project is also so cute I love it!


MATERIALS AND TOOLS USED: Bevania Splendorgel Board Paper Ivory and White, Best of Studio Calico 12"x12" paper pad, Rosie's Studio Sticker Quotes, Eno Greeting Wooden Embellishment, paper flowers, beads, pearls, Heidi Swapp Mixed Media Clear Stamps Script, FolkArt Metallic Acrylic Paint Pearl White, Martha Stewart Edge Punch Doily Lace, Spellbinders Nestabilities Labels 34 , Cuttlebug Machine V2

Monday, May 16, 2016

CARD# HPJ-2016-09: Trishutter Thank You

Hello! Here is a trishutter card I made for a colleague. It is a sort of Thank You card for being a part of the team. She is actually moving to another position which means she is leaving our team to join another. It is not farewell though since we will still see her around. So here is the card.


It measures 4 1/4" x 6" when closed.

I used my new supplies to make this. It would have been gorgeous if I have not made a huge mistake on the front of the card. Geez. I don't know what I was thinking. I put a lot of micro pearls on the flowers and then brushed a liberal amount of a different color onto the surroundings. Gad. I should have stopped with the flowers. I even used soft gloss gel so it has that shiny effect making it so noticeable. Eek! I can't re-do it so I'll just bear with it. Hmf.


I didn't put in much embellishment on the inner panels since it would be hard to close the card what with the center having an accordion card for the messages.

Sorry for the low quality photos. I took them indoors (and at night) so they are not that clear.

Thank you for looking today!


MATERIALS AND TOOLS USED: bevania Splendorgel White, Elit Vellum Board Paper White, Heidi Swapp 6x6 paper pad Mixed Media, Eno Greeting Diecuts, paper flowers, rose buds, beads, micro pearls, ribbon, metal charms, stamens, Eno Greeting Wood Embellishments, Heidi Swapp Clear Stamps Script, Ranger Archival Ink Jet Black, Ranger Embossing Ink, Ranger Embossing Powder Frosted Crystal, Golden Light Molding Paste, The Crafters Workshop Stencil Mini Art Is, Mini Chicken Wire Reversed and Mini Brocade, Ranger Liuid Pearls Mint Green and Petal Pink, Golden Soft Gloss Gel, Ranger Heat It Tool, Stanley Glue Gun, cutter

Wednesday, July 1, 2015

CARD# PR-2015-12: 'Peach' Perfect


Hello! It’s me again. Here is another late post. Please don’t mind the title. I couldn’t think of anything while writing this particular post so… The card is not really that peachy, but the background is and peach belongs to the orange family. Ooh. I’ll just go ahead and tell you a little something about it minus the peach part.

If you have seen my previous posts, you might have come across my craft hauls. In one of those crazy hauls, I got several 6x6 paper pads. The one I used for this card came from one of those paper pads. I’ll get back to you once I figure out which paper pad it belonged to. I am thinking it was from the Dear Lizzy Serendipity, but I am not that sure. I will just check it out later.

So, like the previous card, I didn’t think while making this card. I mean I just went on adhering the paper flowers and pearls. I just regret stamping the grids on the background. I shouldn’t have done that. Oh well. I better go back to planning next time. Perhaps I would still do something on the card when I feel like it. For now, that is what it looks like. It is not much, but it does still look good. What do you think?

MATERIALS AND TOOLS USED: Wrapping Paper Book, Graphic 45 Couture Collection 8x8 paper pad, Board Paper Buffalo Brown, American Crafts Canvas Texture Pure Chocolate, paper flowers, pearls, self-adhesive crystals, metal charms, lace trimming, Spellbinders Nestabilities A2 Card Creator Valiant Honor, Cuttlebug Machine V2

CARD# PR-2015-11: Floral Whimsy


Hi there! I’ve been quiet for some time now and I really feel so bad for not being able to update my blogs and other SNS. I have a lot to post to catch up. You will probably get a little bit overwhelmed since I will be posting one post after the other.

For this particular post, I am writing about one of the cards that I made for Karisse which I was not able to give to her on time because I slept like a log on the day we were supposed to meet.

Anyway, I liked how this came out. I wanted to do something more with it, but I refrained myself from adding anything. It is a box card with a belly band made of stretchable lace trimming. I got crazy with my glue gun and my embellishment stash. I didn’t really think that much while putting down every embellishment on the die cut. I basically adhered one thing after the other. Hah. It still looks good though. What do you think?

How did I make it? Simple. I used one of the pages of my wrapping paper book for the base. It is not as thick as I wanted it to be, but it was still sturdy enough to hold some more die cuts for the messages.

If you are wondering exactly how I made the base, you can check out a tutorial of Beate Johns here.


Since the paper was not double sided, I cut two strips of paper from the Graphic 45 Couture Collection paper pad and adhered them onto the outer flaps of the ‘box’. I then added the belly band base.


The box card is one of my favorite card folds because I can put a lot of small cards inside for the messages and I can also make various types of belly bands to hold everything in place. Why don't you try making one now. It is fun and easy to do. 

La. I will be ending this post here. Thanks a lot for looking today! I hope you check out my other projects as well. Till the next post (which is actually coming right up. Heh.).

MATERIALS AND TOOLS USED: Wrapping Paper Book, Graphic 45 Couture Collection 8x8 paper pad, Board Paper Buffalo Brown, American Crafts Canvas Texture Pure Chocolate, paper flowers, silk flowers, pearls, self-adhesive crystals, metal charms, lace trimming, Stanley Glue Gun, Spellbinders Nestabilities A2 Card Creator Tranquil Moments, Spellbinders Nestabilities Labels Thirty-Five, Cuttlebug Machine V2

Monday, April 27, 2015

CARD HPJ-2015-18: Purple Madness


Hi again! I have a loooot to catch up. More post are coming up after this. Haha. I’ve not been in touch for far too long.

Moving on. This time I am going to share to you the most recent card that I made. It is a mixed media one with a purple, black and silver color palette. I don’t use purple that much so I thought it would be great to utilize my mostly untouched purple stash. It is actually a part of my Mothers’ Day project. I am thinking of making different cards using the ROYGBIV scheme. I mean I won’t do indigo, but I would try to make all the other colors. Wouldn’t that be fun. And I will make several mixed media cards. Woohoo! I love the texture and the dimensions.

Anyhow, I feel happy about this card. Aside from the front, I also decorated the inside. See. I am employing the techniques I learned in making mini albums. Thanks a lot to all the artists who are so generous to share their knowledge and their talent to the world. I learn a lot from them and I am inspired to create even more awesome projects. I love you guys!


As for the front of the card, I layered two distressed patterned paper. I added molding paste and stamped an image for the background. I cut a small part of a die cut and also cut the center to make the image show through. I then adhered a couple of paper flowers which I gessoed and put glitters on before doing so. I also affixed black pearls and some charms to add more flare.


At the bottom left of the card, I adhered another die cut. I am thinking of writing or stamping the name of the recipient later on. For now, I do not know who will get it so I will leave it at that.


Inside, I made a small pocket where a cardstock for the message will be tucked in as well as a journaling card from the Graphic 45 Secret Garden Collection. I debated on whether to make a matching box for it or just put it in an acetate box. Well, the acetate box seems to be more appealing. I could make a small stand at the bottom and decorate it a bit to match the card. What do you think? I’ll add a photo of it inside the acetate box once I made the stand, but for now, I’ll only show images of the card itself, okay?


I had a great time creating this piece. I hope to make the other cards soon. Thank you for stopping by! Till the next post.

[MATERIALS AND TOOLS USED: Bevania Splendorgel Board Paper White, Rives Board Paper Tradition Black, Stardream Board Paper Silver, All About Scrapbooking 12x12, paper flowers, lace trimming, pearls, charms, crystal, Marie’s Gesso, white glue, glitters, Kaisercraft Clear Stamps Windsor, Golden Molding Paste, The Crafter’s Workshop Mini Stencil Mini Punchinella, Stanley Glue Gun, micro pearls, Spellbinders Nestabilities Splendid Circles, Spellbinders Shapeabilities D-Lites fancy Framed Tags One, Cuttlebug Machine V2]

Monday, March 23, 2015

CARD# HPJ-2015-17: Kryss

Hi there! How are you? I hope you're doing fine. What I am going to share this time is another recessed frame card. I actually haven't posted the photos of this particular card in my other SNS accounts (except for a little sneak peek on IG) since I would be giving this as a gift for a friend and former colleague on the 24th. It is too early for her to see it. Let's not spoil the element of surprise. Heh. It is safe here. I know for certain that she does not read blogs that much.

I've done two cards with this technique so far (and this is the third). I haven't given her any birthday cards since the first year I met her (almost four years ago) and I thought this time I should give her something really extra special. She asked for a turquoise card, but I told her it would be a bit hard for me for I only have limited supplies with this color. It is close to nothing. Anyway, I just decided to go with a blue and green color palette.


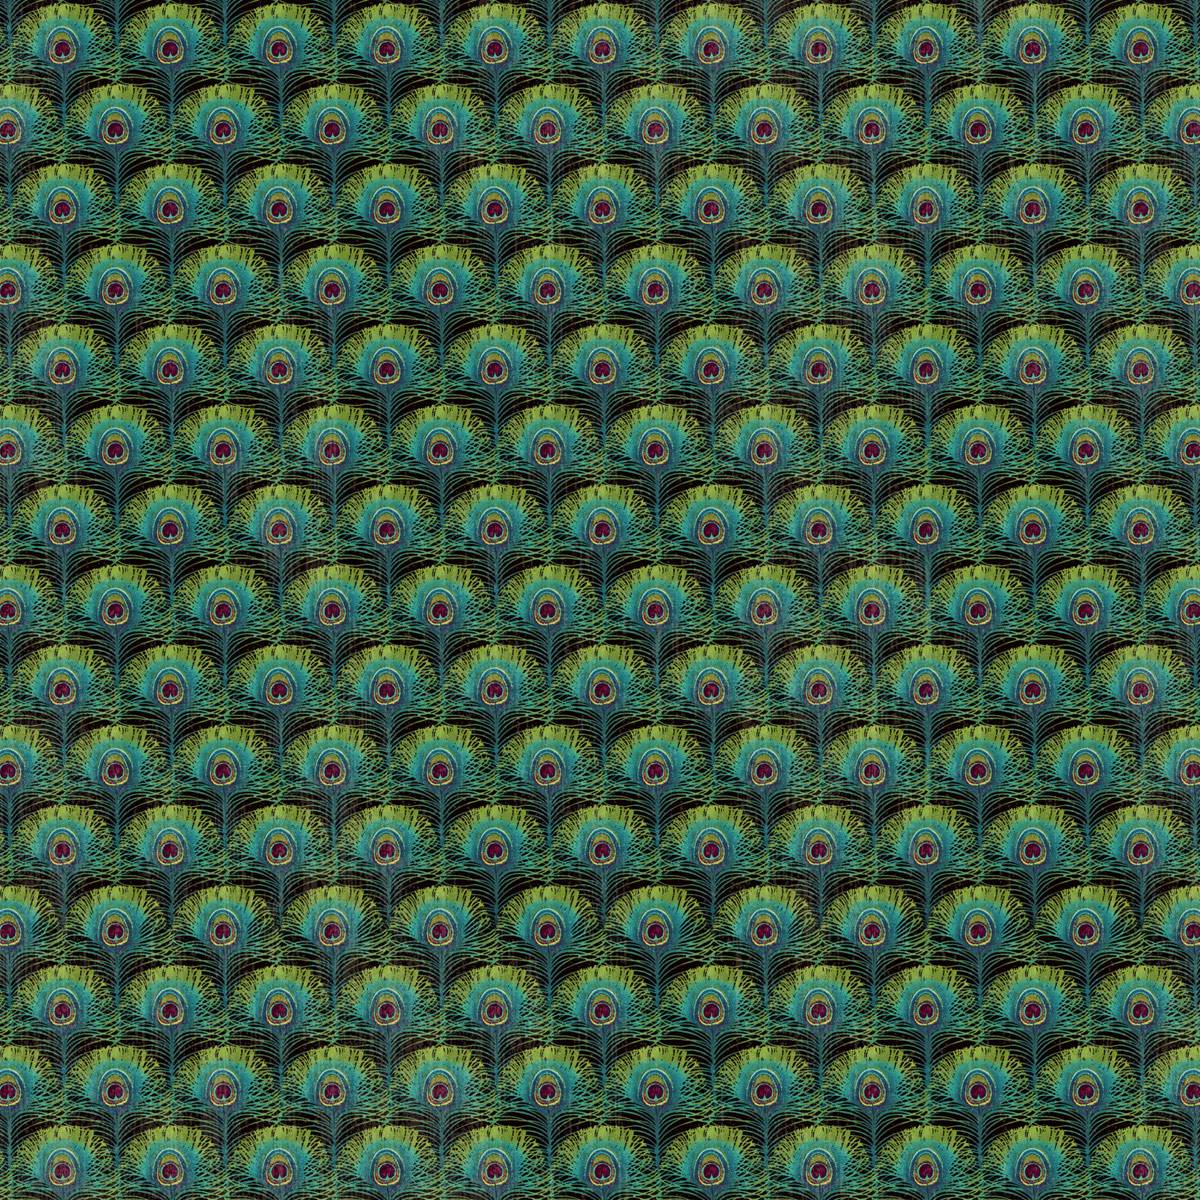
I remember one of the designs in the Graphic 45 Couture Collection that has peacock feathers all over the page so I went ahead and checked to see if I still have some left. There's still one whole page! Yay! With the thought that this card should be super special, I wanted to make an interactive card or a fancy fold card. At first I thought of making an easel card which she can display on her desk in the office (She will likely do so. If not in the office then somewhere in their house.) Anyway, while I was prepping the supplies needed last night, I kind of changed my mind. Instead of an easel card, why not a square recessed frame card? It would be doubly fun and will sit perfectly on a desk. So a frame card it is! 

If you haven't seen my two previous projects using this technique, here are some snippets. Just click on the links in the captions to go to the original post.


This was a commissioned Christmas card. The details can be found here.


This second project has a recessed frame front and the inside is a popup book. Hop on over to my old blog for more photos.

Alright. Now that you've seen the other projects, let's move on to the newest one. As I have said, the color palette is blue and green so the elements I used are of these colors.

The card measures  5 1/4" x 1/2" x 5 1/4".


For the front of the card, I used some cutouts from the paper collection and adhered them onto the frame with foam tape. I added several types of flowers and then some beads and buttons. It still felt something was lacking after adding all those embellishments. I looked at the upper part and saw this much space which could be filled with the recipient's name. Well, I wanted to use 'ANDREA', but apparently I only have one A in my stash. So, I just used her other name 'KRYSS'. But then again it still felt incomplete even after adding the name. I thought perhaps some bling would add more interest and it did. Awesome! Now the frame was complete!


As for the inside of the card, I only placed a distressed piece of designer paper, the same one I used for the die cuts. I'll just write a short message in there and then give it to her when I have the chance.

I am loving this technique. I think I can use this again for an anniversary card. Hmn. I can suggest this to a friend who is looking for something to give her parents for their wedding anniversary. We can just put a picture of them together. Nice. I will keep you posted.

That was another great project and I'm pretty sure Ate Andrea would love it. Watch out for the next post--another boxed trishutter card! Thank you for looking!

MATERIALS AND TOOLS USED: Rives Board Paper Tradition Black, Graphic 45 8x8 paper pad Couture and Typography Collections, paper flowers, wooden flower, brad, buttons, beads, self-adhesive crystals, metal charms, Stanley Glue Gun, ColorBox Cat's Eye Queue Pigment Ink Turquoise, Cheery Lynn Designs Fanciful Flourish, Cuttlebug Machine V2

Monday, February 23, 2015

ALTERED BOX


Hi everyone! Welcome to today’s post. It is all about the altered box that I finished the other day. I made this for a fellow crafter who I will be meeting next week. I am excited to meet her. She is actually the first ever crafter that I will be meeting personally. I don’t go out often and I only mostly interact with the crafting community online. So this meeting will really be memorable and fun since we will be looking for supplies in the shopping mecca of Manila. I can’t wait to see all those supplies out there!

Oops. Sorry. I got carried away. Let me continue with the altered box. Heh. I have these medium-sized kraft boxes from one of my divi trips two years ago. I had intended to use them to hold Christmas gifts that particular year, but I only used two of the twelve that I bought. I used six of them to store dried flowers and seeds from three bags of potpourri I got from Papemelroti and the rest were packed away at the top of my closet.

I thought of giving her a small gift when we get together, something that I made. I figured that I could make book page embellishments and paper clips like the ones I made for the guestbook commission. With that in mind, I would need something to hold all those small things and tada! What about a box? an altered one? I could surely make one since I’ve already something similar before. Of course I then remembered my stash of round boxes waiting to be noticed. Yay!


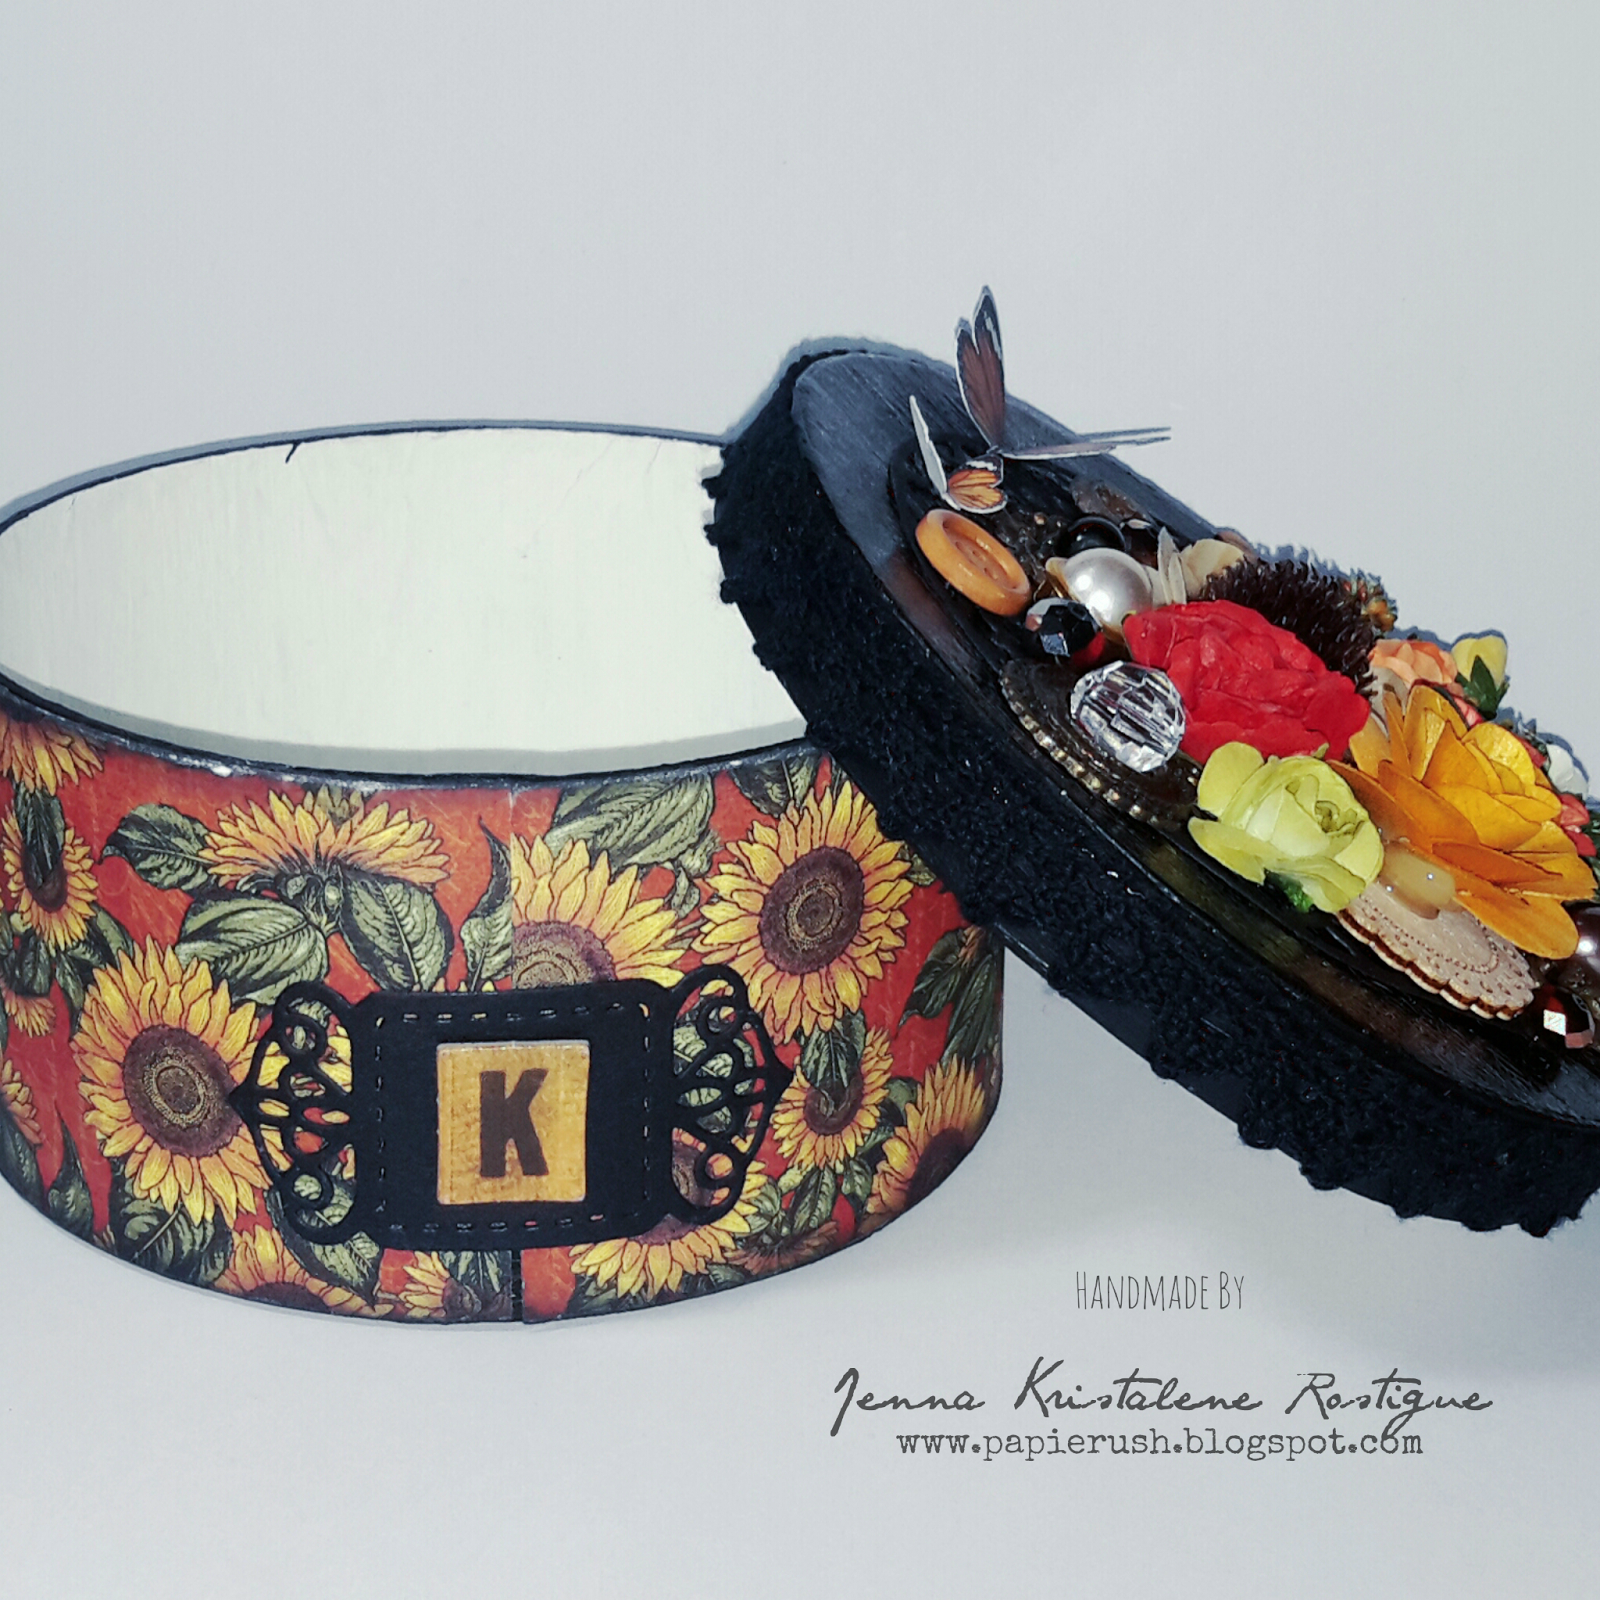
I covered the inside of the box with several coats of gesso as well as all the parts of the lid. After the inside part dried, I gessoed the bottom of the box and the rim. Then I painted the lid and the bottom of the box with black acrylic paint. I left the inside white.  

I adhered two strips of patterned paper (8” in length each) onto the outer part of the box and sanded the edges. I inked them afterwards.


As for the lid, I coated the top with crackle paint and affixed a length of lace trimming around the side. I then proceeded to decorate. I added a die cut with an alpha tile onto the box for a finishing touch. I just love decorating. I can’t wait to start my art journal! Of course I am more excited of decorating the cover. Haha. I hope I would be able to do it soon. Gah. I’d really love to have an art journal of my own. I’ll post some photos as soon as I finish it.

That was another fun project. I hope she likes the box and the fufus inside. Thank you for stopping by! Have a wonderful week!

P.S. I forgot to show the little embellishments I made to go inside the box.


I was supposed to put a tissue paper inside before placing the goodies, but the clips just wouldn't fit so I left it as it is.


I ran out of the bigger silver paper clips so I just used the small ones covered with vinyl. Gah. I am enjoying making cutesie paper clips. I'll try my hand on small origami flowers for the embellishment some time soon. For returning clients, I will be giving a set for free (instead of the card/bookmark since I already gave them one when they ordered the first time). I'll make other kinds of freebies as well. Thanks again for looking!

MATERIALS AND TOOLS USED: Kraft box, Graphic 45 8x8 French Country Collection, Rives Board Paper Tradition Black, Tim Holtz Idea-ology Alpha Tiles, paper flowers, paper ferns, Eno Greeting Wooden Embellishments, wooden flowers, metal charms, beads, buttons, Ranger Distressed Crackle Paint Rock Candy, Marie's Gesso, Pebeo Acrylic Colour Mars Black, Stanley Glue Gun, Beauty Premium Pigment Ink Black, Spellbinders Nestabilities Splendid Circles and A2 Card Creator Tranquil Moments, Cuttlebug Machine V2 (For the loose embellishments: Bevania Splendorgel Board Paper Ivory, book pages, Ranger Archival Ink Jet Black, Ranger Distressed Crackle Paint Rock Candy, Kaisercraft Clear Stamps Botanical Odyssey, Bo Bunny Clear Stamps Flourishes and Such, Inkadinkado Clear Stamps Inspirational Lift and Bird House, paper clips, self-adhesive crystals, black felt, Stanley Glue Gun, glue stick)