Tuesday, May 26, 2015

ALTERED BOX#3


I haven’t done much crafting lately and I really missed getting my hands dirty with ink, paint and gesso. I have been thinking of altering one of my plain kraft boxes for ages, but I just don’t seem to find time to do it. I always get sleepy when I get home. On weekends I can’t move. I mean it literally. It is so hot that I can feel my energy getting sapped by the extreme heat that I can no longer function like a normal human being. Gah. I just get so sleepy I can’t help myself. It was a good thing I didn’t have work last night and then it rained. The temperature became a bit better and it was perfect to catch up on my crafting. If you haven’t seen my previous post, go check it out or just click here. I made a wallet fold mini while waiting for the paint on my box to dry. Though it took me some time to finish both projects, I had a great time working on them. I missed my tools and supplies so much. If only I could have a longer break. TT.TT.


Okay. So this altered box is quite simple. I didn’t add any fufus since I am going to stack other boxes on top of it. I’ll make more altering next time when I have the time to work on my Pik-Nik canisters. It would surely be fun!
What I did was paint the inside of the box and the outer bottom with black acrylic paint. I did the same with the inside part of the lid. I just brushed some paint on the edges where the space could peek through the paper. After drying everything, I adhered two strips of inked pretty paper (from the Tim Holtz Paper Stash Menagerie). I cut a 5-inch circle from another paper and covered the top of the lid with it. I then affixed a length of lace trimming on around the side of the lid to make it interesting. And that was that. If I ever decide to add more stuff to the box, I will upload the photos on this same post.
So that was that. I can put some of my accessories inside this box and alter some more boxes to make them awesome. Thank you for stopping by. Have a great week!

MATERIALS AND TOOLS USED: Kraft round box, Tim Holtz Paper Stash 8x8 paper pad Menagerie, lace trimming, ColorBox Cat’s Eye Queue Pigment Ink Black, Martha Stewart Circle Cutter, Tiger Glue Gun

Saturday, March 14, 2015

BOXED MINI ALBUM


Hi there! I have posted about the wedding gift I made for a friend last December on my tumblog, but I have made some changes to it. Since I haven’t given it yet to her (Gaaad, it’s almost March!), I decided to change the photo folio into a mini album.

If you might recall, I received a commission for a guestbook last month and I made something like a mini album to hold some photos of the event as well as doodles and what not from the guests. I loved working on that particular project which got me to think of making a smaller version with more pages for Miss Karen. I was done with the original photo folio, but I didn't quite like how it turned out so I made a mini album. Hah! It doesn't look that good (hey, I only started making them), but it is way better than the folio!
Okay. So I had made the box first.


I altered a box from my stash of Papemelroti boxes. I coated it with several layers of gesso until I was satisfied with the coverage. I then stenciled the sides of the bottom with molding paste and used a different stencil on the lid. After which, I applied distressed crackle paint on the sides of the lid. When everything was dry, I inked the edges of both the bottom and the lid. I also used an ink pad to color the stenciled brocade on the lid. Before putting the decorations, I stenciled some dots on the surface of the lid with different colored ink pads.


I adhered wooden flourishes to the corners and put down the embellishments one by one. Of course it wouldn't be complete without the pearls and the crystals. I just love it! Maybe I’ll also alter the round boxes that I've been keeping for almost two years now. Hmn. Perhaps I’ll do it this weekend.

As for the mini album, the page assembly was the same as the one I used on the guestbook. If you haven’t seen it yet, I got the idea from Brenda Bliss on one of her video tutorials. You can find it here


This is the back part of the mini album. I didn't put anything else so as not to get in the way when writing on the pages.
The cover, though, was a bit different. Instead of using patterned paper to cover the chipboard base, I coated it with gesso, added a length of lace trimming and coated the whole thing again with gesso. I stenciled on the spine (the same one I used on the box bottom). Like the guestbook, I also wanted to add a detachable set of charms on the spine which I did by affixing a piece of lace trimming with a jump ring on the top part of the spine.


I made a video of the different parts of the mini album so you can also see what the inside looks like.


Thank you for looking today! Have a great weekend!

*NOTE: I've written this post a month ago, but then I missed to publish it that's why the side comment on the first part of the post says 'It's almost March.' I hope you don't get confused. Thanks again for stopping by!

MATERIALS AND TOOLS USED: (For the box: Papemelroti box, Marie's Gesso, Golden Molding Paste, Ranger Distressed Crackle Paint Rock Candy, ColorBox Cat's Eye Queue Pigment Ink Stucco, Ranger Archival Ink Jet Black, The Crafter's Workshop Stencils Mini Brocade, Art Is and Mini Swiss Dots, Eno Greeting Wooden Embellishments, wooden flower, paper flowers, metal charms, self-adhesive crystals and pearls, Kaisercraft Pickled Pear Collection Sticker Sheet, Graphic 45 8x8 Secret Garden Collection, paper scrap, Kaisercraft Clear Stamps Botanical Odyssey, Elmer's White Glue, glitters, Stanley Glue Gun, glue sticks, Spellbinders Shapeabilities Fancy Framed Tags One, Cuttlebug Machine V2); (For the mini album: Multi-purpose board, Elit Board Paper Pale Cream, My Mind's Eye Lost & Found Two 6x6 paper pad Blush, Kaisercraft 12x12 Forget-Me-Not Collection, Bo Bunny Etc Collection, The Edwardian Lady's Diary, stationery sets, ColorBox Cat's Eye Queue Pigment Ink Stucco, lace trimmings, paper tapes, Ranger Archival Ink Jet Black, Kaisecraft Clear Stamps Botanical Odyssey, double sided tape, Glue Stick, hot glue)

Monday, February 23, 2015

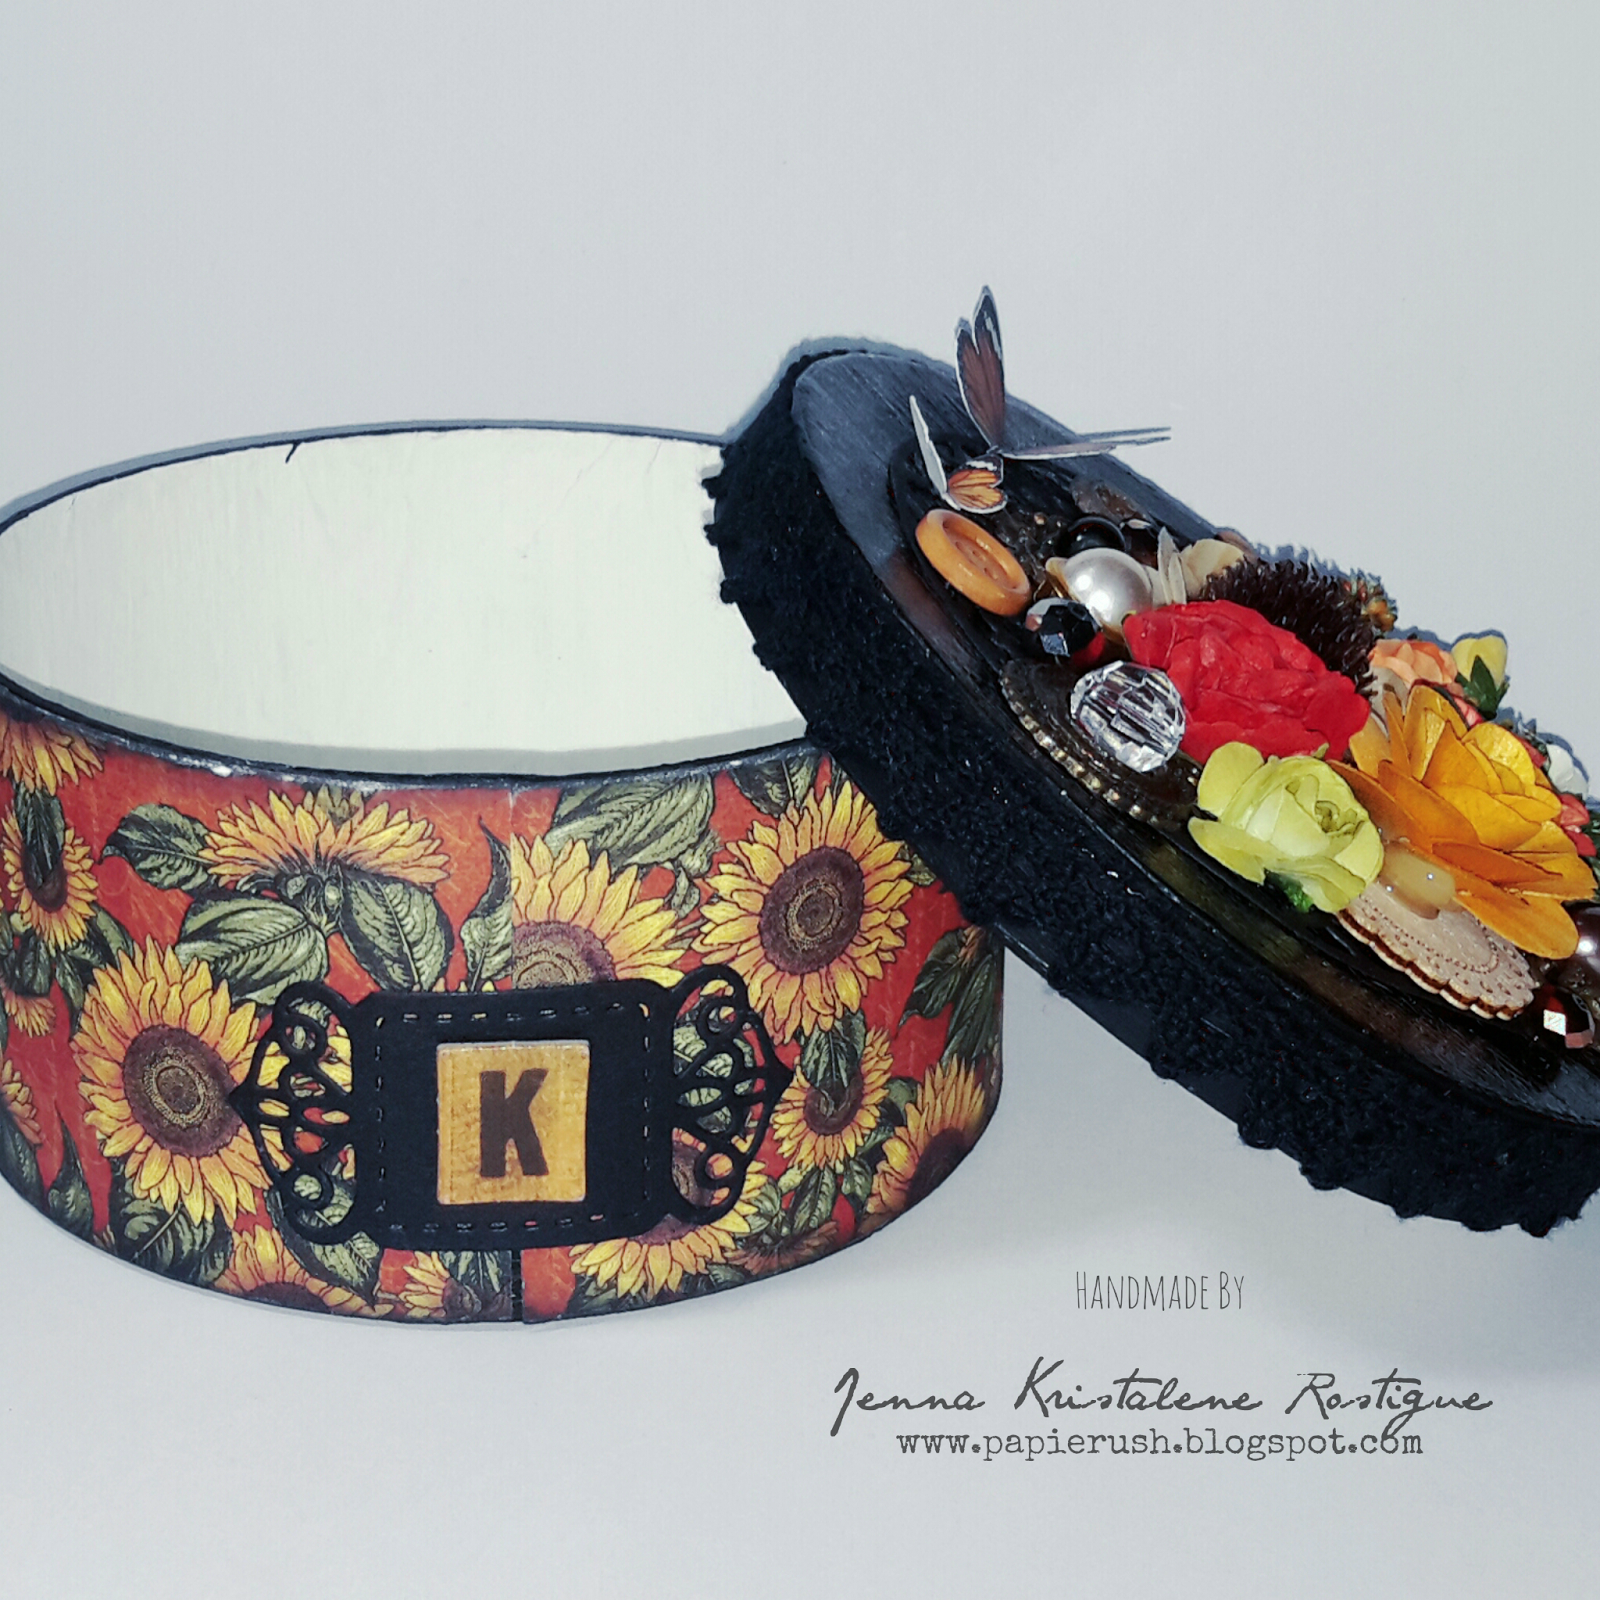
ALTERED BOX


Hi everyone! Welcome to today’s post. It is all about the altered box that I finished the other day. I made this for a fellow crafter who I will be meeting next week. I am excited to meet her. She is actually the first ever crafter that I will be meeting personally. I don’t go out often and I only mostly interact with the crafting community online. So this meeting will really be memorable and fun since we will be looking for supplies in the shopping mecca of Manila. I can’t wait to see all those supplies out there!

Oops. Sorry. I got carried away. Let me continue with the altered box. Heh. I have these medium-sized kraft boxes from one of my divi trips two years ago. I had intended to use them to hold Christmas gifts that particular year, but I only used two of the twelve that I bought. I used six of them to store dried flowers and seeds from three bags of potpourri I got from Papemelroti and the rest were packed away at the top of my closet.

I thought of giving her a small gift when we get together, something that I made. I figured that I could make book page embellishments and paper clips like the ones I made for the guestbook commission. With that in mind, I would need something to hold all those small things and tada! What about a box? an altered one? I could surely make one since I’ve already something similar before. Of course I then remembered my stash of round boxes waiting to be noticed. Yay!


I covered the inside of the box with several coats of gesso as well as all the parts of the lid. After the inside part dried, I gessoed the bottom of the box and the rim. Then I painted the lid and the bottom of the box with black acrylic paint. I left the inside white.  

I adhered two strips of patterned paper (8” in length each) onto the outer part of the box and sanded the edges. I inked them afterwards.


As for the lid, I coated the top with crackle paint and affixed a length of lace trimming around the side. I then proceeded to decorate. I added a die cut with an alpha tile onto the box for a finishing touch. I just love decorating. I can’t wait to start my art journal! Of course I am more excited of decorating the cover. Haha. I hope I would be able to do it soon. Gah. I’d really love to have an art journal of my own. I’ll post some photos as soon as I finish it.

That was another fun project. I hope she likes the box and the fufus inside. Thank you for stopping by! Have a wonderful week!

P.S. I forgot to show the little embellishments I made to go inside the box.


I was supposed to put a tissue paper inside before placing the goodies, but the clips just wouldn't fit so I left it as it is.


I ran out of the bigger silver paper clips so I just used the small ones covered with vinyl. Gah. I am enjoying making cutesie paper clips. I'll try my hand on small origami flowers for the embellishment some time soon. For returning clients, I will be giving a set for free (instead of the card/bookmark since I already gave them one when they ordered the first time). I'll make other kinds of freebies as well. Thanks again for looking!

MATERIALS AND TOOLS USED: Kraft box, Graphic 45 8x8 French Country Collection, Rives Board Paper Tradition Black, Tim Holtz Idea-ology Alpha Tiles, paper flowers, paper ferns, Eno Greeting Wooden Embellishments, wooden flowers, metal charms, beads, buttons, Ranger Distressed Crackle Paint Rock Candy, Marie's Gesso, Pebeo Acrylic Colour Mars Black, Stanley Glue Gun, Beauty Premium Pigment Ink Black, Spellbinders Nestabilities Splendid Circles and A2 Card Creator Tranquil Moments, Cuttlebug Machine V2 (For the loose embellishments: Bevania Splendorgel Board Paper Ivory, book pages, Ranger Archival Ink Jet Black, Ranger Distressed Crackle Paint Rock Candy, Kaisercraft Clear Stamps Botanical Odyssey, Bo Bunny Clear Stamps Flourishes and Such, Inkadinkado Clear Stamps Inspirational Lift and Bird House, paper clips, self-adhesive crystals, black felt, Stanley Glue Gun, glue stick)