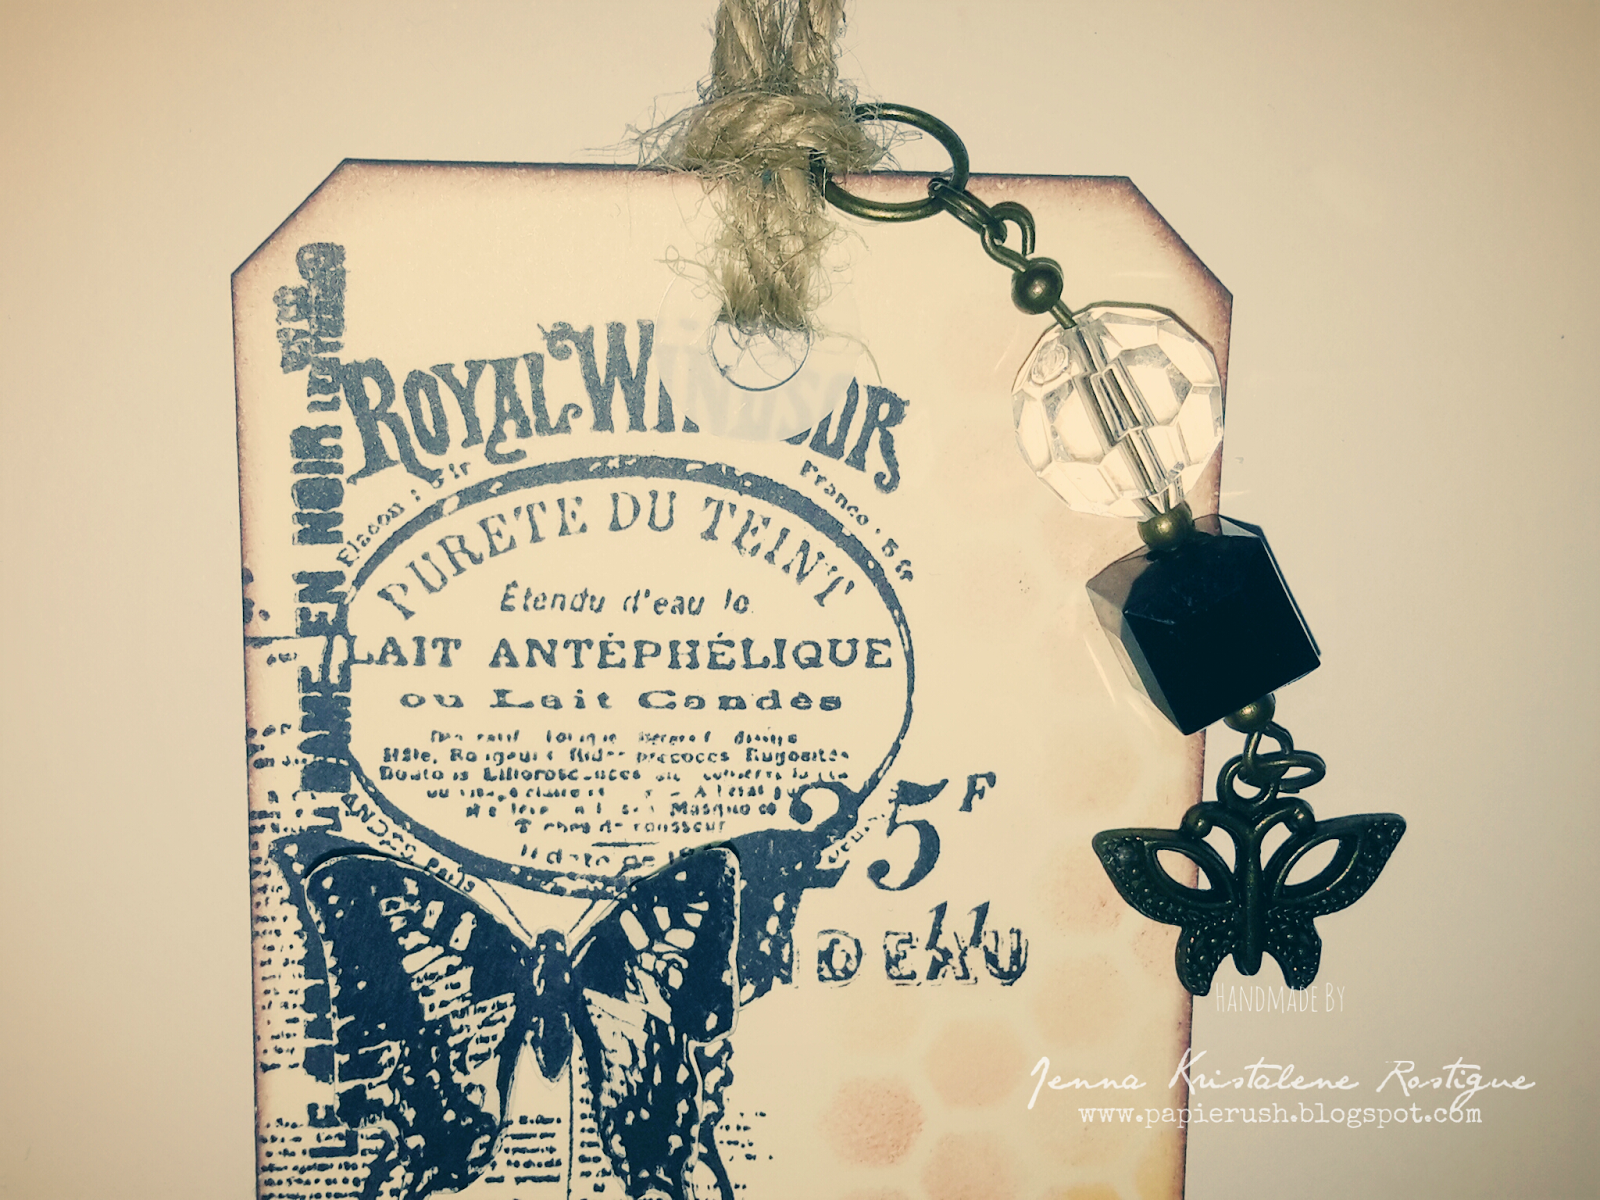
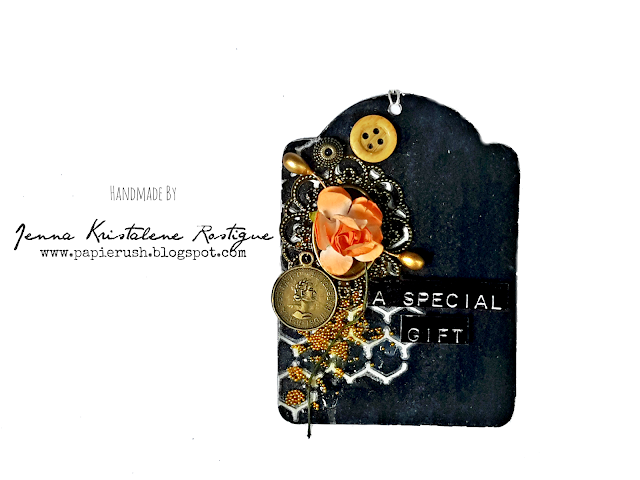
Hello! It's me again. I am going to show you the third set of tags that I made for the Design Team. I have experimented a bit on this project and I like how it turned out. See for yourself.




This is what the back looks like. I could write a short message there for the recipient.

I made two color variations. The first set had orange for the highlight while the other set had white and dark green.

The components of the tags are the same-shimmer, molding paste, embossed image, metal charms, buttons, phrase, paper flowers, etc. I just varied the design and the layouts.
I found an amazing thing or two while making these tags. The base is chalkboard paper and I discovered that it works well with watered down metallic acrylic paint. See the whitish shimmer in the background? That's the watered down acrylic paint. It does not look this great with other board papers. That was cool!


So how did I make these pretty tags? The steps are simple, but it takes some time to complete them since there is a lot of layering of different mediums involved.
First, I cut out the tags from the chalkboard stack. I used the tag template from the Graphic 45 8"x8" paper pad. Then I punched the holes where the string would go in. I mixed a little bit of water to the FolkArt metallic acrylic paint and brushed it on the front of the tags. After drying, I proceeded with the stencils. I used light molding paste for this. I dabbed gold poster paint on some of the tags before ink embossing. Then I adhered the embellishments. In some of the tags, I brushed micro pearls to add more flair to them.
Since I do not have a sticker sheet of phrases, I typed the phrases in MS Word using the Plastique font and highlighted the words in black. I printed the sheet with my HP Inkjet printer (I need a laser one!). After cutting out the appropriate phrases, I coated them with Distress crackle paint and adhered them onto the tags with foam tape for dimension. Oh, and lastly, I tied white strings on them.


Gah. I adore these tags. I don't want to part with them. TT.TT. But I will have to give them to my friends for the holidays. I hope they like them because I really love them. I am going to tie them onto Kit Kat bars. Yum!
If I may say, that was an awesome project! Thanks for looking.
MATERIALS AND TOOLS USED: DCWV Chalkboard Stack 12"x12", FolkArt Metallic Acrylic Colour Pearl White, Golden Light Molding Paste, The Crafter's Workshop Stencils Mini Art Is, Mini Punchinella, Mini Chicken Wire Reversed and Mini Brocade, Reeves Poster Color Gold, micro pearls, Ranger Distress Embossing Ink, Ranger Embossing Powder Super Fine Black, Ranger Heat It Tool, Prima Marketing Clear Stamps Vintage Vanity and Bubbles, metal charms, paper flowers, beads, buttons, crystals, Eno Greeting 3D stickers, stamens, HP Inkjet Printer, Ranger Distress Crackle Paint Rock Candy, ticket punch, string