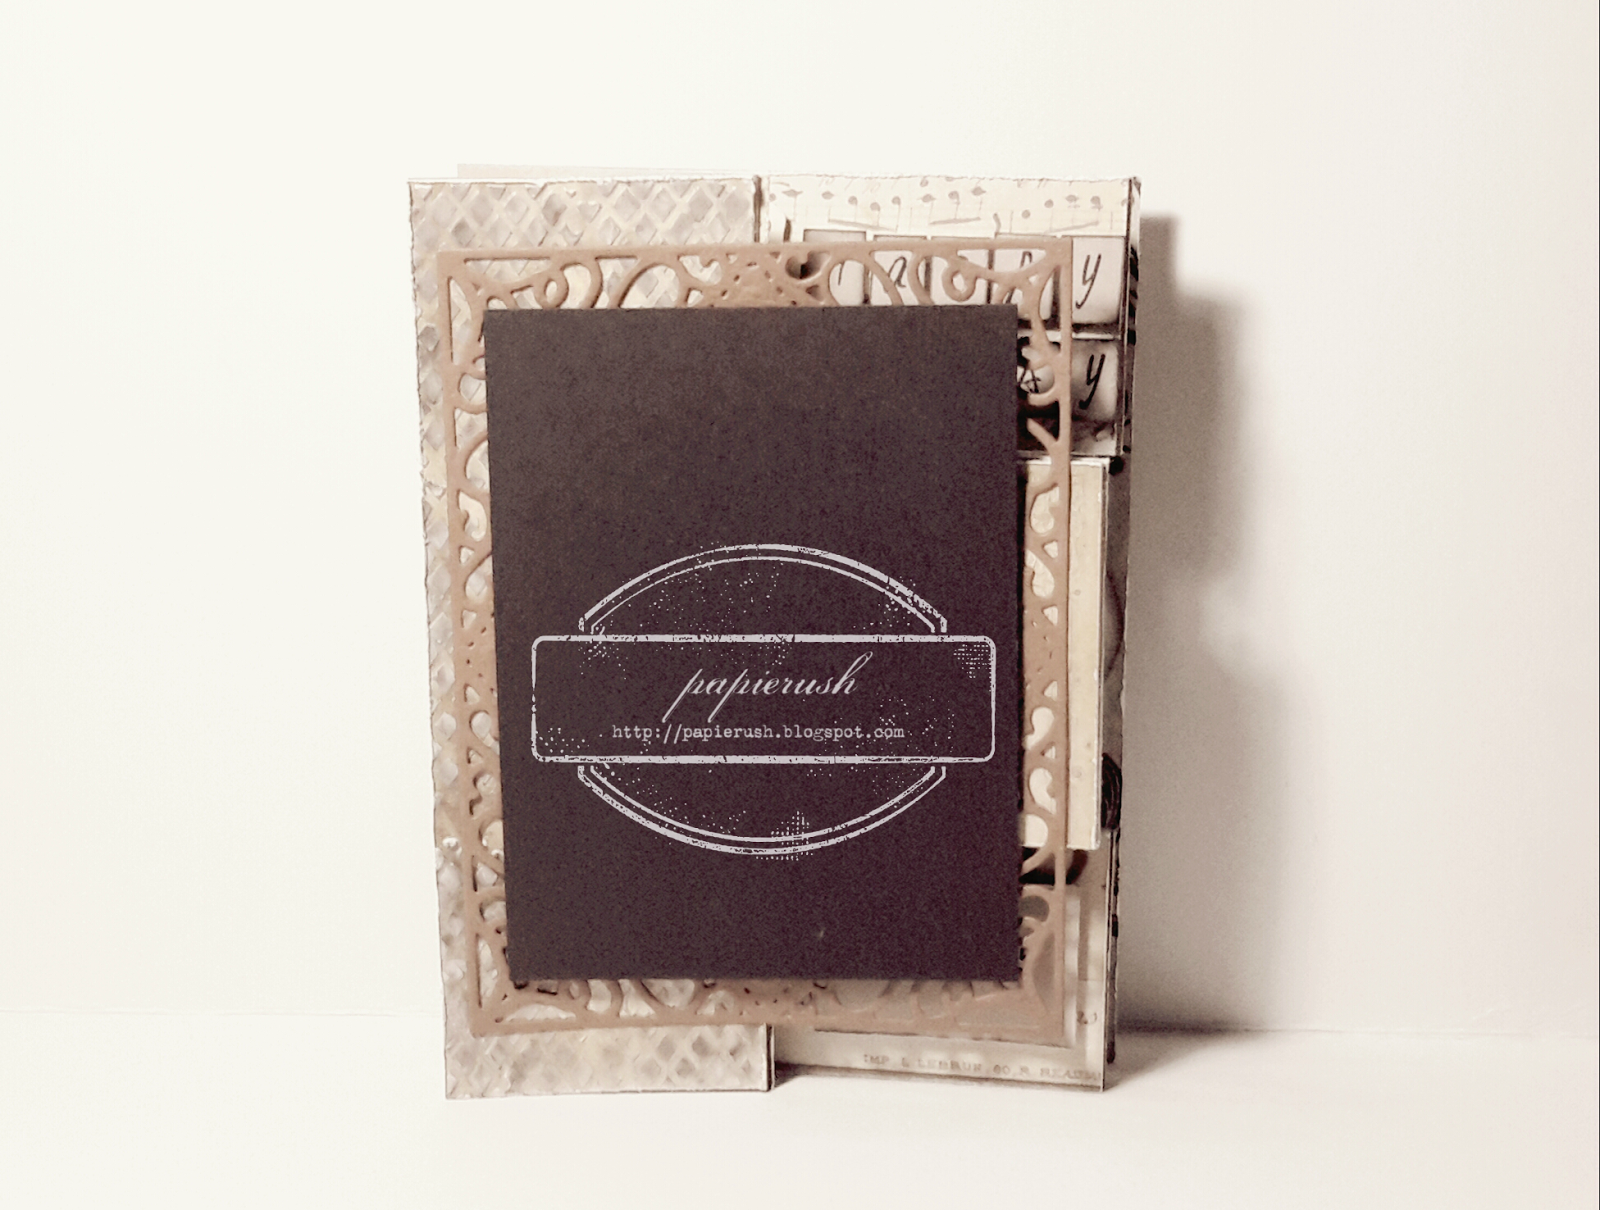
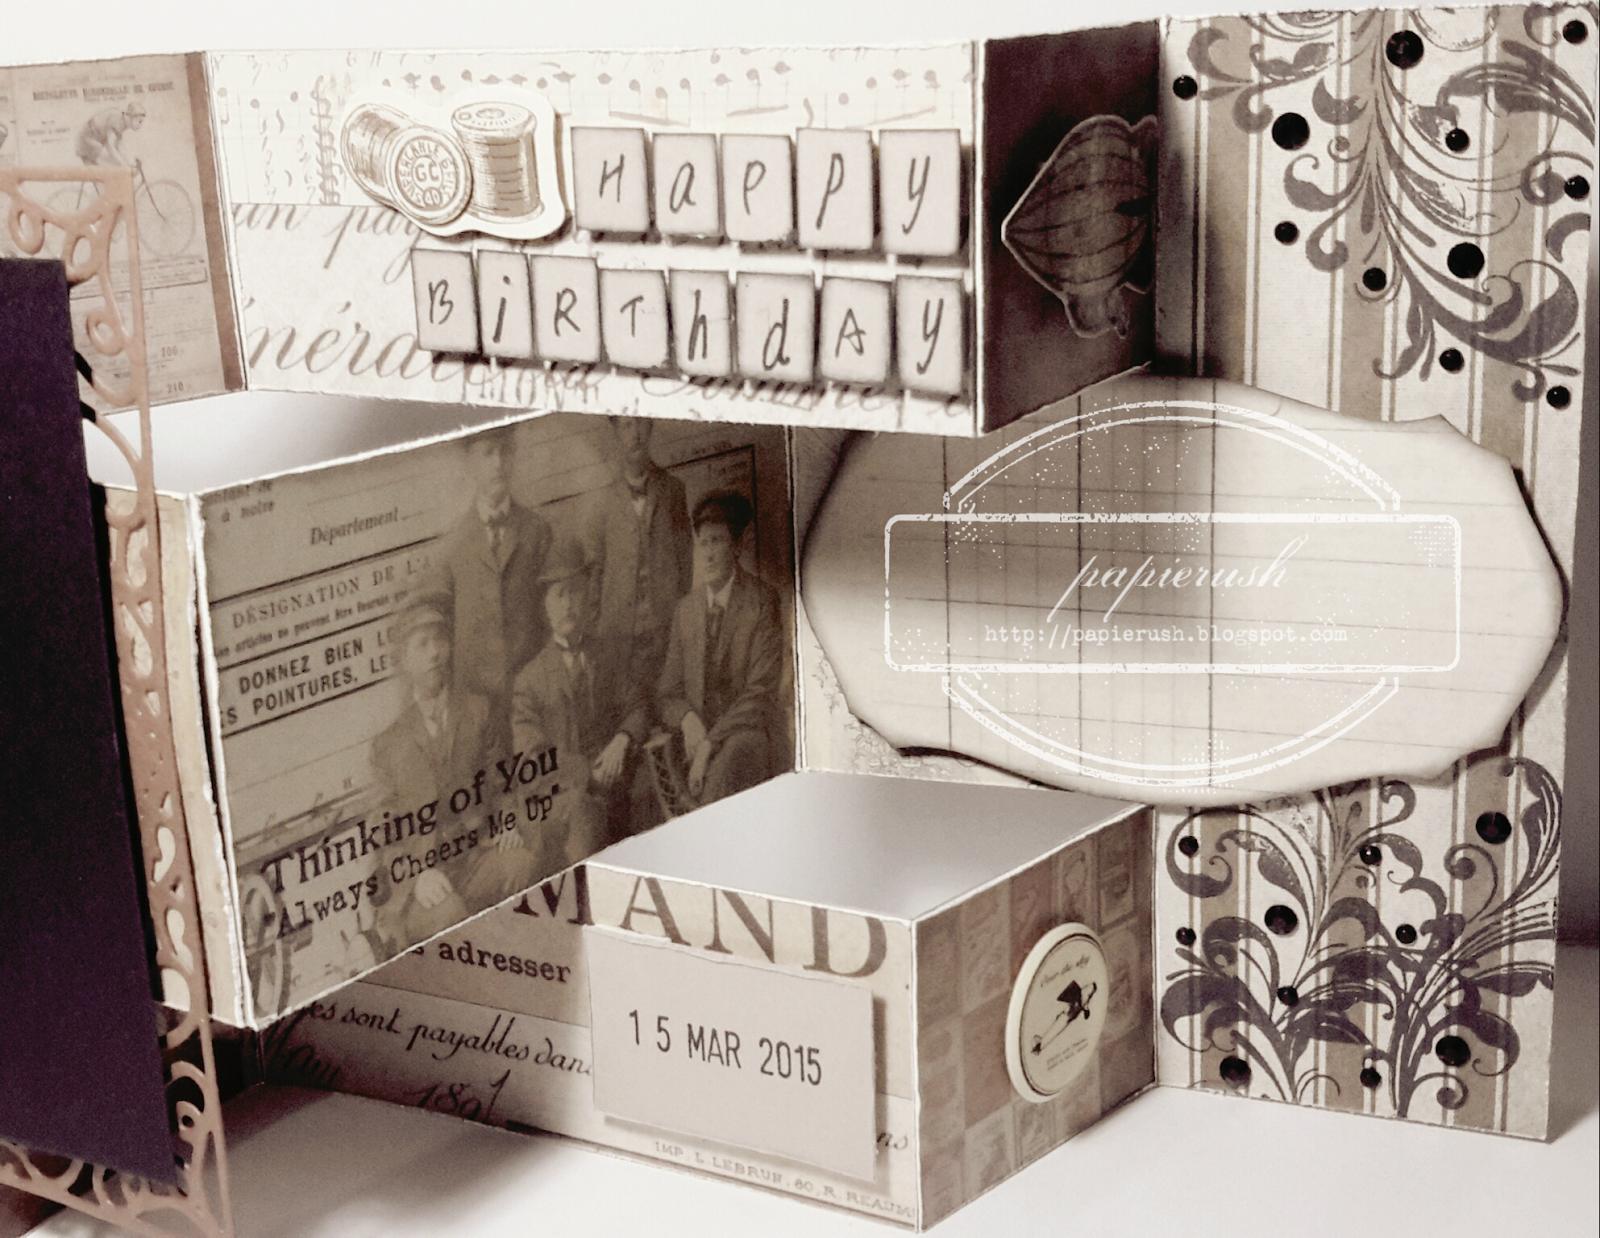
Anyhow, I am here to share to you several cards and whatnots that I made over the past few weeks as a way of thanking the owner and Design Team Leader of Bee Happy Crafts who was so generous to us for providing such lovely tools and supplies and for appreciating what we do.
I haven't been able to show my gratitude sooner (last October when my third month as a Design Team member ended), but I really wanted to give her a gift (or should I say several gifts) as a token of my gratitude. I just was not able to send them to her sooner. As the saying goes, 'It is better late than never.' Heh. I hope she likes them. Here they are.
1. Thank You Card
This is not what I had in mind when I was picturing out how the card would look like, but as I was making it, things started to happen. Hah. It was supposed to be orange and blue, but it turned out to be green instead of blue. I can't figure out how that came to be. I still had fun making it though. It is a little bit weird, but I think it is okay.
 |

CARD# HPJ-2016-01: Thank You So Much
I distressed the papers from the Tim Holtz paper stash. I stamped on the surface and embossed the image using weathered white embossing powder. After which, I adhered the embellishments. I added glass bead medium for texture glazed the embellishments. I sprayed glimmer mist as an afterthought. Voila! There goes my thank you card.
|
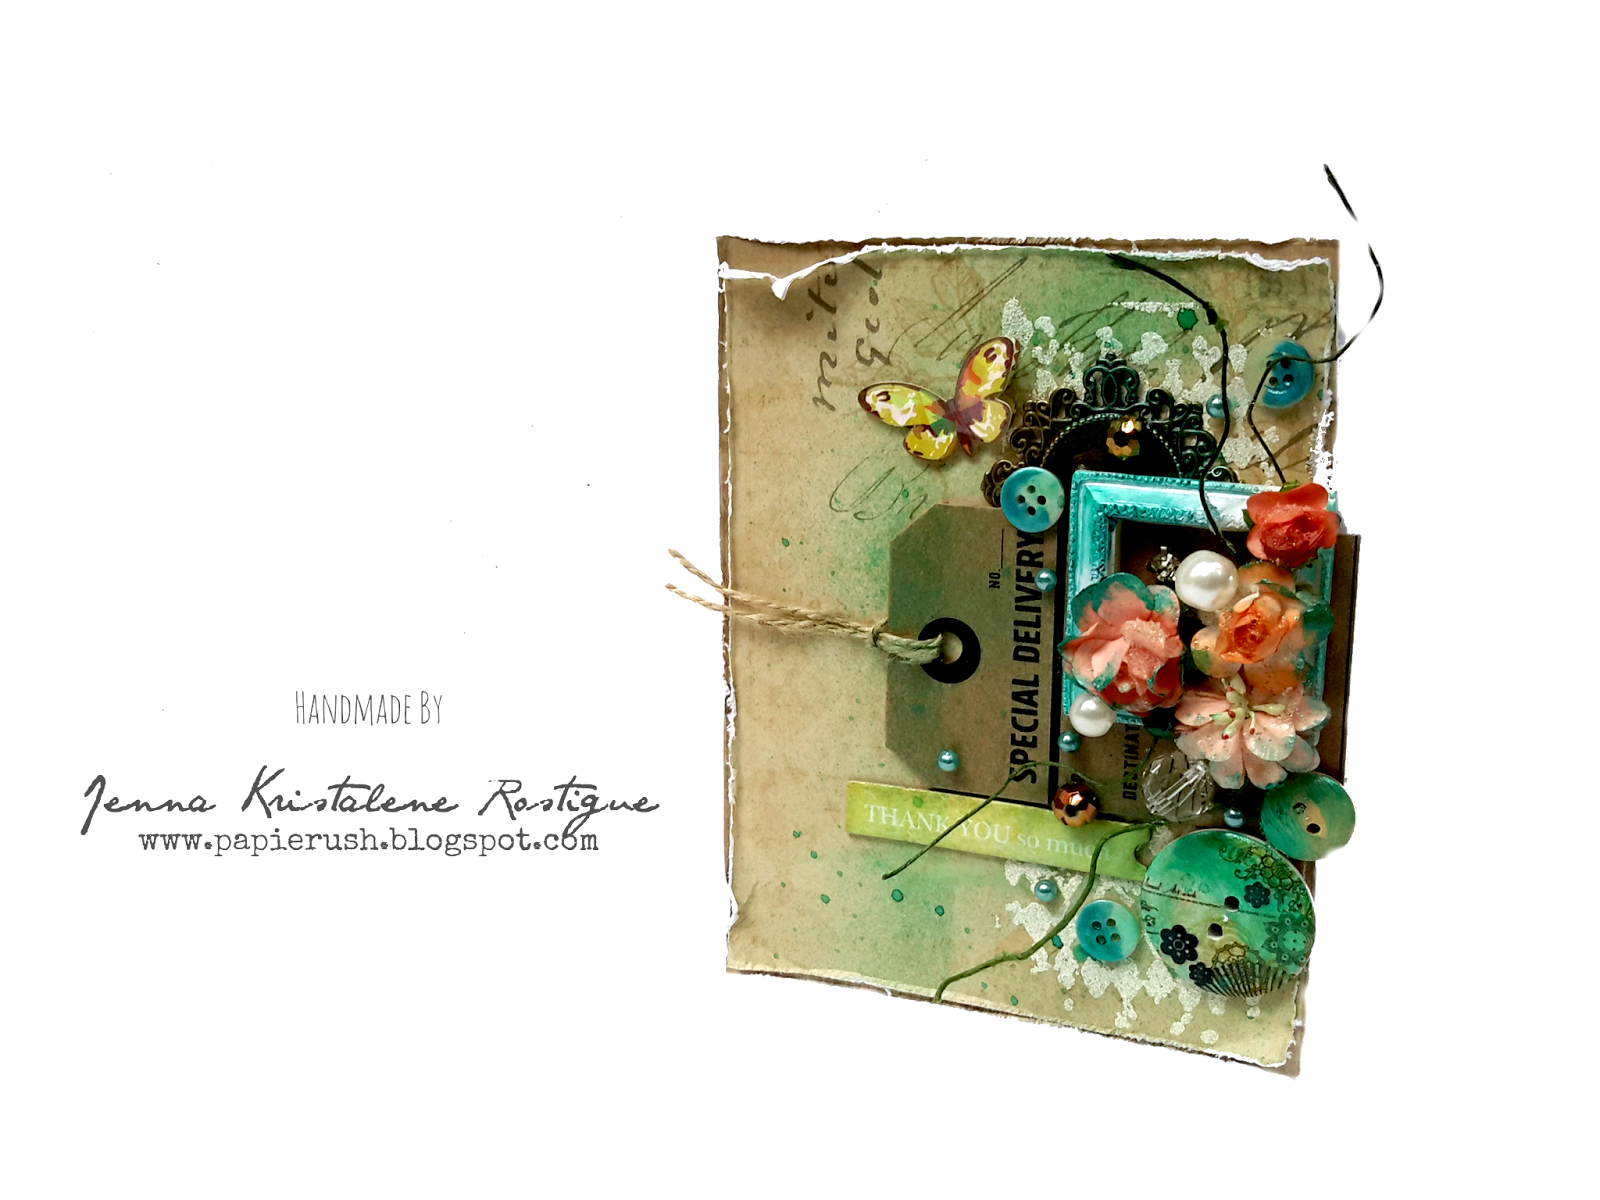
MATERIALS AND TOOLS USED: Bevania Splendorgel White, Eno Greeting 8"x8" paper pad Comfortable Afternoon, Papemelroti Tag, chipboard sticker, Eno Greeting 3D sticker, Eno Greeting resin embellishment, buttons, paper flowers, beads, self-adhesive crystal, Kaisercraft Clear Stamps Diamonds, Ranger Archival Ink Jet Black, Ranger Embossing Powder Weathered White, Ranger Heat It Tool, Tattered Angels Glimmer Mist Bahama Blue, FolkArt Acrylic Paint Emerald Green, Stanley Glue Gun
2. Blank Cards
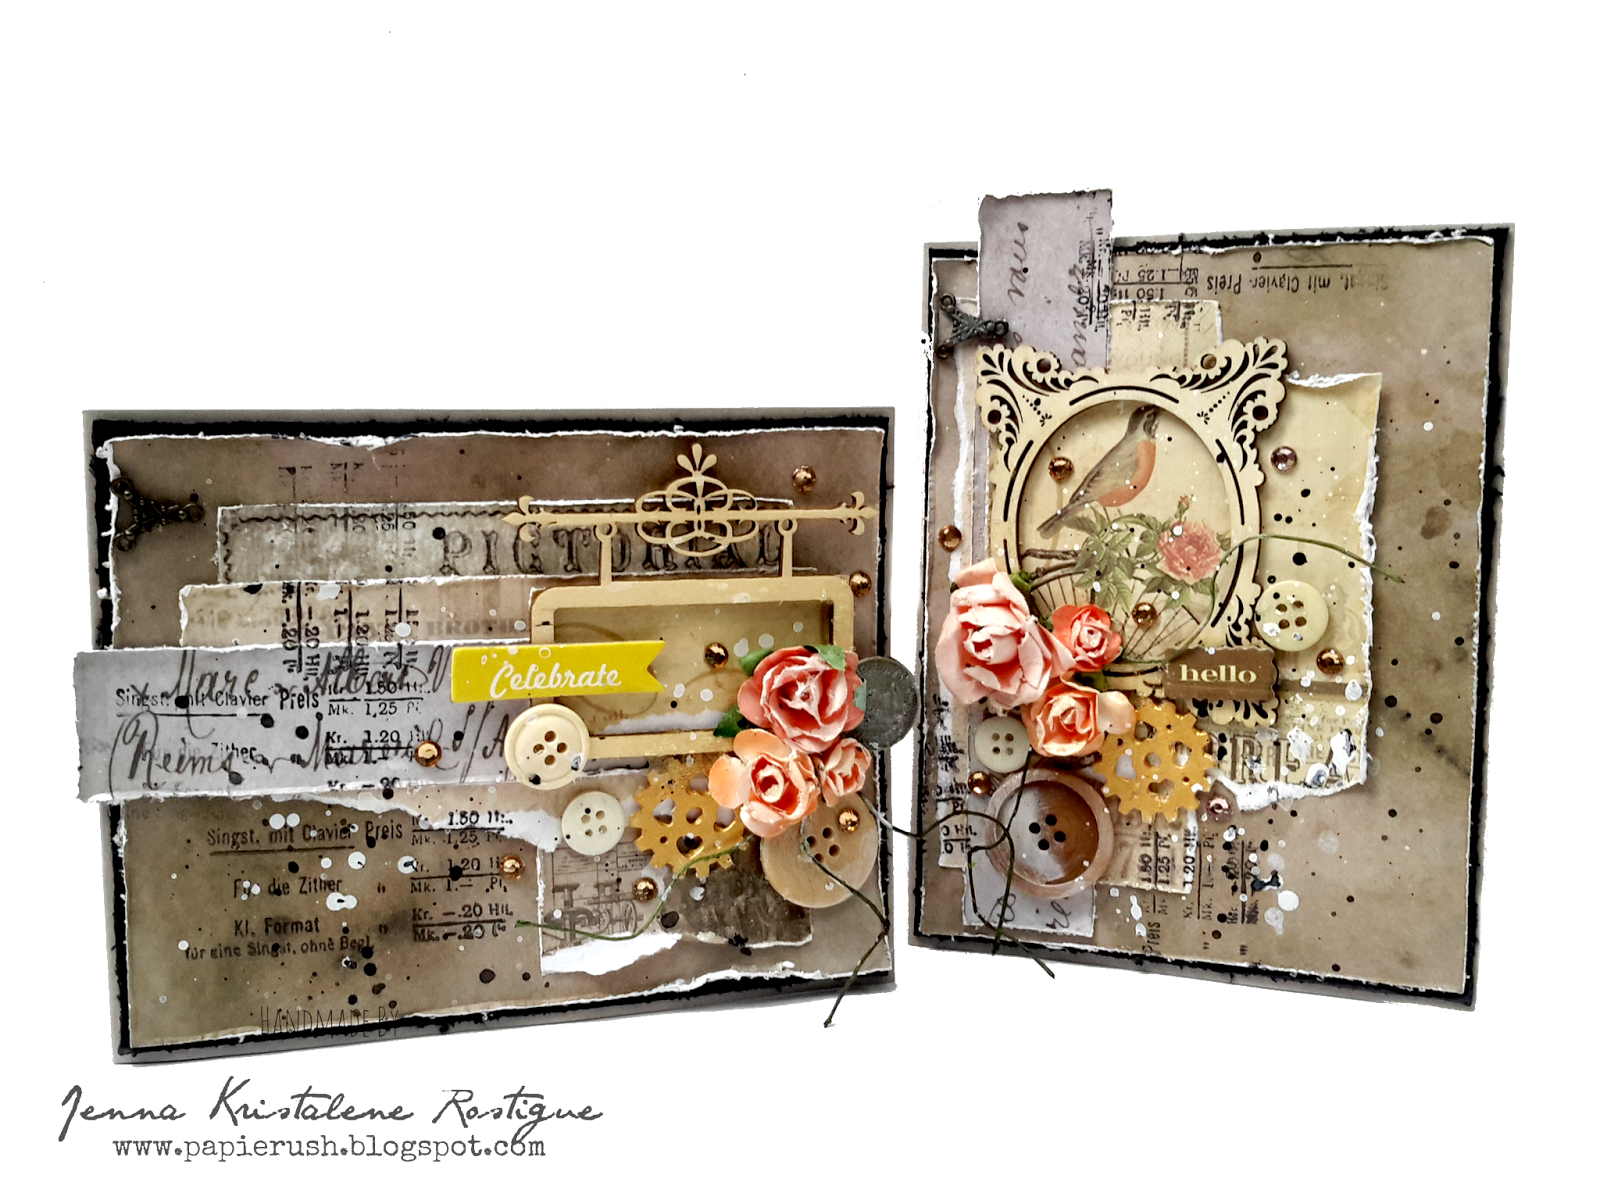
I made a set of blank mixed media cards which she can give to her friends on their birthday or to just say hi. I actually did a little experimenting on these cards. I changed the process which I usually follow when I make mixed media cards. I tried to mimic Elena Morgun's way of making her cards. Her process is great, but I think I will just stick to mine. It felt a little awkward and weird. I am more comfortable with how I do things, but I will definitely use some of her techniques like using chipboard for added dimension and completing the front of the card before adhering it onto the card base. I love her works. I wish I could be half as good as her.
 |
| Basically, I made the cards using similar materials. I just changed the layouts and the sentiments. For each card, I layered several bits of patterned paper and topped it with various embellishments. I splattered some paint over it to make it more interesting and of course I added a couple of crystals because they are one of my staple supplies in making cards. Heh. |
 |
| CARD# HPJ-2016-02: Hello |


 |
| CARD# HPJ-2016-03: Celebrate |


 |
| CARD# HPJ-2016-04: Enjoy |


 |
| CARD# HPJ-2016-05: Birthday Wishes |


MATERIALS AND TOOLS USED: Rives Board Paper Tradition Black, Moods Board Paper Stormy Grey, Tim Holtz Paper Stash 8"x8" Miscellaneous and French Industrial Revolution, printed texts, Eno Greeting Wooden Flourishes, paper flowers, metal charms, beads, self-adhesive crystals, buttons, brads, shrink plastic embellishments, Eno Greeting 3D stickers, Prima Marketing Clear Stamps Vintage Vanity Musica, Bo Bunny Clear Stamps Sentiments, Ranger Archival Ink Jet Black, The Crafter's Worshop Mini Stencil Chicken Wire Reversed, Golden Light Molding Paste, Golden Glass Bead Medium, Golden Soft Gel Medium, Pebeo Gesso, Reeves Acrylic Paint Mars Black, Ranger Embossing Ink Pad, Ranger Embossing Powder Super Fine Black, Ranger Heat It Tool, Stanley Glue Gun
3. Tags
I love how the Christmas tags I made for the Design Team last year turned out and I wanted to use the same principle in making another set. Here is what I came up with. (Sorry for the stenciled part. I must have overheated the molding paste. TT.TT.)


 |
| TAG# HPJ-2016-01: Cherish |

 |
| TAG# HPJ-2016-02: Remember |

 |
| TAG# HPJ-2016-03: Moments |

 |
| TAG# HPJ-2016-04: Memories |

P.S. For some reason the color of the text would not change to black no matter how many times I try so please bear with it. I'll figure something out later. Also, I have yet to add the paper clips, bookmarks and altered box. I will post them as soon as I finish editing the photos. Thanks for looking today! Have a great week!