Monday, December 28, 2015

DT PROJECT FOR BEE HAPPY CRAFTS: Christmas Tags

Hello! I've made a set of Christmas tags using the journaling cards that came in the package.

If you look at the back, there is enough space to write some message for the recipient.

I was inspired by Elena Morgun's Tags Tutorial. I love the layering and the use of gel mediums! The ones that she made in the tutorial were nautical. 


Mine are supposed to be for Christmas so I used some scraps from my other projects and some embellishments from my stash to make the tags Christmas-y. Here is what I came up with.


I cut tags out of the journaling cards and punched the holes where the twines would go in. To make one tag, I adhered two of the cut journaling cards. The front part has the pattern while the back part has the lines for writing the message.

Just like what Elena did, I layered several bits of scrap paper, die cuts, stickers, charms and what-not. I just went crazy with it. I brushed the surface with glass bead gel medium and I also added gold micro pearls on some areas to make them interesting.


This is what the back of the tags look like.


I enjoyed making these tags. I may make some more in the future. I hope you like them. Thank you for looking! Have a wonderful day.

MATERIALS AND TOOLS USED: Greyson Journaling Cards, Moods Board Paper Storm Grey, Pink Paisley 6x6 paper pad Snow Village, Echo Park 6x6 paper pad Reflections, rubber stamps, Ranger Archival Ink Jet Black, Golden Glass Bead Gel, Golden Soft Gel Gloss, gold micro pearls, metal charms, baker's twine, pompom ribbon, lace trimming, Sizzix Dies Love Gears, Cuttlebug Machine V2

CRAFT SUPPLIES

Hi there! I'm going to share the supplies that I bought a couple of weeks ago. The gel mediums are great! I've used them on my projects and I really like how they turned out. There is one other medium that I want to have though. It's the Golden Crackling Paste. I hope to have it soon.


Anyway, I also bought gesso. I was working on a box for a mini when I ran out of gesso. I was using Reeves then and I liked the rough finish, but unfortunately, the store where I got it did not have any stock available. [Sigh.] I really need it so I looked for other brands. I found Pebeo in a 500mL jar. I haven't tried this brand before (for gesso) so I didn't have any idea as to what the finish would be. It turned out to be smooth which is the exact opposite of Reeves, but I quite like it. What just disturbed me was the Modge Podge. I should not have bought the Luster one even if I couldn't have the matte. It was so sticky even when it dries that I want to make another box for the mini. It sort of ruined everything. Tsk. I think I will just buy the bigger bottle next time so the supply would last longer. Hmf.

So that was that. I will definitely be buying more products along the way and use them on various projects. I will share them here as well. Thanks for stopping by today!

DT PROJECT FOR BEE HAPPY CRAFTS: Countdown to Christmas

Hello again! I've been quite busy these past few weeks that I was not able to update my blog nor my other SNS accounts. This project was for the month of October. I still have several projects to be posted after this for the previous months. I hope that you check them out as well.


I  did this ages ago, but I only had the time to post it now. I still have a bunch of burlap stack from September and I wanted to alter another canvas. In order to fit with the theme for October, I made it a home decor--a sort of countdown to Christmas. I used one of the papers from Tim Holtz Menagerie Paper Stash with a pretty bird on it which is redolent of the previous month's main 'object'. 


Then I added a piece of chalkboard stack where I could write the number of remaining days before Christmas. 


I really love how it turned out. The steps in making it are really simple. I covered the canvas with burlap. I used hot glue to adhere it onto the canvas. I stenciled on the frame. I added the designer paper to cover the center of the frame. I then affixed the embellishments. I punched a hole on a diecut out of a piece of chalkboard stack and attached a hook to it so it could hang onto the flourish. 


That was that. It was an easy and fast project to make. Thank you for stopping by today. I hope you check out my next posts as well. Have a great week!

MATERIALS AND TOOLS USED: Conda 8"x10" canvas, DCWV Burlap Stack 12"x12", DCWV Chalkboard Stack 12"x12", Tim Holtz Paper Stash 8"x8" Menagerie, paper flowers, Rouge de garance Chipboard Elements Valse and Passiflore, stamens, metal numbers, Prima Marketing Stencils 12"x12" Harlequin, The Crafter's Workshop Stencils Mini Art Is, Golden Molding Paste, Stanley Glue Gun, Spellbinders Nestabilities Fleur de Lis Squares, Cuttlebug Machine V2

HELLO, I'M BACK


Hi! It has been quite some time since my last post and here I am again trying to catch up. I have made several projects during my hiatus which I am going to post here in a bit. So please be warned that I will be bombarding my account with late posts. Heh. They are mostly for Christmas. I hope you like them.

Sunday, November 8, 2015

PAPER BAG MINI # PR-2015-02: Memories

Hi! I wanted to share another commission that I made for a friend, but unfortunately, I was not able to take photos of the finished project. I was in a rush so I only have the ones for the base which was not yet decorated. I mainly used green because it is the favorite color of the recipient. I may not be able to show you how it looked here, but let me just tell you what I did to the pages. I added paper flowers and stickers as well as die cuts. I made a lot of tags and journaling cards which I placed at random inside. There were paper clips and whatnots. 


MATERIALS AND TOOLS USED: White paper bags, chipboard, Best of American Crafts Sampler Stack 12"x12", Best of Crate Paper Sampler Stack 12"x12", paper flowers, Eno Greeting Stickers and die cuts, lace trimmings, ribbons, Rouge de garance Chipboard Elements Valse and Passiflore, Kaisercraft Clear Stamps Friendship, Ranger Archival Ink Jet Black, Ranger Distress Ink Mini Old Paper, Reeves Gesso, ticket punch, Stanley Glue Gun, Die-namics Dies Mini Circle Doilies, Cuttlebug Machine V2

PAPER BAG MINI # PR-2015-01: Treasures of the Heart

Hello there! I haven't posted for a long time so I am bombarding my blog with late posts. This one here is another commission from Ate Nadia. She wanted to give something to her friends in Slovenia (I might be wrong about the country, but she said she'll be sending it abroad.) They are a couple and their favorite colors are pink and blue so she asked if I could make a mini using these colors. I had a slight problem with the pink part because she asked me to use bright pink on the cover and I don't usually use this color on my projects so I have limited supplies. I rummaged through my stash and came up with this for the cover.


I used Liquid Pearl to add more pink element to the cover.


I affixed a couple of paper flowers, 3D stickers and buttons to add more dimension.


I learned a new technique of putting the ribbon to close the album from Cathy without punching a hole onto the cover or adhering the ribbon underneath the designer paper. What a very neat idea! Since I do not own an eyelet setter, this technique allows me to put a closer without exerting too much effort. All I need is hot glue and filigree!
I did not add charms on the spine, but only a filigree. I wanted to stamp or write something at the bottom, but I refrained from doing it. It would be up to the couple to put something there.

She liked it. I hope the recipients would like it too.

By the way, this is the first time that I tried this type of mini album. I got the idea from Cathy McGrath who used Kathy Orta's hidden hinge technique. I was looking through a couple of mini album tutorials when I stumbled upon hers on Youtube. I basically followed the instructions on her video, but of course I made changes to the measurements. You can find her tutorial on her channel Megs Garden.

Hmn. I tried to upload a video of the mini, but the file might be too big for blogger. It would not take it. So, I will just post it on my Flickr account. You can watch it here.

I am quite happy on how this mini turned out. I will make another one as a wedding present for Ate Lablab and Kuya Daniel. Thank you for stopping by today!

MATERIALS AND TOOLS USED: Small white paper bags, Elit Board Paper Vellum Pale Cream and light blue, Elit Rhapsody Specialty Board Royal Blue, Authentique 12"x12" Genuine Collection Friendship, Sampler Pack, Eno Greeting 12"x12" paper pad Elegant Flowers, Eno Greeting 3D stickers, Eno Greeting Die cuts Elegant Flowers, My Mind's Eye Chipboard Shapes Memorable "Perfect", Dear Lizzy 6x6 paper pad Serendipity and Polka Dot Party, lace trimmings, shrink plastic embellishments, organza ribbon, paper flowers, silk flowers, buttons, brads, crystals, Kaisercraft Clear Stamps Butterflies, Botanical Odyssey, True Friendship and Bundle of Joy, Bo Bunny Clear Stamps It Is Written and Gateway, Inkadinkado Clear Stamps Inspirational Lift and Bird Mini, Prima Marketing Vintage Vanity, Something Blue, Ranger Archival Ink jet Black, Ranger Distress Ink Walnut Stain and Tattered Rose, StazOn Midi Ink Pad Ganache and Cloudy Sky, Ranger Liquid Pearls Flamingo, Spellbinders Nestabilities Dies Captivating Square, Tranquil Moments, Valiant Honor and Adorning Labels Twenty-Five, Cuttlebug Machine V2, Ranger Heat It Craft Tool, Stanley Glue Gun

PAPER FLOWER POMANDERS

Hello! I have been working on and off on some thirty-four paper flower pomanders for my friends' wedding. (I ran out of punched paper flowers so I ended up with only thirty balls.) They are really easy to make, but it takes a lot of time to complete one. You can find a tutorial on Pizzazzerie.

  
MATERIALS AND TOOLS USED: 4" and 6" Styro Balls, Stardream Paper Gold, Steel Pins, EK Success Retro Flower Punch

OCTOBER HAUL

Hi! How are you? I haven't posted for almost a month. I actually went to the mall several times last month to look for something to wear on a wedding and a year end party that I needed to attend. It was pretty tiring to look for a dress, but it just somehow felt better when I dropped by Landmark. They have a lot of goodies there. I took home the following:


Cosmetic brushes and sponges. I use them to apply paint and ink instead of makeup.


Pretty clear stamps


The card kit contains several die cuts that I could use on some paper bag minis.


Sheets of 3D stickers from Eno Greetings


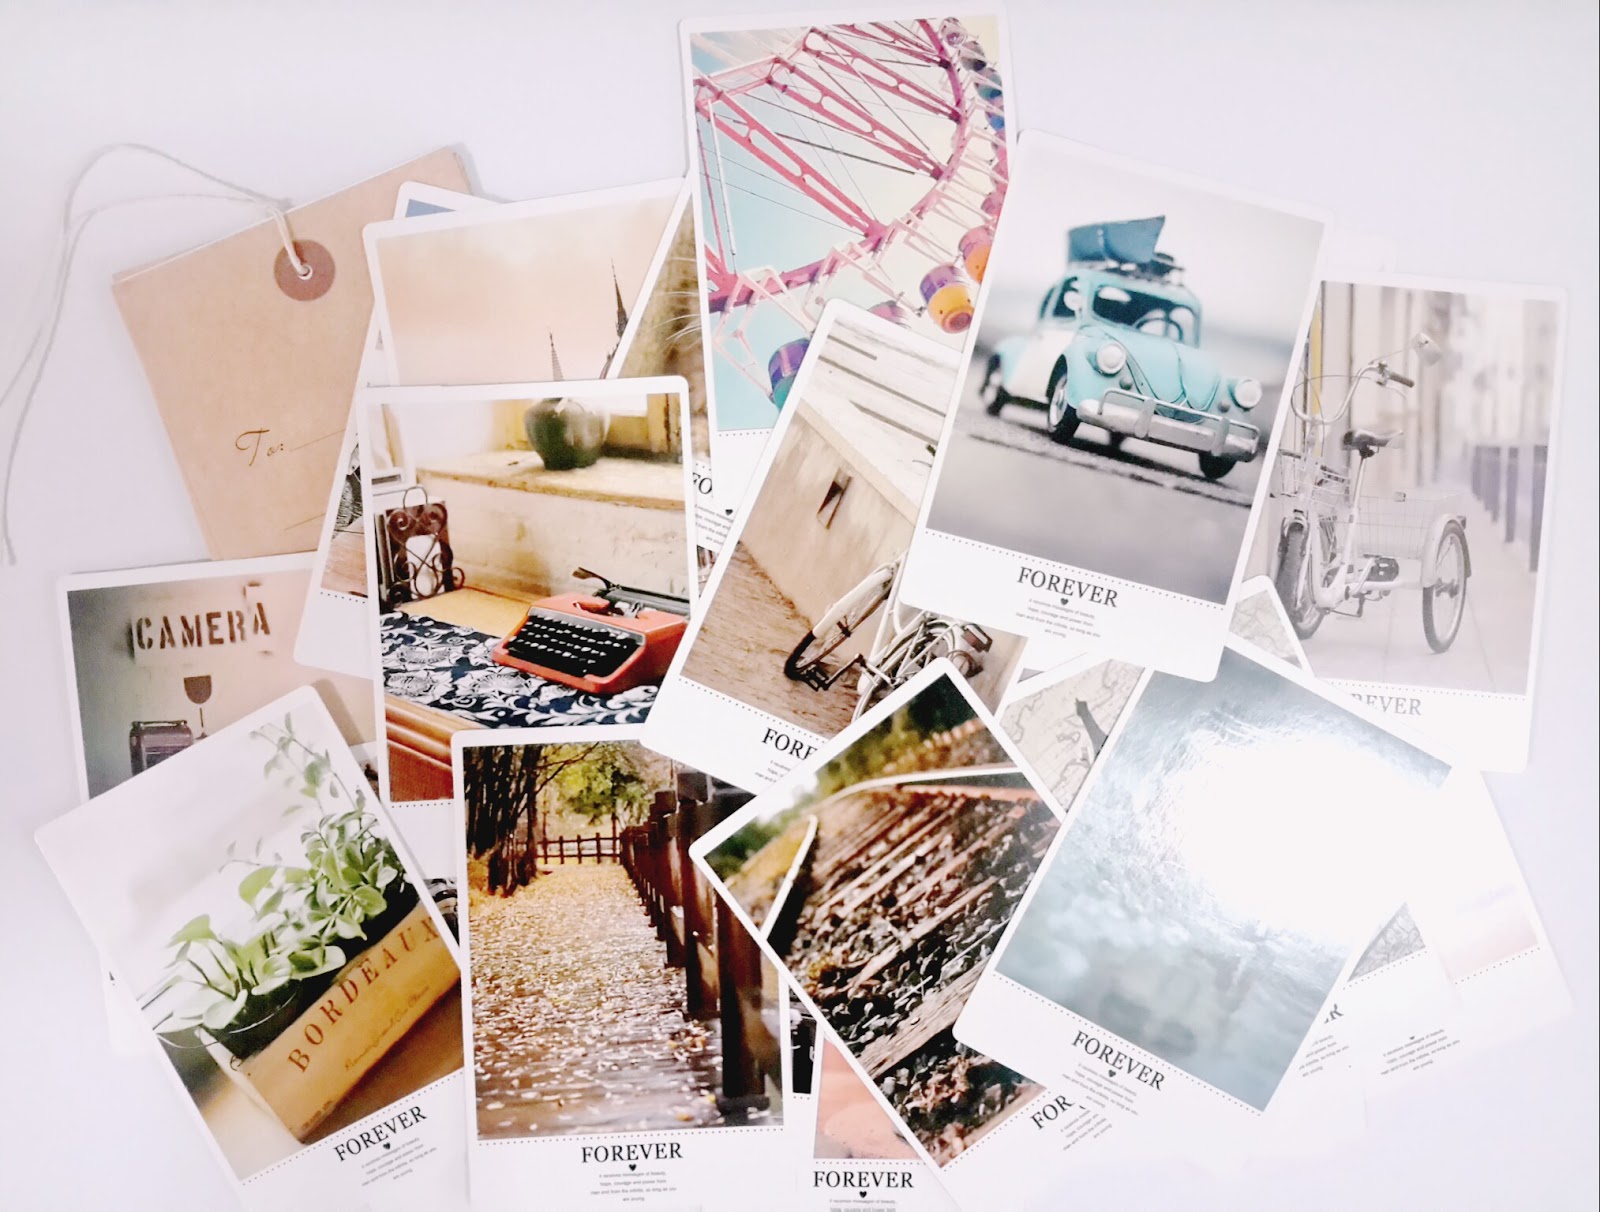
A pack of pretty postcards 


Then I went to SM and bought these:


I bought these paper flowers from Notions (3rd Floor SM Department Store).


I got these from Papemelroti. I bought 2016 planners, envelopes, foam stamp and bells. 

You will see some of these supplies on the projects that I am going to post after this. Thanks for looking!