Sunday, November 8, 2015

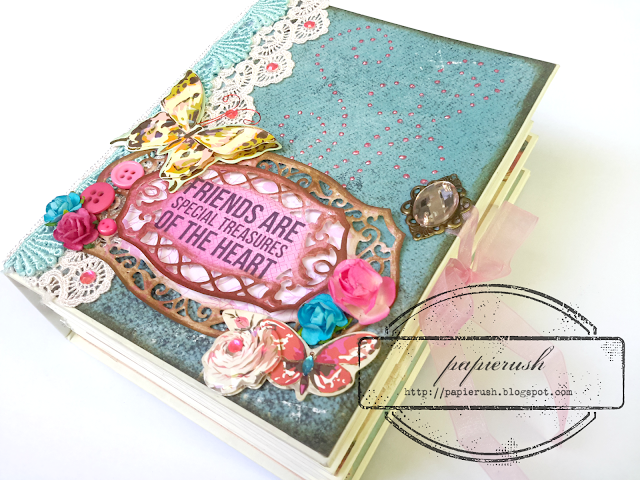
PAPER BAG MINI # PR-2015-01: Treasures of the Heart

Hello there! I haven't posted for a long time so I am bombarding my blog with late posts. This one here is another commission from Ate Nadia. She wanted to give something to her friends in Slovenia (I might be wrong about the country, but she said she'll be sending it abroad.) They are a couple and their favorite colors are pink and blue so she asked if I could make a mini using these colors. I had a slight problem with the pink part because she asked me to use bright pink on the cover and I don't usually use this color on my projects so I have limited supplies. I rummaged through my stash and came up with this for the cover.


I used Liquid Pearl to add more pink element to the cover.


I affixed a couple of paper flowers, 3D stickers and buttons to add more dimension.


I learned a new technique of putting the ribbon to close the album from Cathy without punching a hole onto the cover or adhering the ribbon underneath the designer paper. What a very neat idea! Since I do not own an eyelet setter, this technique allows me to put a closer without exerting too much effort. All I need is hot glue and filigree!
I did not add charms on the spine, but only a filigree. I wanted to stamp or write something at the bottom, but I refrained from doing it. It would be up to the couple to put something there.

She liked it. I hope the recipients would like it too.

By the way, this is the first time that I tried this type of mini album. I got the idea from Cathy McGrath who used Kathy Orta's hidden hinge technique. I was looking through a couple of mini album tutorials when I stumbled upon hers on Youtube. I basically followed the instructions on her video, but of course I made changes to the measurements. You can find her tutorial on her channel Megs Garden.

Hmn. I tried to upload a video of the mini, but the file might be too big for blogger. It would not take it. So, I will just post it on my Flickr account. You can watch it here.

I am quite happy on how this mini turned out. I will make another one as a wedding present for Ate Lablab and Kuya Daniel. Thank you for stopping by today!

MATERIALS AND TOOLS USED: Small white paper bags, Elit Board Paper Vellum Pale Cream and light blue, Elit Rhapsody Specialty Board Royal Blue, Authentique 12"x12" Genuine Collection Friendship, Sampler Pack, Eno Greeting 12"x12" paper pad Elegant Flowers, Eno Greeting 3D stickers, Eno Greeting Die cuts Elegant Flowers, My Mind's Eye Chipboard Shapes Memorable "Perfect", Dear Lizzy 6x6 paper pad Serendipity and Polka Dot Party, lace trimmings, shrink plastic embellishments, organza ribbon, paper flowers, silk flowers, buttons, brads, crystals, Kaisercraft Clear Stamps Butterflies, Botanical Odyssey, True Friendship and Bundle of Joy, Bo Bunny Clear Stamps It Is Written and Gateway, Inkadinkado Clear Stamps Inspirational Lift and Bird Mini, Prima Marketing Vintage Vanity, Something Blue, Ranger Archival Ink jet Black, Ranger Distress Ink Walnut Stain and Tattered Rose, StazOn Midi Ink Pad Ganache and Cloudy Sky, Ranger Liquid Pearls Flamingo, Spellbinders Nestabilities Dies Captivating Square, Tranquil Moments, Valiant Honor and Adorning Labels Twenty-Five, Cuttlebug Machine V2, Ranger Heat It Craft Tool, Stanley Glue Gun

PAPER FLOWER POMANDERS

Hello! I have been working on and off on some thirty-four paper flower pomanders for my friends' wedding. (I ran out of punched paper flowers so I ended up with only thirty balls.) They are really easy to make, but it takes a lot of time to complete one. You can find a tutorial on Pizzazzerie.

  
MATERIALS AND TOOLS USED: 4" and 6" Styro Balls, Stardream Paper Gold, Steel Pins, EK Success Retro Flower Punch

OCTOBER HAUL

Hi! How are you? I haven't posted for almost a month. I actually went to the mall several times last month to look for something to wear on a wedding and a year end party that I needed to attend. It was pretty tiring to look for a dress, but it just somehow felt better when I dropped by Landmark. They have a lot of goodies there. I took home the following:


Cosmetic brushes and sponges. I use them to apply paint and ink instead of makeup.


Pretty clear stamps


The card kit contains several die cuts that I could use on some paper bag minis.


Sheets of 3D stickers from Eno Greetings


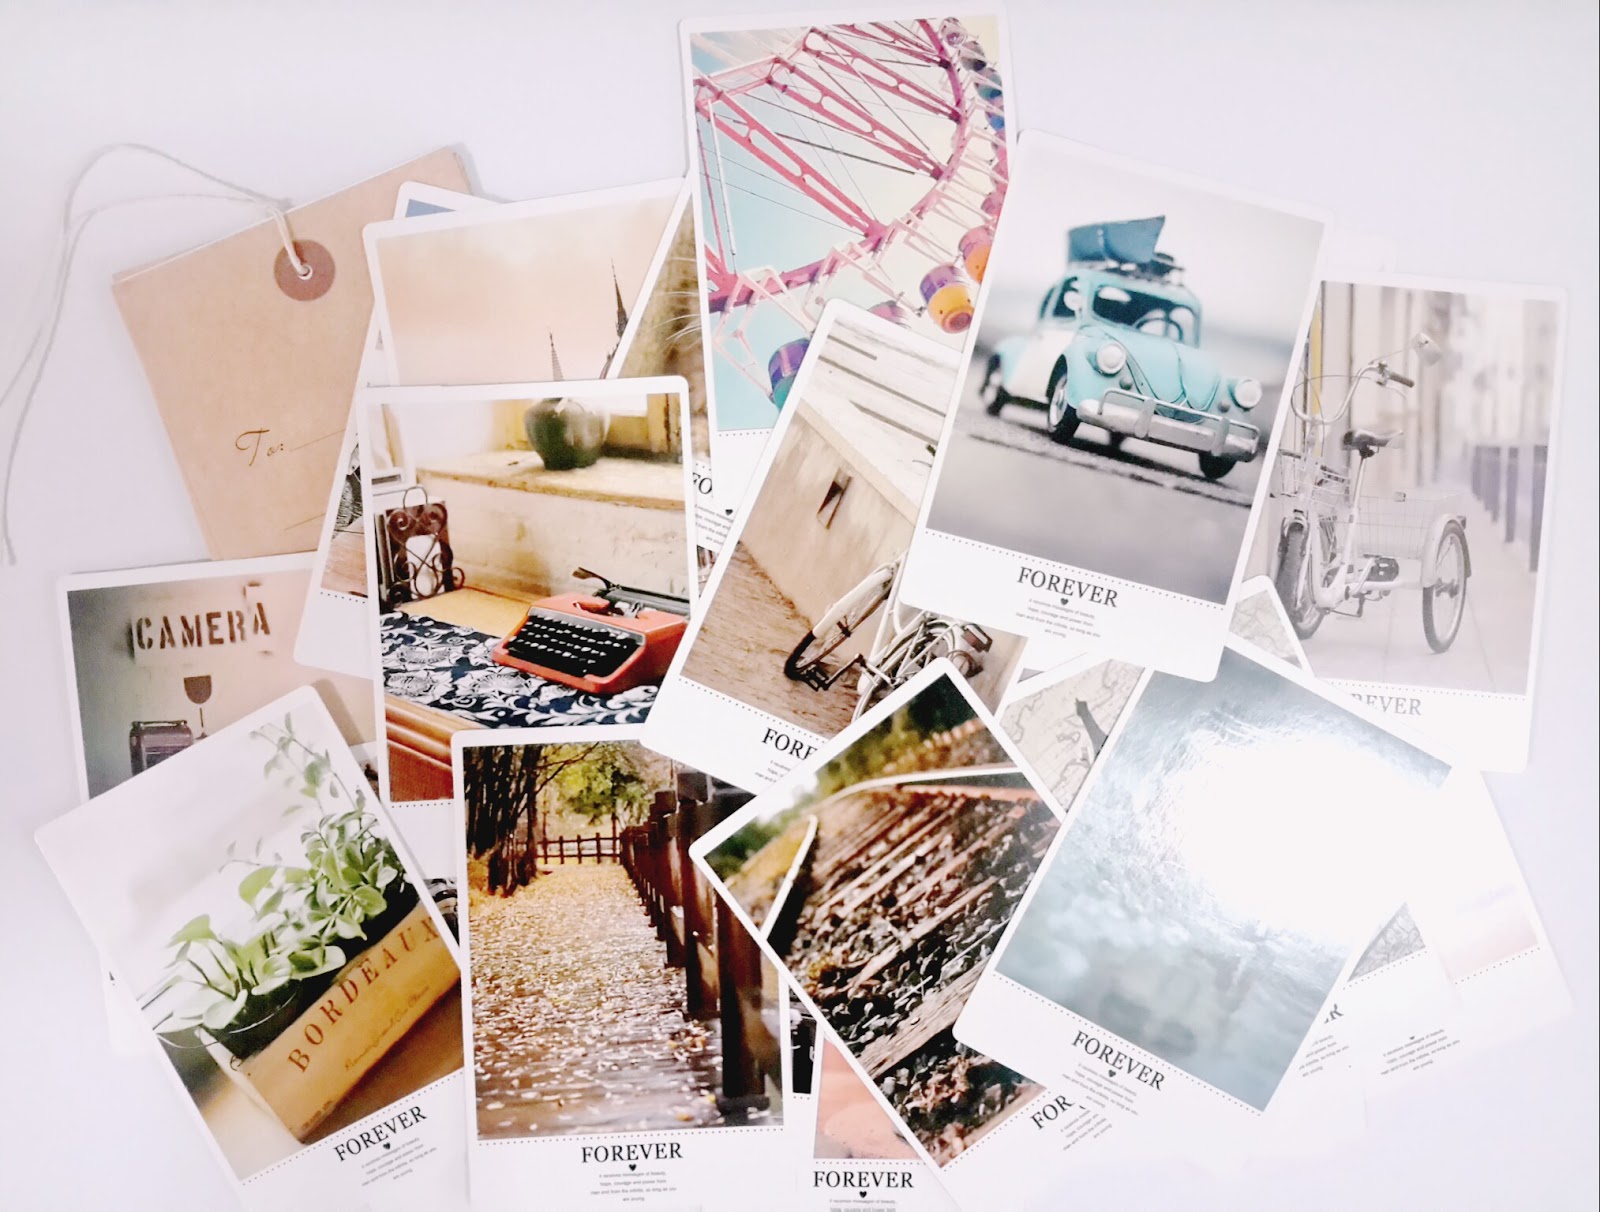
A pack of pretty postcards 


Then I went to SM and bought these:


I bought these paper flowers from Notions (3rd Floor SM Department Store).


I got these from Papemelroti. I bought 2016 planners, envelopes, foam stamp and bells. 

You will see some of these supplies on the projects that I am going to post after this. Thanks for looking!

Monday, October 12, 2015

OCTOBER PACKAGE


Hi! Here's another late post. I received the package two weeks ago. I just love the supplies! When I started my first DT project for Bee Happy Crafts, I thought of setting my October projects with a Christmas theme. The tools and the supplies that were sent to me this month would come in handy in making Christmas tags, treat bags, cards and what-not. I am so excited to see what I will come up with. 

The first product is the American Crafts Shimelle True Stories Dies.

Next up is the Martha Stewart Edge Punch Floral Lace.

Then we go to the supplies. I received a DCWV 12"x12" Chalkboard Stack, Down the Boardwalk Journaling Cards and Grayson Journaling Cards.


I'm so happy with the products. I will try to finish the first two projects in the next couple of days. I got sick again last week so I didn't get to make anything. So, I hope you visit again some time to see them. Thanks for stopping by!

P.S. I will just include the new play things I bought from BHC last month. I've already used the punchers on my mini album projects. Cool stuff!


I bought Kaisercraft Clear Stamps True Friend, Bo Bunny Clear Stamps It Is Written (Yay! I finally have it!) and Wedding,  Spellbinders Nestabilities Pierced Circles, Martha Stewart Edge Punch Doily Lace and Daisy, Pink Paislee 6"x6" paper pad Merry & Bright Collection and Snow Village.

A colleague of mine asked me to buy him an EK Scallop Circle Punch, but it is out of stock. Sad. I hope they will re-stock them soon. 

I told myself this will be the last craft shopping for the year, but I just saw some products this morning that I didn't know they have re-stocked. So, I guess I will stop next month. Heh. I will just get those dies and some more clear stamps and ink pads and of course the Big Bite. I really really really need one. I am getting hooked on making minis that I hate not being able to put an eyelet on the spine to attach a set of charms. Hmph. I know it is rather expensive, but I will be using it often. Perhaps I'll get one when I receive my 13th month pay. I just hope they still have one available until then.

Okay. That was that. The extra stuff was supposed to be short, but I rambled on again. Thank you for looking. Check out the next post for my first project this October. 

DT PROJECT FOR BEE HAPPY CRAFTS: Tying the Knot


Hi there! How are you doing? Here is another wedding card I made for BHC DT last month. I just didn't get to post it on time. I'm so sorry for that. There are still a couple of projects that I haven't uploaded which I hope I could show you soon. 

So, let's look more into the card. If you have seen my previous works, you probably saw something similar. I've made two of these before, but they are slightly different. The first one was square while the other one was rectangular and it was the front part of a popup book card.


When I learned that I would be getting a Cottage Cutz Trellis With Vine Die for the month of September, I automatically thought of making a recessed frame card. I already pictured out how to arrange the die cuts on the card. Since I was into shabby chic last month, I used the more subtle designer papers from the Dear Lizzy Polka Dot Party 6x6 paper pad. Here is what I came up with.

I made the base of the card (A2) following the guide written by Malin  on her blog cri-kee76. I inked all the edges using Walnut Stain. I cut the designer paper to fit into the frame and distressed the edges. I then inked it.

Before adding the die cuts, I covered the center of the card with another designer paper from the paper pad and adhered a die cut with a stamped sentiment. Then I glued the trellis with the vines. I added silk and paper flowers from my stash as well as some beads and silk leaves. After gluing down all the embellishments, I brushed the surface of the flowers with gesso then painted it with metallic acrylic. It is the same technique that I used on the card I made last August. 


On the inside of the card, I made a little pocket where I could tuck a gift card for the bride and groom.  I just cut a piece of white cardstock and punched the top part. (I originally used Arch Lattice, but when my package came in, I changed it with Doily Lace. It is much prettier this way.)  I then covered the 'unpunched' area with distressed and inked patterned paper. I stamped some more sentiments and I was done. 

It was another fun project. I love how it turned out. I will be making a paper bag mini to go with it later on. I will be giving them to my buddy (from my college org) on her wedding this November. 

So that was that. Thanks for looking today! Have a great week!^-^

MATERIALS AND TOOLS USED: Bevania Splendorgel Board Paper White, Dear Lizzy Polka Dot Party 6x6 paper pad, Eno Greeting 3D Stickers, paper flowers, silk leaves and flowers, beads, pearl, self-adhesive pearls, Ranger Distress Ink Walnut Stain, Ranger Archival Ink Jet Black, Kaisercraft Clear Stamps Ever After, FolkArt Metallic Acrylic Pearl White, Stanley Glue Gun, foam tape, Martha Stewart Edge Punch Doily Lace, Spellbinders Nestabilities Captivating Squares, Cuttlebug Machine V2

CARD# PR-2015-13: Joy Fold Happy Birthday


Hello! I haven't accepted any commissions since I started working again (My IG account is still on hiatus.), but a friend had asked me to make something for her mother's birthday. Of course, I would not say no. There were no specifics on the card except for one. It would need to include a photo. I love vintage so a vintage joy fold card is what I set out to make.


You know that I prefer doing special fold cards when there are photos involved. As I was looking through different card folds, I stumbled upon Elizabeth Elton's joy fold card. She has a tutorial on her blog Cardville. It was easy to follow and it really looked gorgeous so I decided to make something similar for Ate Nadia. The only edge punch I had then was Martha Stewart's Arch Lattice. Now that I have three other punchers, I could make prettier cards than the one I made here. 


Anyway, I just followed along the tutorial and came up with this. I used the papers from the Graphic 45 8"x8" paper pad Time To Celebrate Collection.

It was an easy and fast card to make. I didn't think while making it. I just measured, cut and adhered! (and inked of course) I will sure make another one for some of my friends' birthday. Thanks for stopping by! Talk to you again in a bit.


MATERIALS AND TOOLS USED: Bevania Slendorgel Board Paper Ivory, Graphic 45 8"x8" paper pad Time To Celebrate Collection, Eno Greeting 3D Stickers Elegant Flowers, chipboard stickers, printed photo, Clear Stamps Happy Birthday, Ranger Archival Ink Jet Black, ColorBox Cat's Eye Queue Pigment Ink Chestnut

ACCORDION MINI

Hi! What can I say but I'm sorry. I haven't posted anything for a couple of weeks. I have been busy with life and I got sick again. So, I didn't get to write anything recently. 

Anyway, I have been meaning to post the accordion mini (the first ever accordion mini that I made), but unfortunately, I did not get to take photos of the finished project. TT.TT. I made it as a farewell gift to our manager and I was so much in a hurry that I didn't get a snap or two before putting the whole thing in an acetate box and handing it over to the recipient.


[Sigh.] At least I have two photos from when I started making it so it's not that bad. Just look at the paper pad I used for the project. I almost used all of the designs to cover the 12 panels. I made several pockets to hold tags and photos. I also added strips of paper to tuck in some more of the tags. I went for vintage on this project so I basically inked all the papers with Distress Ink Walnut Stain. 


MATERIALS AND TOOLS USED: Moods Board Paper Stormy Gray, Eno Greeting 12x12 paper pad Happy Birthday, manila tags, printed photos, jute twine, lace trimming, Kaisercraft Clear Stamps Botanical Odyssey and Bundle of Joy, Prima Marketing Clear Stamps Lifetime #1, Inkadinkado Clear Stamps Inspirational Lift, Bo Bunny Clear Stamps Gateway, Ranger Archival Ink Jet Black, Ranger Distress Ink Walnut Stain