Sunday, July 31, 2016

CARD# HPJ-2016-14: Take Wing

Hi! My internet is still as crappy as ever, but at least I could upload some photos right now.

I think I've said in my earlier post that I'll be showing my recent box cards next. I made three box cards for my colleagues who celebrated their birthdays this month. Here is the first one. This was for Jeff.
It is always a challenge for me to make masculine cards. This was not what I originally started with. I made a mess on the first one. I didn't quite like it so it was junked. I thought of another way to make it. Voila! My fascination for steampunk and the sight of one of my overused clear stamps prompted me to the right direction. Here is what I came up with. I rummaged through my box of ever growing number of clear stamps to look for my Kaisercraft Diamonds Clear Stamp and my Multicraft Vintage Tool set and stamped away!


 I inked the surface of the diecut after stamping the images and worked on the hot air balloon. Like what I usually do, I stamped the image on piece of patterned paper (left over from some previous project) and adhered metal wings and crystals to make it more interesting. I love dimension so I adhered a piece of chipboard at the back of the image before affixing it onto the diecut. I added the sentiments and then the jump rings and spacers. I just love how it turned out! I wanted to keep it for myself, but oh well, I must give it to the birthday boy. I don't really know of he liked it, but I feel that he appreciated it. That's the good thing.
 This is what the card looks like, the box still closed and the belly band removed.

I made several die cuts for the messages. It was a little difficult to do so since my Cuttlebug is acting up. It's hard to turn the crank again. Anyway, I was still able to cut fine after exhausting a lot of energy. Haha. The hardship is nothing when I looked at the finished project. I'm so happy with it. 

I have decided to make box cards for the birthday celebrants for the remaining part of the year. It would be more consistent given the fact that it's for the team. Yay! The next celebration will be on September and I would need to make another set of three. I am thrilled since I already have an idea on what to make for the two ladies. It would be so much fun! As for the gentleman, I think he would like anything. Yehey for that!

The post ends here. Please do check out the next one for the second box card. Thanks for looking!


MATERIALS AND TOOLS USED: Bevania Splendorgel Board Paper Ivory, Rives Board Paper Tradition Black, Best of Studio Calico 12"x12" paper pad, Graphic 45 12"x12" Steampunk Debutante Collection Eclectic Emporium and Mechanical Mind, Tim Holtz Paper Stash 12"x12" French Industrial Revolution, Kaisercraft Clear Stamps Diamonds, Multicrafts Clear Stamps Vintage Tools, Inkadinkado Clear Stamps Inspirational Lift, Ranger Archival Ink Jet Black, Ranger Distress Ink Mini Spiced Marmalade and Black Soot, metal charms, jump rings, Martha Stewart Edge Punch Daisy, Spellbinders Dies Nestabilities Labels 35, Cuttlebug Machine V2

Monday, July 25, 2016

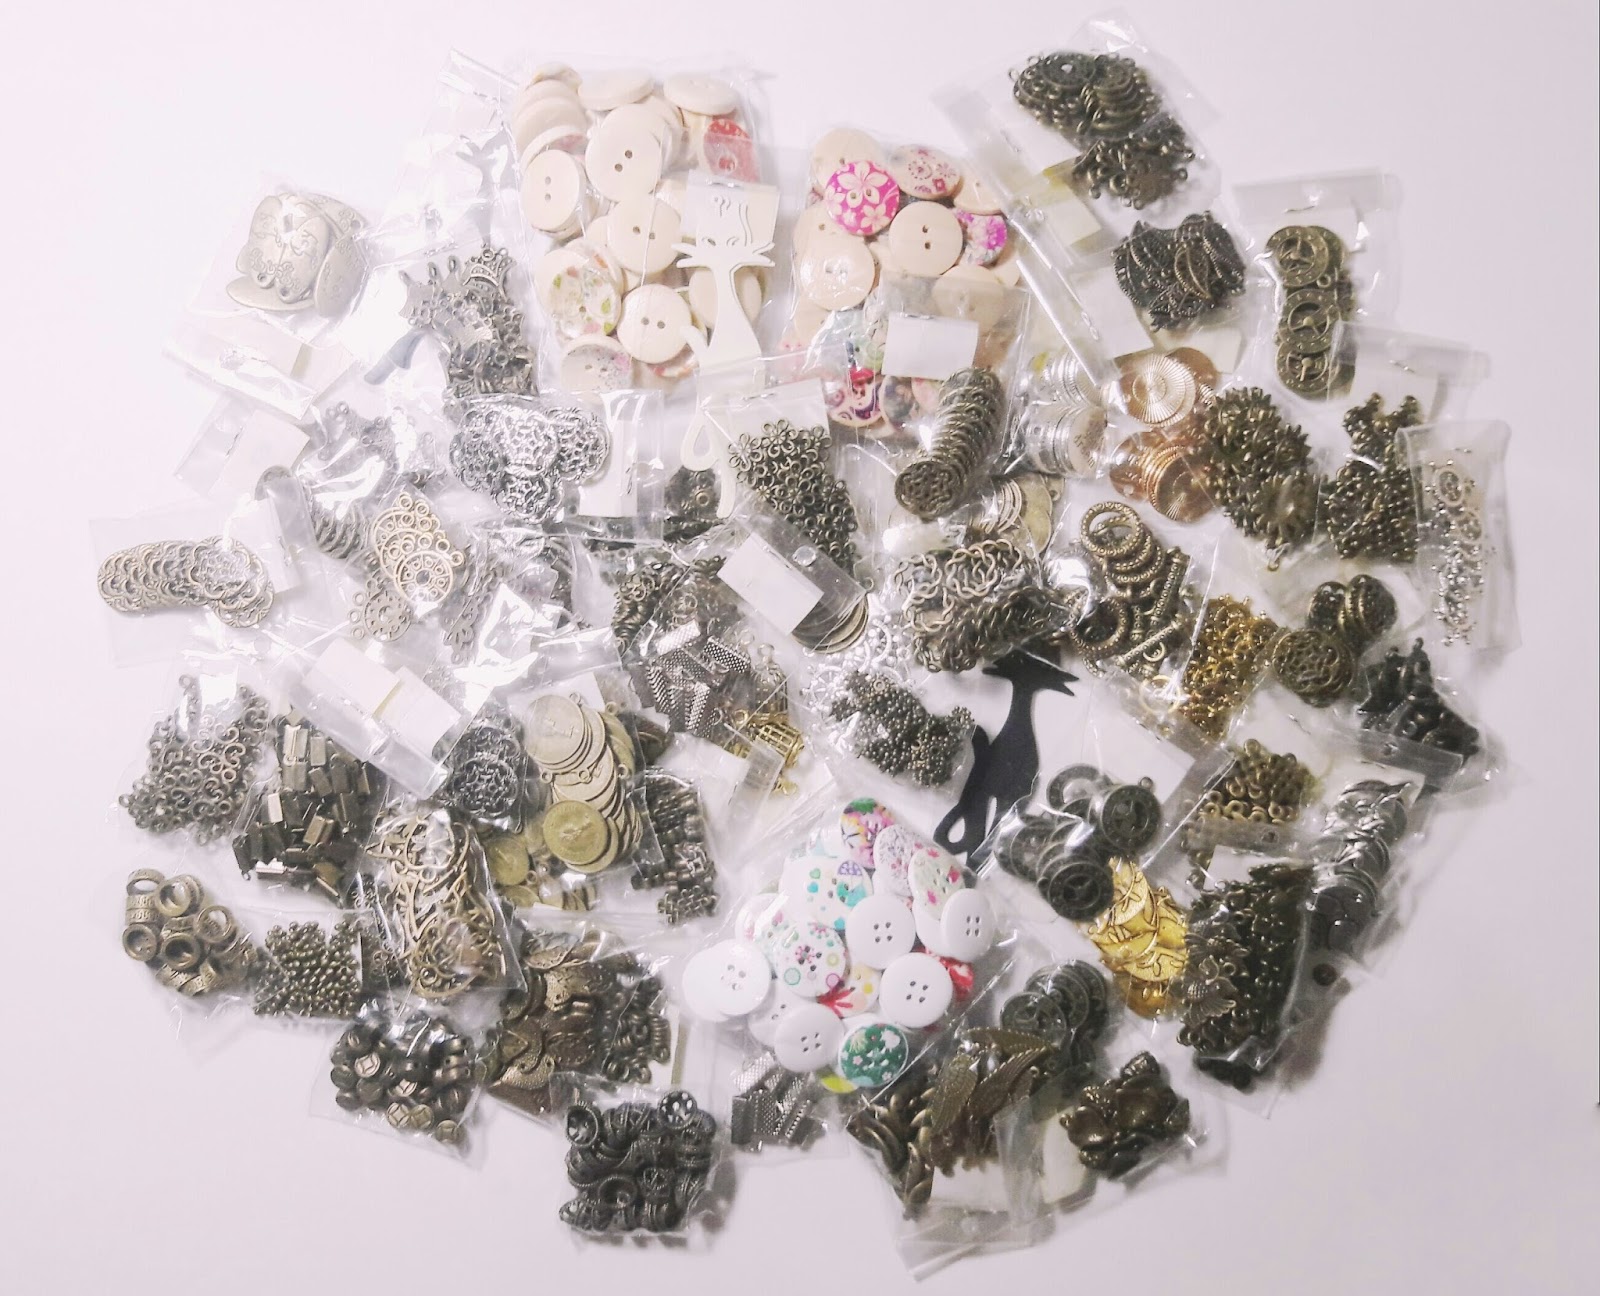
JUNE AND JULY GOODIES

Hello there! How are you? I know. I am terribly sorry. I didn't get back to you for like three months. I've been busy having breakfasts after work with my friends which extend to almost noon every time (I have to travel around 30 minutes or so to get back home.). When I get home I'm already too exhausted to do anything but sleep and at times I can't even do that. Though I feel sleepy I just couldn't drift off to sleep, but I'm too lazy to move! [Sigh.]

Anyway, I am trying to bring my creative mojos back and be productive crafts-wise. I've made a couple projects over the past few weeks but I just didn't get to take photos of them. It was always raining and I hate it when I take photos of my projects in my room. They turn out super dark and it is so hard to edit them. You know how crappy our internet connection is so I just get even more frustrated. Hmf. 

Even though I didn't make much, I still hoarded craft supplies. I am such a hoarder! So, I'm going to share the goodies that I bought from June to last Saturday (my package from Bee Happy Crafts has not arrived yet. I'll add them here when they come in. I wish I'll get it today.)

First off is this set of pretty origami papers. I didn't buy them. Chie gave them to me. They are actually from Jas. She brought them as pasalubong to Chie when she went to Japan a few months back. They are just lovely! I'll most probably use them on a card or two.


Then I went to divi with Donna, A and A's siblings to buy the materials we needed for Reema's birthday loot bags. Before going there, Donna and I went to Wellmanson's in Quiapo to get some metal charms. I seriously needed to purchase a lot because I've used up most of my stash. I indeed bought a lot, but I didn't find bigger circle charms. Gad. I spent over P2000 at the shop!!! Aside from the metal charms, I also found three Eno Greeting paper pads, a sketch book which is perfect for my art journal, and some wooden buttons. I still wanted to look around but Donna stopped me. Thanks to her I didn't spend all of the money I brought with me. Whew!


But, well, on my way home (via SM North), I detoured to National Book Store where I bought four sticker books and a bottle of Tacky Glue. I must say I love this adhesive. I haven't used it before since it was a bit pricey and they are always out of stock in craft stores, but after using it on my recent projects, I think I will be hoarding 1 or 2 more bottles before they run out. NBS seems to be adding more and more craft supplies to their store. The Tacky Glue is cheaper there.


We have planned on having a little farewell party for a friend and colleague who recently left the company. That being said, of course, I was assigned to make the card and decorate the box where we will put some stuff. I went to Papemelroti to buy a box which turned out to into several boxes! They've re-stocked their boxes with the black print. The sizes I need with this design are always out when I visit their store so I decided to buy a couple of them apart from the one for the party. As I was looking through the other items inside the store (I also bought a mini notebook and a key chain to go with the card.), I saw these small pin buttons which are just so me. I mean they scream vintage and mixed media!!! They were P20 each so I had to control myself for a minute there. I could only have as many as 10 and no more. Tsk. I was in a tight budget but when it comes to craft supplies I just can't resist. Phooey. I also bought a paper pad and two packs of DIY kraft post cards. I can make my own post cards, but these may save me some time when I am in a hurry.


I also bought two 8"x10" canvases a few weeks ago along with a bottle of Mod Podge and FolkArt Acrylic Paint. I bought the paint because I had an inkling of making something with purple and green and/or blue. I've used one of them last week. You'll see it on my next posts.


I also bought a jar of Molding Paste. I still have some left from mys first jar, but it would not last for a couple projects. Besides, it has already started to harden making it harder to use with stencils.

I have mentioned in my IG post earlier that I prefer this over the light molding paste. The finish is just different. I love its smooth opaque finish. It is heavier though, but I still think it's perfect for working on canvas and on most of my cards.

I'll have to end it here for now. I'll update this post ones the package I'm waiting for arrives. Thanks for looking today! I'll post my recent projects tomorrow. Have a great week!

UPDATE: The package that I was waiting for arrived last Monday, but it came in at almost 6PM so I did not get the chance to open it. As you know, I had to get some sleep before going to work. 

Here is what it contained.


I want to have more clear stamps and stencils, but they don't come in cheap. I'll be in an even tighter budget in the next few months so I have to hold it in until I have some extra money. Gah. I'm currently working on my art journal and some more projects. You will be seeing the clear stamps and stencils put into use. I hope you check back for them once I finish them and have them posted here. Thanks for stopping by today! Have a great weekend!


Monday, May 16, 2016

CARD# HPJ-2016-13: It's A Girl!

Hi! This is the last post I have for today. I have several other projects which I made in the past few weeks, but I was not able to take photos of them before giving them to their recipients. Hmf.

Okay. So this last one is a Joy Fold Card. It is similar to the one I made for Ate Nadia's mom.

By the way, I made this for a colleague who is going to have a baby girl soon. We had a surprise baby shower for her at work and we prepared a little gift for her. I included this card in the package. Heh.

I mentioned that it is similar to the one above, but the color palette is different as well as the edge punch that I used. Here is what I came up with for Ate Maggie's card.


I stamped on a diecut to make the focal point of the card. I added paper flowers, beads and crystals on the front of the card to make it more interesting. I glazed the paper flowers with white metallic acrylic paint afterwards.


I had stamped a sentiment on the inner flap of the card.


I love this card! I think I'm going to make another one for a colleague's birthday this June. Hmn. I'll just make it purple and of course I will use a different edge punch again. Yay! If I am still awake this afternoon, I will make the base so it would be easier to put everything together later on. I might just do that to save time. Anyway, this is the last post for today. I was supposed to update my banner and make some changes to my blog template, but I will do them some other time. Thanks for stopping by! Till the next post!


MATERIALS AND TOOLS USED: Bevania Splendorgel Board Paper White, Graphic 45 8x8 paper pad Secret Garden, My Mind's Eye Lost & Found 6x6 paper pad Blush , paper flowers, beads, pearls, self-adhesive crystals, Kaisercraft Clear Stamps Bundle of Joy and Little One, Ranger Archival Ink Jet Black and Sepia, Ranger Distress Ink Mini Tattered Rose and Antique Linen, FolkArt Metallic Acrylic Paint Pearl White, Martha Stewart Edge Punch Doily Lace, Spellbinders Nestabilities Labels 34, Cuttlebug Machine V2

CARD# HPJ-2016-12: Congratulations!

Hi again! I'm almost done with my catch up posts. Heh. There is just one left after this. 

So, what we have here is an inverted Diamond Fold Card. If you are interested to learn how to make the fold, you can find a video tutorial of Beate Johns for Splitcoaststampers here


I made a belly band to close the card and at the same time, to hold the focal point of the card.

I finally made a pet-themed card for Nessie! Woohoo!


This is what it looks like when the card is opened.


This card is really easy to make. It just looks a bit complicated, but you can actually make it in a few minutes. 

I hope you like it. Thanks for looking today! 


MATERIALS AND TOOLS USED: All About Scrapbooking 12x12 patterned papers, Darice Core'dinations Premium Cardstock Pure Chocolate, organza ribbon, self-adhesive crystals, Kaisercraft Clear Stamps Little One, Spellbinders Nestabilities Labels One, Cuttlebug Machine V2 

CARD# HPJ-2016-11: Life's Journey

Hello! Here's the third card I made for colleagues who transferred to other teams.

It is a vertical Criss Cross Card.


I stamped stitches on the designer papers. I also stamped the main image and fussy cut it and adhered it onto a diecut with a chipboard underneath for added dimension. I made a small tag using one of the Nellie's Choice straight tags dies and stamped the sentiment on it.


I made inserts for the card. We wrote our messages here. It isn't easy to pull them out without a pull tab so I made two for each insert. They are diecuts using the Die-namics Mini Doilies die.


At the back of the inserts, I stamped some images and sentiments instead of adhering patterned paper. I love the dream catcher! It's from Rosie's Studio.


That was that. The card was easy and fun to make. By the way, if you would like to make one yourself, you can find a photo tutorial by Beate Johns of Splitcoaststampers here or a video tutorial here. Have fun creating! Thanks for stopping by today! Have a great week!


MATERIALS AND TOOLS USED: Bevania Splendorgel Board Paper White, Rives Board Paper Tradition Black, Moods Board Paper Storm Grey, Elit Board Paper Vellum White, Best of Studio Calico 12x12 paper pad, self-adhesive crystals, Inkadinkado Clear Stamps Inspirational Lift, Rosie's Studio Clear Stamps, Bo Bunny Clear Stamps Stitches, Ranger Archival Ink Jet Black and Yellow Ochre, Spellbinders Nestabilities Pierced Circles, Die-namics Mini Doily Circles, Cuttlebug Machine V2

CARD# HPJ-2016-10: Shine On

Hi again! Here is another 'Thank You' card for another colleague who transferred to a different team.


The card measures 4 1/2" x  3/4".


MATERIALS AND TOOLS USED: Bevania Splendorgel White, Prestige Board Paper Zulu Black, Rives Board Paper Tradition Black, Rosie's Studio 6x6 paper pad Chalk Essentials, Rosie's Studio Diecuts, self-adhesive crystals, Signo Broad Pigment Ink 0.7 White, Nellie's Choice Multi Frame Dies Straight Tags, Spellbinders Nestabilities Labels 4, Cuttlebug Machine V2, hole punch

CARD# HPJ-2016-09: Trishutter Thank You

Hello! Here is a trishutter card I made for a colleague. It is a sort of Thank You card for being a part of the team. She is actually moving to another position which means she is leaving our team to join another. It is not farewell though since we will still see her around. So here is the card.


It measures 4 1/4" x 6" when closed.

I used my new supplies to make this. It would have been gorgeous if I have not made a huge mistake on the front of the card. Geez. I don't know what I was thinking. I put a lot of micro pearls on the flowers and then brushed a liberal amount of a different color onto the surroundings. Gad. I should have stopped with the flowers. I even used soft gloss gel so it has that shiny effect making it so noticeable. Eek! I can't re-do it so I'll just bear with it. Hmf.


I didn't put in much embellishment on the inner panels since it would be hard to close the card what with the center having an accordion card for the messages.

Sorry for the low quality photos. I took them indoors (and at night) so they are not that clear.

Thank you for looking today!


MATERIALS AND TOOLS USED: bevania Splendorgel White, Elit Vellum Board Paper White, Heidi Swapp 6x6 paper pad Mixed Media, Eno Greeting Diecuts, paper flowers, rose buds, beads, micro pearls, ribbon, metal charms, stamens, Eno Greeting Wood Embellishments, Heidi Swapp Clear Stamps Script, Ranger Archival Ink Jet Black, Ranger Embossing Ink, Ranger Embossing Powder Frosted Crystal, Golden Light Molding Paste, The Crafters Workshop Stencil Mini Art Is, Mini Chicken Wire Reversed and Mini Brocade, Ranger Liuid Pearls Mint Green and Petal Pink, Golden Soft Gloss Gel, Ranger Heat It Tool, Stanley Glue Gun, cutter

Sunday, May 15, 2016

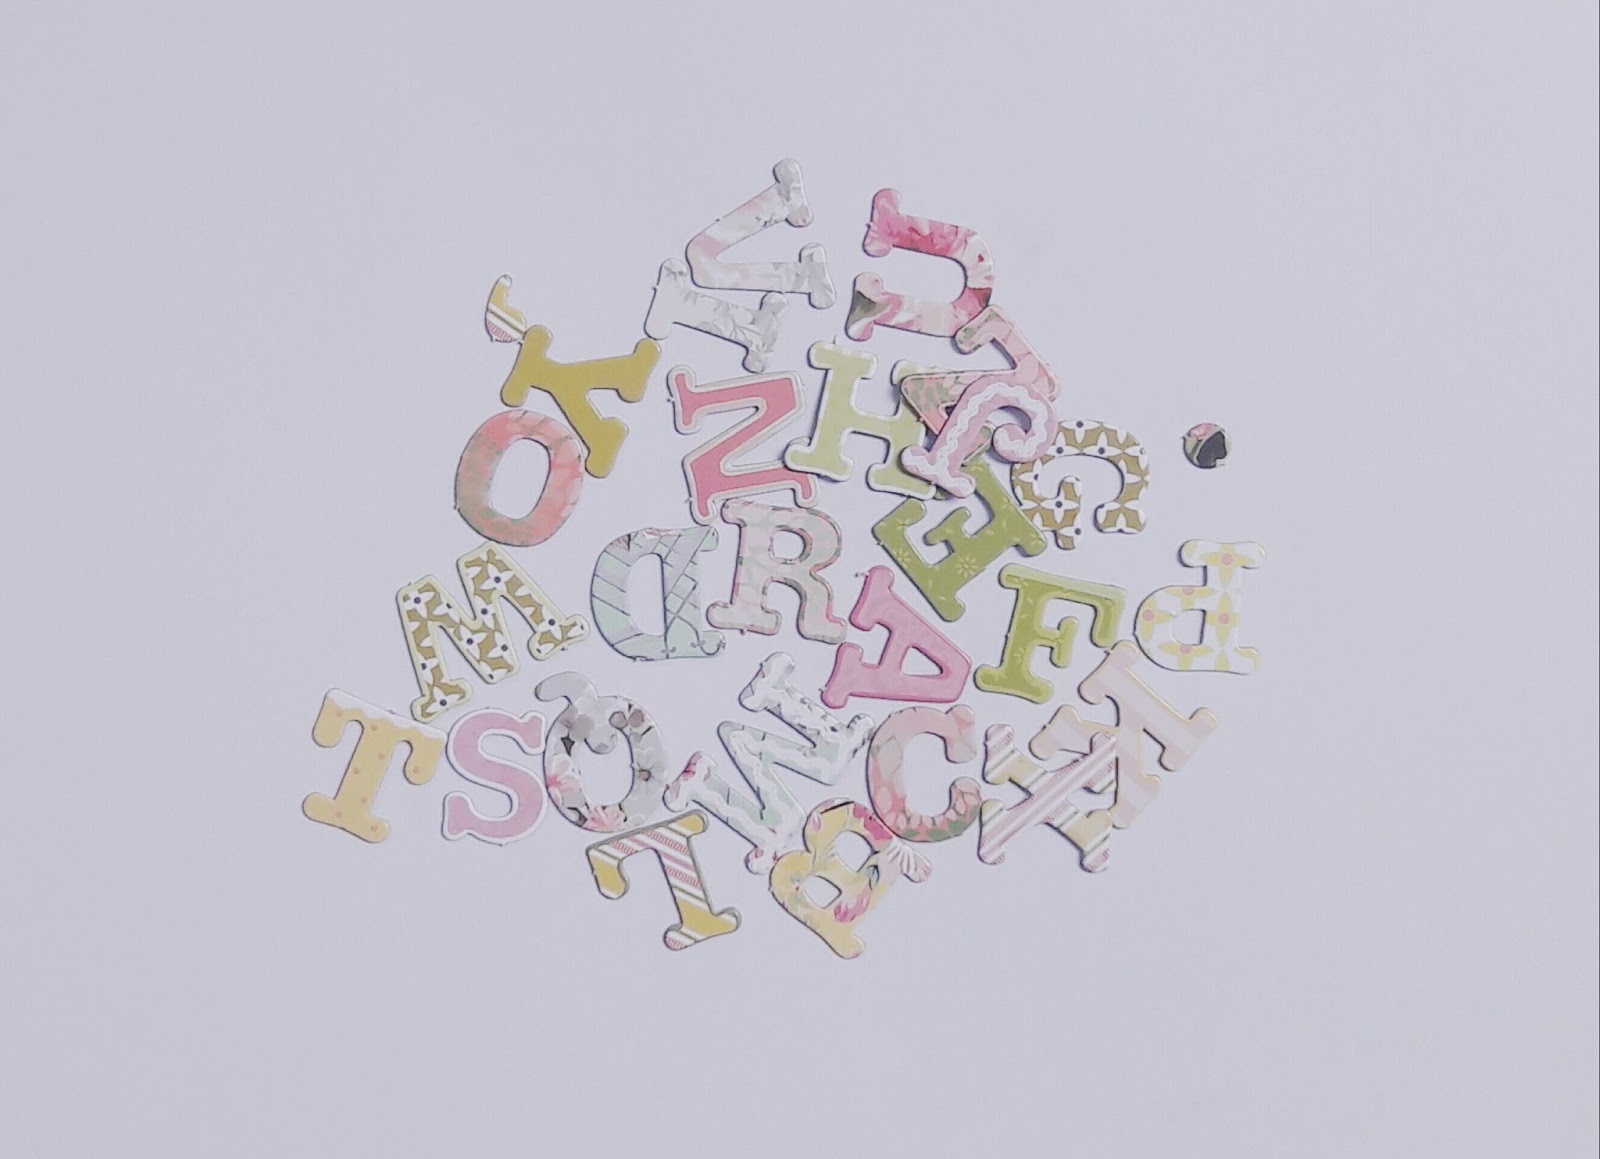
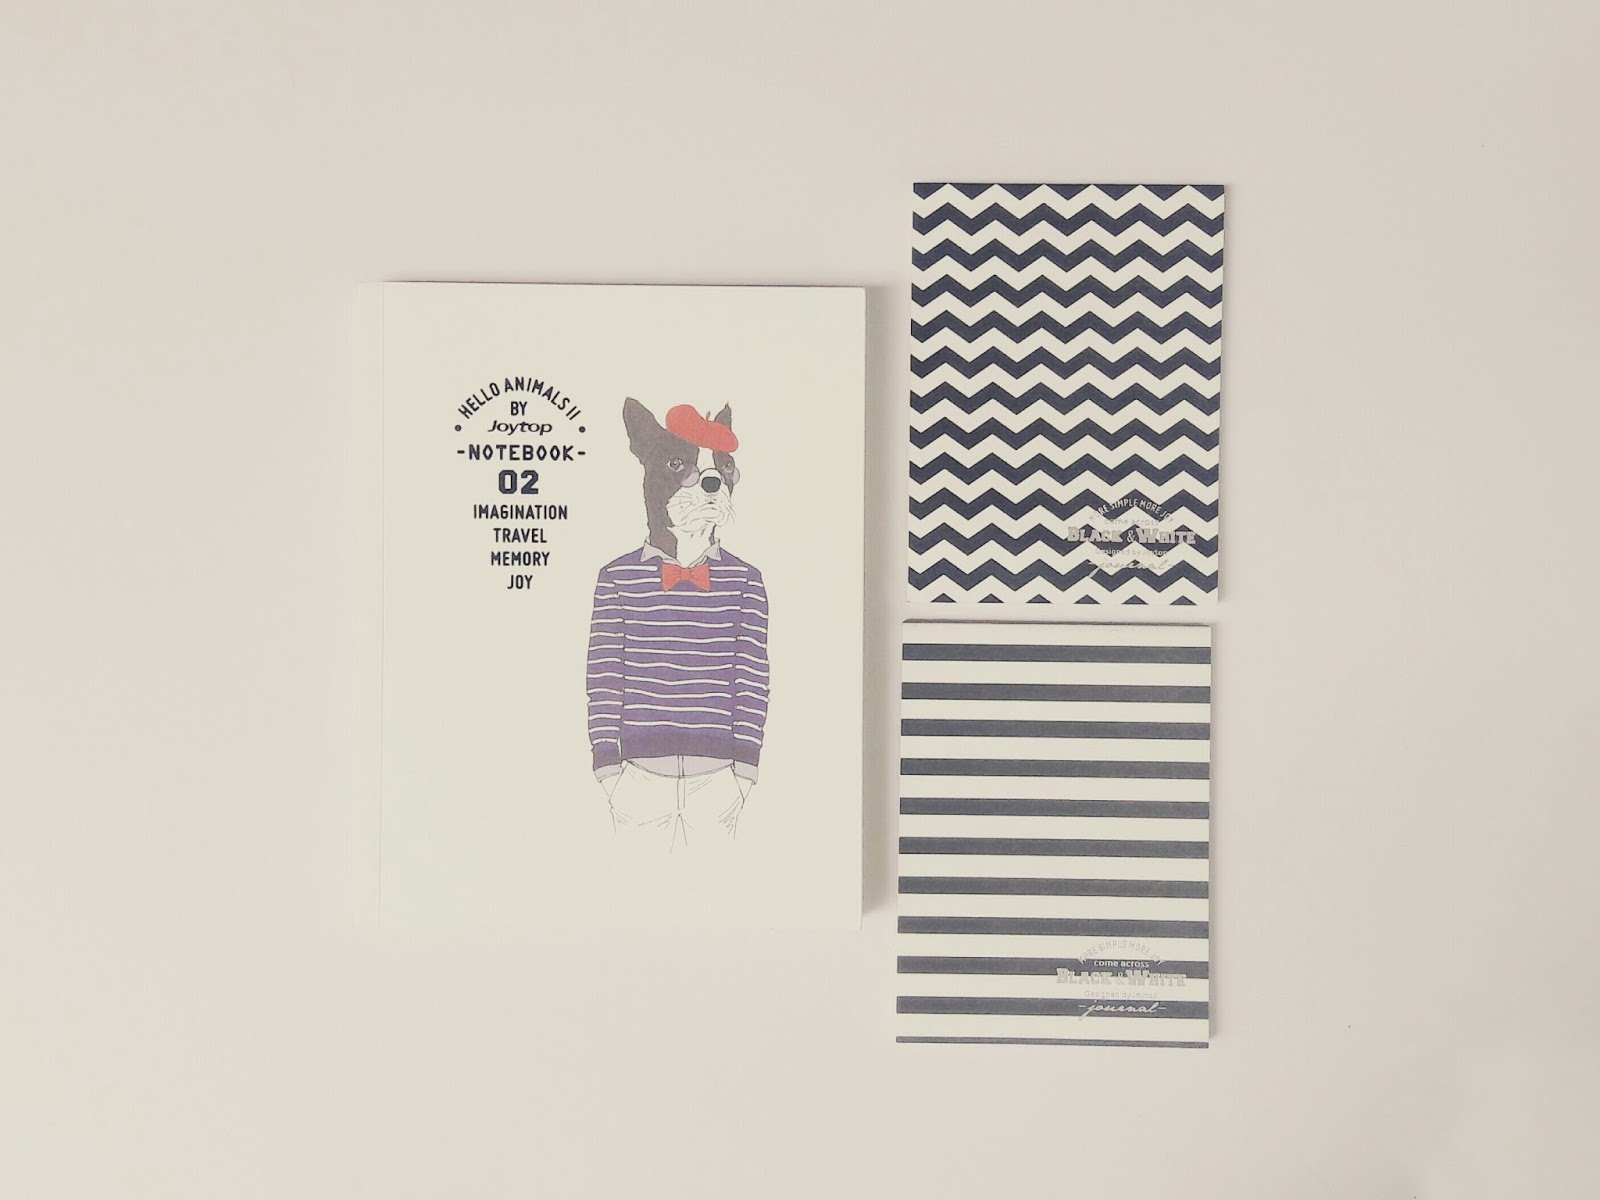
APRIL GOODIES

Hello there! I just wanted to share the pretty little things I got from Landmark last month.

The first set is a bunch of chipboard alphas from Eno Greeting. I just love that Landmark is carrying more Eno Greeting products. Yay!


I also bought a couple of diecuts.


 And lastly, I purchased some cute notebooks and notepads. The only thing I can say is that I was fooled into buying the white one. I thought it had no lines, but apparently, it had. I was quite disappointed when I opened it and saw the lines. Tsk. So much for thinking of making this my new journal. Hmf. Anyway, they are all so cute.