Sunday, May 14, 2017

CARD# HPJ-2017-24: With Love

Hello! Happy Mother's Day to all the mothers out there. I hope you have an awesome day!

I always make a card for our mom for Mother's Day. Though we will be sending it to her late, I know that she will definitely appreciate it. It will be weird if she does not get any card this year. Heh.

Here it is.
 It measures 4 1/4" x 5 1/2".

Do you remember the set of cards I made for our colleagues in the US a a couple of weeks ago? I originally set out to make 20, but I only ended up completing 14 since there were just 14 of them. So there were 6 more which I left alone (This means the background is gessoed, stenciled on and stamped.). I chose the one that somehow fits what I want to do with mommy's card. She loves green so I went with this color.


Since the background is already pre-stamped and stenciled, I only had to color it and add the focal point. What I did was I stamped the flowers onto a piece of white cardstock and fussy cut them. I adhered chipboard on the pieces before finally placing them on the card. 

The card does not look that good in the photos but it is really pretty when you see it in person. It is one of my favorite recent projects. 

I will end it at that. Happy Mother's Day again. I hope you check my other projects. Thanks for stopping by! 


MATERIALS AND TOOLS USED: Bevania Splendorgel Board Paper White, Elit Board Paper Vellum White, Golden Light Molding Paste, The Crafter's Workshop Stencil Mini Cut Circles, Ranger Archival Ink Jet Black, Kaisercraft Clear Stamps Botanical, Rosie's Studio Clear Stamps Flourishes, Rosie's Studio Foiled Sentiment Pad, Ranger Distress Ink Mini Squeezed Lemonade, Crushed Olive, Brushed Corduroy and Forest Moss







Monday, December 19, 2016

CARD#s HPJ-2016-30 to 50: Holiday Cards

Hi again! I wasn't supposed to take in more commissions aside from the tags, but a friend asked for a favor so I took some time to make twenty Christmas cards. I made them light and simple since they will be mailed abroad. I just hope the recipients like them. Here they are.


For the first set, I went vintage. I just adhered some diecuts and stickers to add dimension and interest to the cards. 


As for the second set, I made it really neat and simple. Half of it was splattered with ink while I let the other half alone. They turned out cute. I want them for myself! I think I'll make more cards with this style for other occasions. Gah. Wait till I get my hands on those Tim Holtz and Prima stencils! I'll go crazy stenciling away. Haha.

So, how did I make them? Easy peasy. I first stenciled using light molding paste. After drying, I splattered glimmer mist onto five of the cards. I then added the stamped images (I adhered some chipboard at the back of the cutouts for dimension.). I wrote the sentiments on pieces of black board paper using white pigment ink pen. And that was that! Done!


By the way, the cards are 4 1/4" x  5 1/2" (A2).

How do you find the cards? I hope you like them. Till next time! (I will post about six more cards before the year ends.) Thanks for looking today! Have a great week! Happy Holidays!!!

MATERIALS AND TOOLS USED: Bevania Splendorgel Board Paper White, Kraft Board, Rives Board Paper Tradition Black, Pink Paislee kre8v.kit Snow Village, Eno Greetings 3D Stickers, self-adhesive crystals, Golden Light Molding Paste, The Crafter's Workshop Stencils Mini Tile Texture and Mini Bricks, Bo Bunny Clear Stamps Holly Jolly, Sentiments, Holiday Wishes and Snowflakes, Shimelle Clear Stamps Santa, Kaisercraft Clear Stamps Fa La La, Pebbles Clear Stamps Winter Wonderland Snowman, ColorBox Archival Dye Wicked Black, Tattered Angels Glimmer Mist Creme de Cocoa, Black Gold and Bronze, Uni-ball Signo Broad White


Tuesday, August 25, 2015

THE SHRINK PLASTIC EXPERIENCE


Hi there! For this post, I am going to talk about 'The Shrink Plastic Experience'. Like I have said in a previous post, I tried to use shrink plastic on a project as an embellishment, but I totally mucked it. At that time, I did not have a heat gun nor an oven. What I did after a failed attempt of using my hair dryer to heat the material was put it several inches over a flame which did not nothing but curled the whole thing. I gave up that day and decided to finally get a heat tool. I didn't think I would really be needing one until the shrink plastic came. Hah. I just use a small hair dryer to speed up the drying time of my mixed media projects. My bad. I should have gotten one ages ago. I was just too sparing. Thanks to Bee Happy Crafts I get to eventually get my hands on this material and have a go at it. 

I haven't done much with the shrink plastic except for the basic stamping of images and die cutting. Gah. I can now make my own embellishments from die cuts. You know how I love using cogs and gears and with shrink plastic I can actually make several of them at a cheaper price. I have actually run out of small gears and I can't get them locally. My cousin bought the ones I had before in the States. And they are quite costly. I may try coloring them before heating or just paint over them when I have adhered them onto the surface of a project. Which ever I choose to do, I believe they will be splendid. Ah. What a great use of shrink plastic. Well, if I have the time I would try to explore other ways on using them. I was amazed at some crafters who make 3D accessories and there was this one artist who doodles on shrink plastic and the outcome is really awesome and inspiring. It would take several packs of shrink plastic sheets before I could even achieve one fourth of what they do. May be some time next year I will devote a portion to learning those techniques. So that's one resolution for 2016. Heh. I sure hope I will work on that. 

Anyway, for my first batch of successful shrink plastic embellishments, I used the following:


MATERIALS AND TOOLS USED: Shrink Plastic, Stampendous Acrylic Block, Ranger Heat It Craft Tool, Cuttlebug Machine V2, Marvy Uchida Circle Punch 1 1/2" and 2", Ranger Archival Ink Jet Black, Rubber Stamps Lamp Post and Eiffel Tower, Kaisercraft Clear Stamps Butterfly and Botanical Odyssey, Sizzix Bigz Die Love Gears, Ticket Punch, Tweezers


P.S. I should have posted the latest project right after this, but I just got totally knocked out when I got home from work this morning that I didn't get to edit the photos. I'm terribly sorry. I'll post it tomorrow. Hopefully I'd be done before noon. ¡Hasta maƱana!


Wednesday, March 11, 2015

CARD#s PR-2015-4 to 7


Hello! I wasn't able to share the previous commission. Tsk. I was in a hurry to meet with my high school friends so I did not get to take a few snapshots of the four clean and simple cards I made for Karisse. What a pity. They were mostly stamped and all the bases were white. I wish I could show you how they looked like, but I can only describe them to you. The first one I could definitely show you since it was from a set of cards I made last year. You can find further details about it on my old blog here.

As for the other three, which were all for guys, were stamped. The first one was a hot air balloon. You know the one I usually use for my steampunk projects.
I stamped it on the base and stamped on another piece of cardstock then fussy cut it. I added foam tape at the back before adhering it onto the stamped image on the card front. I stamped a Happy Birthday sentiment at the bottom.

The second card was something similar with the one I made for Raniv a few months ago. I don’t think I posted it on my old blog, but here is a photo.


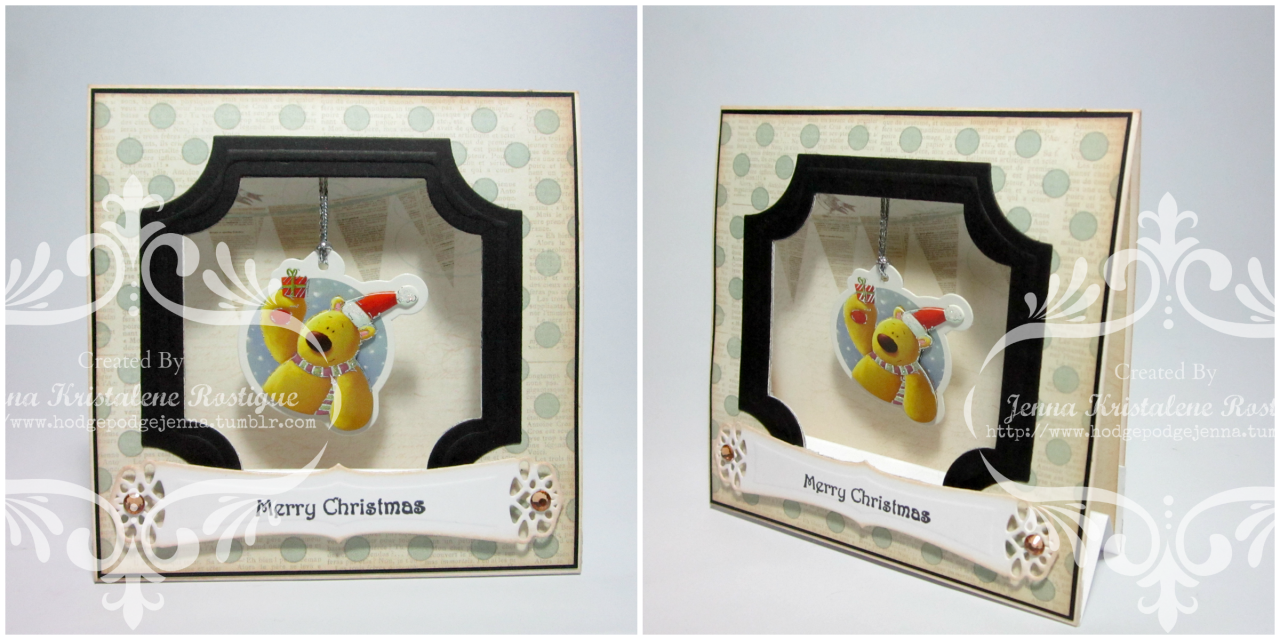
What I did on the new one was stamp the little bird directly on the card front and I added a frame made using two dies from the Spellbinders Nestabilities Labels Twenty-Five set. To give you more of an idea what the frame looked like, here is a Christmas card with the same frame (one size bigger though).


Then I adhered a fancy tag with the sentiment below the framed image.

The last card had the birthday stamp from Inkadinkado.

I cut the stamped image with the Spellbinders label die and affixed it onto the card base with foam tape. For embellishment, I placed a couple of black self-adhesive crystals at both the bottom right and left parts of the card.
I’m sorry if I don’t have the actual images, but I hope you got the picture. I will endeavor not to miss shooting another card for better documentation.
Thank you for stopping by! Till the next project.

MATERIALS AND TOOLS USED: Bevania Splendorgel Board Paper White and Ivory, paper scraps, Eno Greeting Die Cuts, Kaisercraft Pickled Pear Collection Sticker Sheet, Inkadinkado Clear Stamps Inspirational Lift, Mini Birthday Words, Imaginisce Clear Stamps Songbird, Ranger Archival Ink Jet Black, self-adhesive crystals, Spellbinders Nestabilities Labels Twenty-Five, A2 Card Creator Valiant Honor and Fancy Framed Tags One, Cuttlebug Machine V2


Sunday, February 15, 2015

CHALLENGE #13: Stamp On Transparency

HELLO GUYS! It's me again. I have a lot of catching up to do. I got sick a couple of days ago so I didn't get to do much.
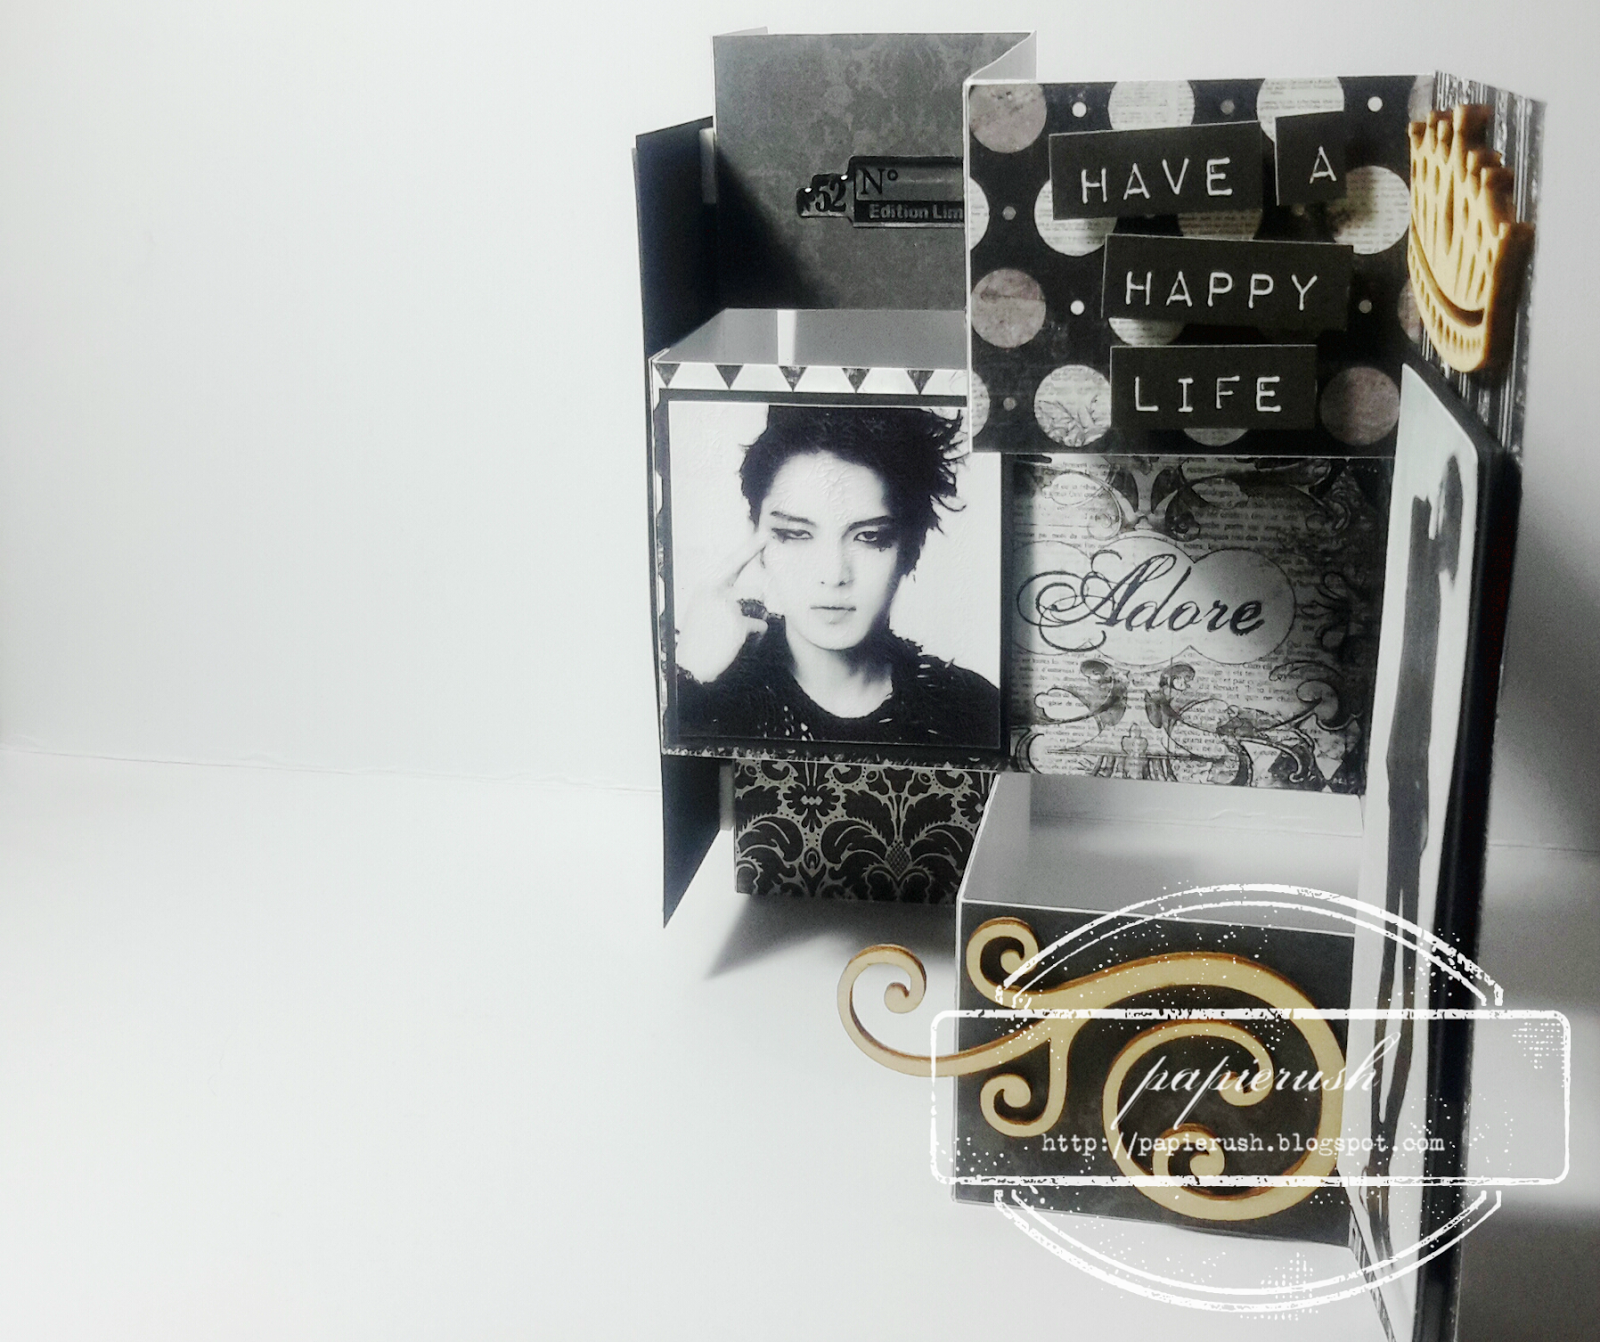
The card measures 4 ¼” x 6” when closed.

This card here was something I made last month for the birthday of one of my favorite artists—JYJ’s Kim Jae Joong. Well, I did not get to post it on IG before the clock struck 12, but I posted it anyway and greeted him a belated happy birthday. Heh.
It is a black and white trishutter card. Ooh. I am starting to name it my favorite card fold. People who ask me to make them cards almost always ask for a trishutter. Anyway, I used some of his photos I found on Google for embellishments and made one the focal point. There weren’t any other fufus except for the stamped transparencies, stickers and wooden embellishments. 
So that was that. Another one of the challenges finished. Thanks for looking today!
MATERIALS AND TOOLS USED: Bevania Splendorgel Board Paper White, Rives Board Paper Tradition Black, My Mind’s Eye Lost & Found Two 6x6 paper pad Sunshine, Echo Park 6x6 paper pad This & That, Bo Bunny 6x6 paper pad Enchanted Collection, Rouge de garance 6x6 paper pad Nympheas, printed images, acetate, epoxy stickers, Kaisercraft Pickled Pear Collection Sticker Sheet, Eno Greeting Wooden Embellishments, Ranger Archival Ink Jet Black, Ranger Distress Crackle Paint Rock Candy, Faber-Castell Permanent Marker, Kaisercraft Clear Stamps Botanical Odyssey and Bundle of Joy